That's right, I am FINALLY making my build thread! I have been modding this Jeep for three years now so I have a lot of catching up to do. Just bare with me, because this is going to take some time to get through. I will start from the beginning and try not to miss anything. :2thumbsup:
It all started in 2004 when I saw the beast that AEV and SuperLift made.
![Image]()
Not only did it look awesome, but it boasted some incredible performance. A Jeep Grand Cherokee with QDII coupled to a HEMI! I had to have it! Unfortunately, being a lowly military man also trying to support a family I could not afford a $45K vehicle, let along the $5K+ for the lift tires and other goodies.
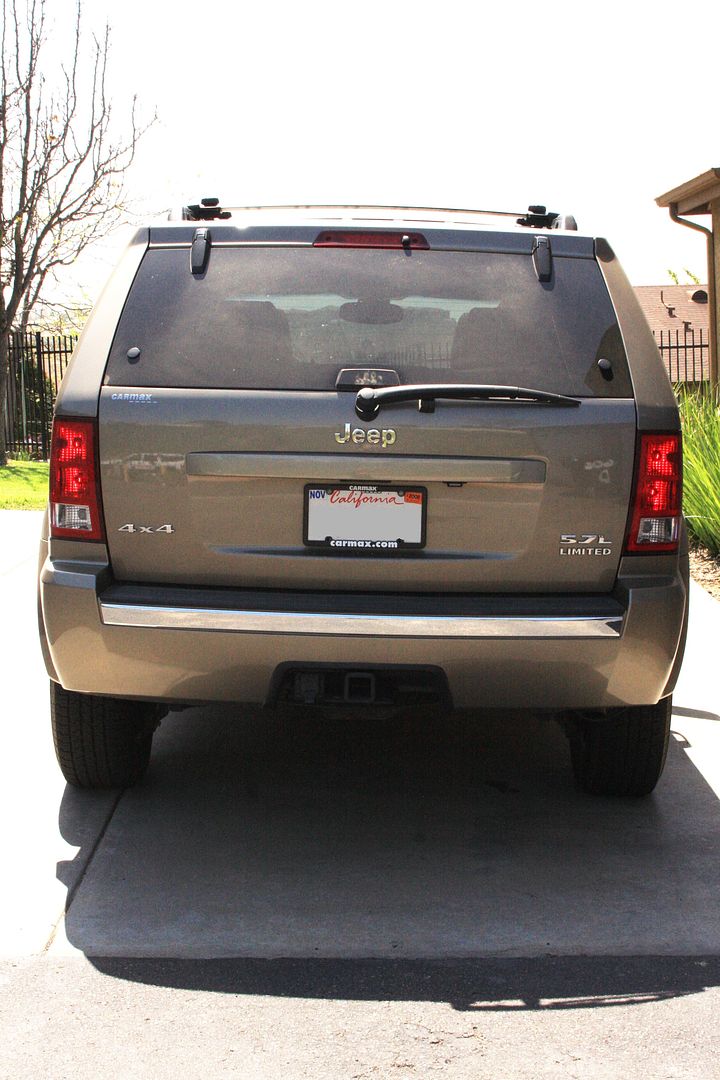
Finally after the market took a crap in late 08 the time had come! I started looking around and pricing the different models and option. By then the CRD had also come out which I wanted more than the Hemi, but I could not find one in Cali :thumbdown: I found a few in other states, but they were too far away and more than I could afford. So I ended up scoring a 2005 Limited with every option available that year and 40K miles for $16K! It seemed no one wanted to buy a big Hemi powered vehicle at that time, so local dealers were pricing them very low. Even a year after I bought it I couldn't find a better deal :thumbsup:
This was the day I brought it home!
![Image]()
![Image]()
Yes it is dirty because I insisted on swinging by a trail on the way home to test out 4lo! I wanted to make sure the t-case and ELSDs were working properly. In fact the first mod I made was to remove the front air dam before I hit the trail.
![Image]()
***************************************************************************
Below is a list of mods I have performed. Click on the mod and it will take you straight to it. This should help with the confusion of trying to find what you are looking for :2thumbsup:
-Volant CAI
-MBRP Exhaust
-LED Taillights
-Aries Taillight Guards
-OME MD Lift with 255/75/17 BFG MT tires on Moabs
-HIDs in the Lows and Fogs
-4xGuard Front Skid
-4xGuard Matrix
-Chrome Grill Slats
-Rear Hitch Mod to clear a New 255/75/17 MT
-4xGuard Rear Skid
-Midland CB in the Cubby
-HM Engineering Chromoly UCAs
-Stillen Rotors
-ARB High Output Compressor and Tank Plumbing Pics
-285/70/17 BFG KM2 Tires
-Rear Fender Mod
-JKS Quicker Disconnects (Front)
-4xGuard 12 Bolt Diff Cover
-Grooved the KM2s
-Painted Side View Mirror Covers
-Taylor Shorties
-BT Catch Can
-Fastman Trottle Body
-1.5" Rear Coil Spacers
-Rusty's Extended Rear Sway Bar Links
-Rusty's Strut Spacers (Stacking Two of Them)
-Firestik 3' CB Antenna on a Saguaro Mount Installed a Stainless Spring
-4xGuard Belly Skid
-4xGuard Sliders
-295/70/17 Nitto Trail Grapplers
-OME HD Coils
-Bump Stop Extensions (Front)
-Painted the Matrix and Front Skid
-SuperLift Rear Shocks
-Rear Brake Line Extensions and Fuel Tank Notch
-JKS Quicker Disconnects (Rear)
-Rusty's Adjustable Track Bar
-Bumpstop Extensions (Rear)
-Rigid Industries D2s
-Refurbished My Hi-Lift Jack
-Fox 2.0 11" Remote Reservoir Shocks
-Saguaro Switch Panel
-Gobi Stealth Roof Rack
-Hidden Winch
-Painted My Moabs (Set #1)
-LED Switchbacks
-LED Rock Lights
-MOPAR Badge
-Limiting Straps (Front)
-Rigid Industries 20" E-Series
-Painted My Washer Fluid Bottle
-Cargo Area LED Strip Mod
-Bedlined Rear Step
-08+ HID Projector Headlamps
-Ouch Band-Aid!
-Over Head Switch Panel
-Bedlined Rockers
-ORT Wheel Decals
-BT Under Hood Kit - Completed Kit
-ASFIR Front and T-Case skids
-Steel Armadillo Sliders
-Armor Weights
-WeatherTech Floor Mats
-ORT8 Badges
-10" Stainless Steel Antenna
-7 Watt Cree Reverse Bulbs - Night Pics
-Billet Low Pro Door Locks - Instal Pics - Low Pro OEM Locks
-Throttle Body Grounding Wire
-Fumoto Engine Oil Plug
-35x12.50R17 BFG KR Tires - Instal Pics
-MOD Status
-Expanded Sheet Metal Grill
-Mopar Fuel Tank Door
-Painted My Moabs (Set#2)
-Painted Caliper Covers (Rear)
-SuperLift Instal
-Mopar Stripes
-Modified SuperLift Steering Stops
-Front and Rear View Camera System
-Staun Tyre Deflators
-Tough Light 42" Black Series - Night Shots
-BullyDog WatchDog
-KC LED Utility Light
-Painted Side View Mirrors
-Front Bumper Trim
-New Laser Etched Switch Cover
-Pillar Pod
-Insulated The Intake again
-Brightt USA 19" LED bar
-AFE Pro Dry Filter PN:21-45003
-JBA 6" rear coils
-Fox 2.0 12" Remote Reservoir Rear Shocks with C/D adjust
-5lbs CO2 tank
-Front Inner Fender Liners with room for 35" tires
-Custom Rusty's Rear LCAs
-Custom Safari Snorkel - - - Finished the plumbing
-Custom OTRATTW Switch Covers
-AEV EGR Module
-Reupholstered Steering Wheel
-Custom Side Exit Exhaust
-08 HID Projector Headlamps MK-2
-Jeep-Core LED Cup Holder Rings
-Cobra 75 CB
-SprintBooster
-HD Front Drive Shaft
-Sonnax Transmission Line Pressure Booster
-Modified ARB Bar
-Under Cover Fabworks 12 Bolt Cover
-Custom AM/FM Antenna
-Bilstein 5100 Struts
-37" Maxxis Trepadors (bias) - - - Glamour Pics
-Aspen Creek (S4xC) Boulder Grill Insert
-RCV Shafts
-Crawl Offroad Stainless Extended Brake Lines
-LED High Beams
-50" Curved LED Light Bar
-Blue Hood Hash Marks
-BrakeMotive Rotors and Pads
-Custom Rear Tire Carrier
-Relocated Rear Licence Plate
-Odyssey 34/78 Battery
-ARB Twin Compressor (CKMTA12)
-TransGo Reprogramming Kit (45RFE-HD2)
-BFGoodrich KO2 35x12.5R17 Tires
-LED Strip Brake Lights
-TRE Soft Shackles
-Gobi Rack Bike Mounts
-JeePerf Polyurethane Bushings
-Shovel Mount
-JeePerf Chromoly SuperFelx Tie Rods
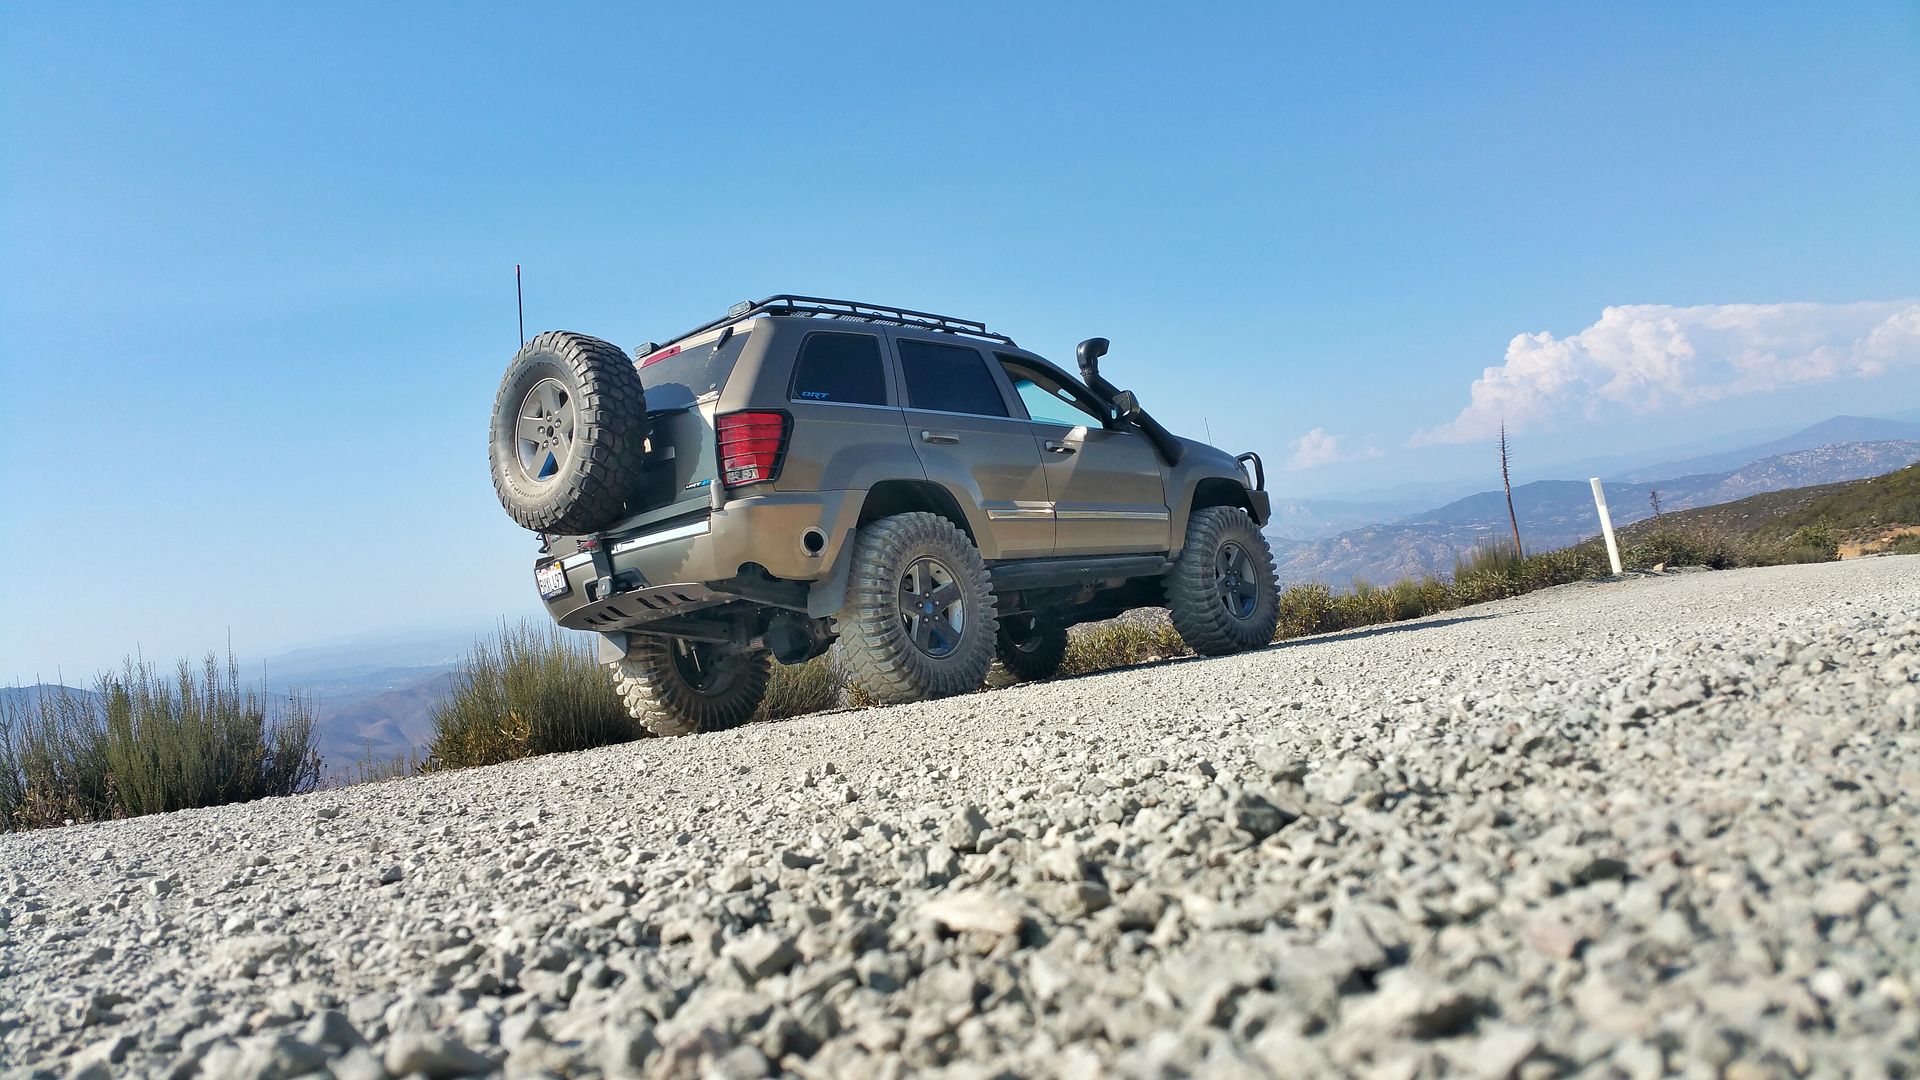
A more current picture:
Future mods (in no particular order) :
- Tablet Dash Instal
- Custom Coilovers
- 6.1L Headers
- Rear 3-link Long Arms
- SRT Seats
It all started in 2004 when I saw the beast that AEV and SuperLift made.
Not only did it look awesome, but it boasted some incredible performance. A Jeep Grand Cherokee with QDII coupled to a HEMI! I had to have it! Unfortunately, being a lowly military man also trying to support a family I could not afford a $45K vehicle, let along the $5K+ for the lift tires and other goodies.
Finally after the market took a crap in late 08 the time had come! I started looking around and pricing the different models and option. By then the CRD had also come out which I wanted more than the Hemi, but I could not find one in Cali :thumbdown: I found a few in other states, but they were too far away and more than I could afford. So I ended up scoring a 2005 Limited with every option available that year and 40K miles for $16K! It seemed no one wanted to buy a big Hemi powered vehicle at that time, so local dealers were pricing them very low. Even a year after I bought it I couldn't find a better deal :thumbsup:
This was the day I brought it home!
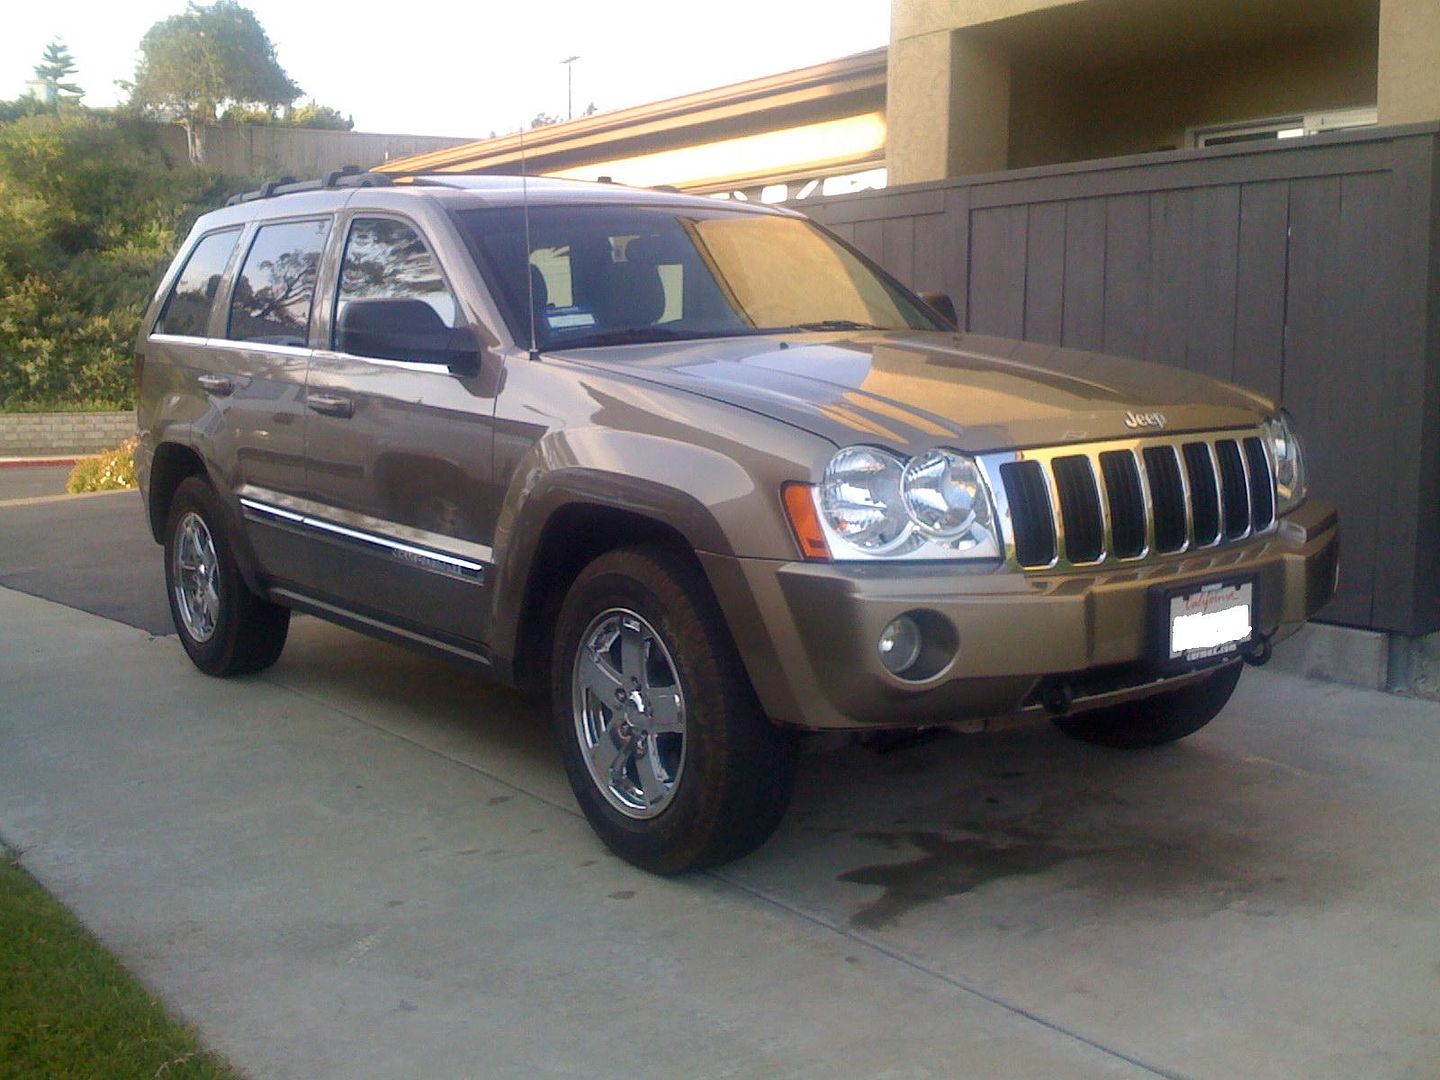
Yes it is dirty because I insisted on swinging by a trail on the way home to test out 4lo! I wanted to make sure the t-case and ELSDs were working properly.
In fact the first mod I made was to remove the front air dam before I hit the trail.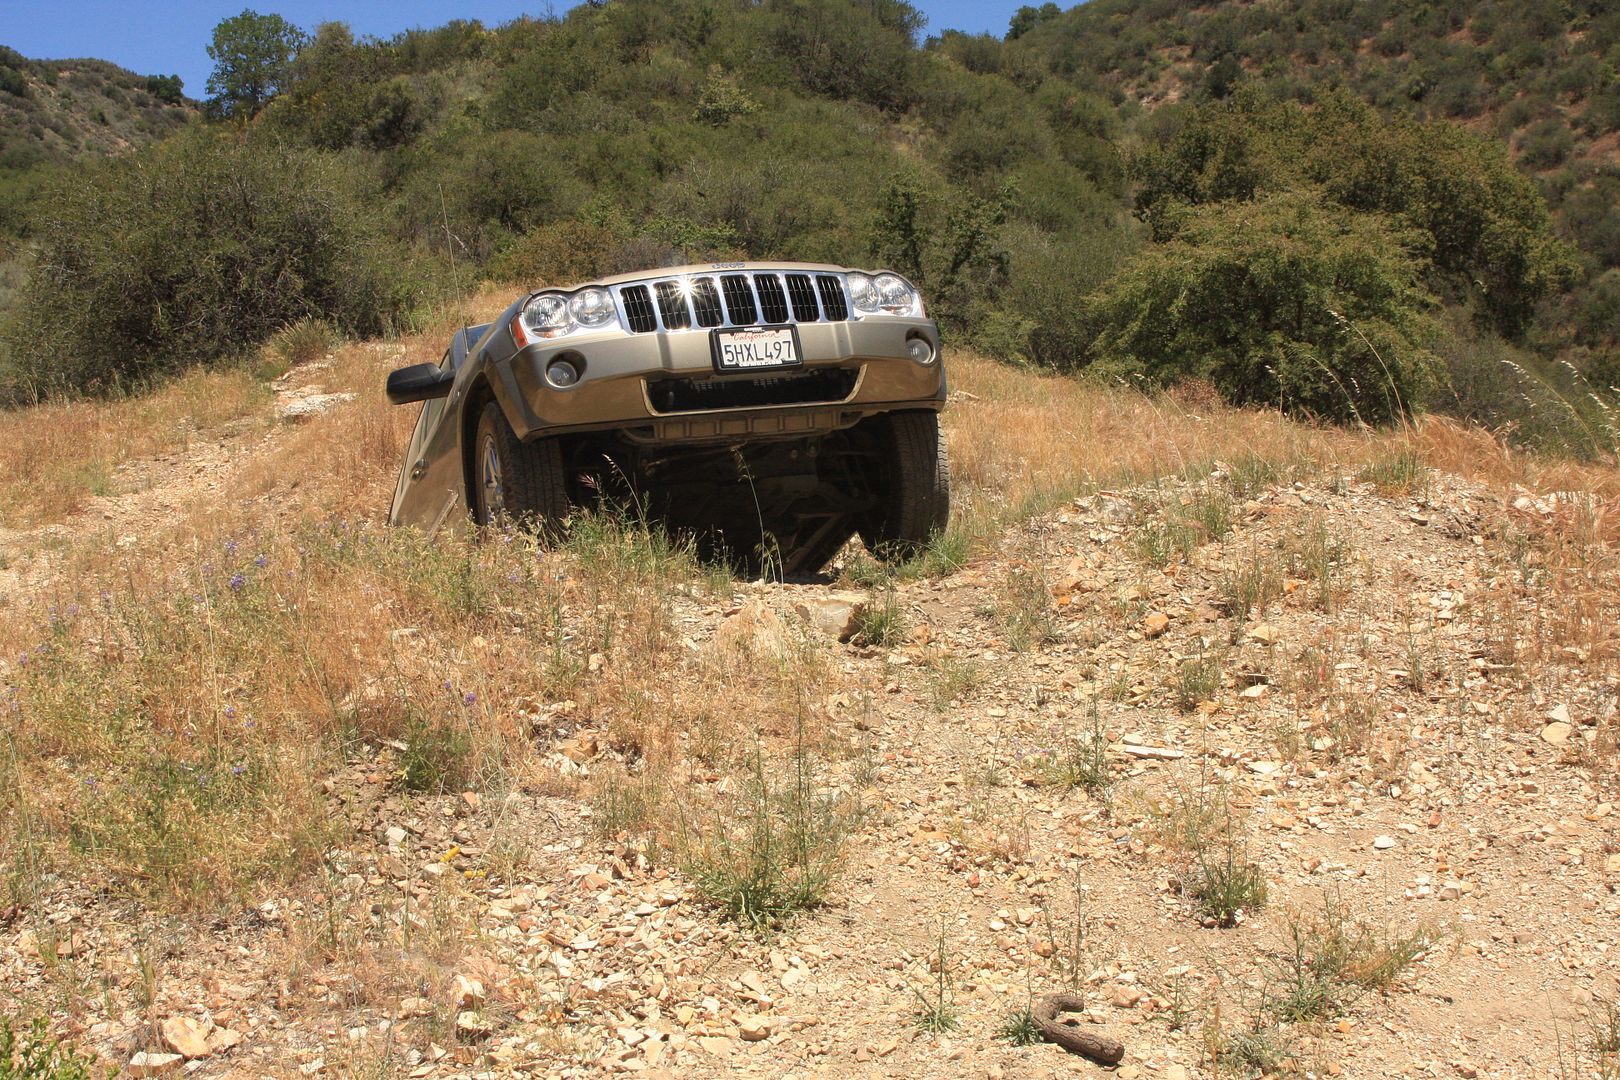
***************************************************************************
Below is a list of mods I have performed. Click on the mod and it will take you straight to it. This should help with the confusion of trying to find what you are looking for :2thumbsup:
-Volant CAI
-MBRP Exhaust
-LED Taillights
-Aries Taillight Guards
-OME MD Lift with 255/75/17 BFG MT tires on Moabs
-HIDs in the Lows and Fogs
-4xGuard Front Skid
-4xGuard Matrix
-Chrome Grill Slats
-Rear Hitch Mod to clear a New 255/75/17 MT
-4xGuard Rear Skid
-Midland CB in the Cubby
-HM Engineering Chromoly UCAs
-Stillen Rotors
-ARB High Output Compressor and Tank Plumbing Pics
-285/70/17 BFG KM2 Tires
-Rear Fender Mod
-JKS Quicker Disconnects (Front)
-4xGuard 12 Bolt Diff Cover
-Grooved the KM2s
-Painted Side View Mirror Covers
-Taylor Shorties
-BT Catch Can
-Fastman Trottle Body
-1.5" Rear Coil Spacers
-Rusty's Extended Rear Sway Bar Links
-Rusty's Strut Spacers (Stacking Two of Them)
-Firestik 3' CB Antenna on a Saguaro Mount Installed a Stainless Spring
-4xGuard Belly Skid
-4xGuard Sliders
-295/70/17 Nitto Trail Grapplers
-OME HD Coils
-Bump Stop Extensions (Front)
-Painted the Matrix and Front Skid
-SuperLift Rear Shocks
-Rear Brake Line Extensions and Fuel Tank Notch
-JKS Quicker Disconnects (Rear)
-Rusty's Adjustable Track Bar
-Bumpstop Extensions (Rear)
-Rigid Industries D2s
-Refurbished My Hi-Lift Jack
-Fox 2.0 11" Remote Reservoir Shocks
-Saguaro Switch Panel
-Gobi Stealth Roof Rack
-Hidden Winch
-Painted My Moabs (Set #1)
-LED Switchbacks
-LED Rock Lights
-MOPAR Badge
-Limiting Straps (Front)
-Rigid Industries 20" E-Series
-Painted My Washer Fluid Bottle
-Cargo Area LED Strip Mod
-Bedlined Rear Step
-08+ HID Projector Headlamps
-Ouch Band-Aid!
-Over Head Switch Panel
-Bedlined Rockers
-ORT Wheel Decals
-BT Under Hood Kit - Completed Kit
-ASFIR Front and T-Case skids
-Steel Armadillo Sliders
-Armor Weights
-WeatherTech Floor Mats
-ORT8 Badges
-10" Stainless Steel Antenna
-7 Watt Cree Reverse Bulbs - Night Pics
-Billet Low Pro Door Locks - Instal Pics - Low Pro OEM Locks
-Throttle Body Grounding Wire
-Fumoto Engine Oil Plug
-35x12.50R17 BFG KR Tires - Instal Pics
-MOD Status
-Expanded Sheet Metal Grill
-Mopar Fuel Tank Door
-Painted My Moabs (Set#2)
-Painted Caliper Covers (Rear)
-SuperLift Instal
-Mopar Stripes
-Modified SuperLift Steering Stops
-Front and Rear View Camera System
-Staun Tyre Deflators
-Tough Light 42" Black Series - Night Shots
-BullyDog WatchDog
-KC LED Utility Light
-Painted Side View Mirrors
-Front Bumper Trim
-New Laser Etched Switch Cover
-Pillar Pod
-Insulated The Intake again
-Brightt USA 19" LED bar
-AFE Pro Dry Filter PN:21-45003
-JBA 6" rear coils
-Fox 2.0 12" Remote Reservoir Rear Shocks with C/D adjust
-5lbs CO2 tank
-Front Inner Fender Liners with room for 35" tires
-Custom Rusty's Rear LCAs
-Custom Safari Snorkel - - - Finished the plumbing
-Custom OTRATTW Switch Covers
-AEV EGR Module
-Reupholstered Steering Wheel
-Custom Side Exit Exhaust
-08 HID Projector Headlamps MK-2
-Jeep-Core LED Cup Holder Rings
-Cobra 75 CB
-SprintBooster
-HD Front Drive Shaft
-Sonnax Transmission Line Pressure Booster
-Modified ARB Bar
-Under Cover Fabworks 12 Bolt Cover
-Custom AM/FM Antenna
-Bilstein 5100 Struts
-37" Maxxis Trepadors (bias) - - - Glamour Pics
-Aspen Creek (S4xC) Boulder Grill Insert
-RCV Shafts
-Crawl Offroad Stainless Extended Brake Lines
-LED High Beams
-50" Curved LED Light Bar
-Blue Hood Hash Marks
-BrakeMotive Rotors and Pads
-Custom Rear Tire Carrier
-Relocated Rear Licence Plate
-Odyssey 34/78 Battery
-ARB Twin Compressor (CKMTA12)
-TransGo Reprogramming Kit (45RFE-HD2)
-BFGoodrich KO2 35x12.5R17 Tires
-LED Strip Brake Lights
-TRE Soft Shackles
-Gobi Rack Bike Mounts
-JeePerf Polyurethane Bushings
-Shovel Mount
-JeePerf Chromoly SuperFelx Tie Rods
A more current picture:

Future mods (in no particular order) :
- Tablet Dash Instal
- Custom Coilovers
- 6.1L Headers
- Rear 3-link Long Arms
- SRT Seats