Hello all. This can be an extremely helpful thread for for all the DIY JEEPERS. When you do a simple mod like mounting a sunglass holder or more involved mod such as lifts - PLEASE share your how to and an idea of how easy or hard the job was. Pictures are always a great help.
Last index update: 14 June, 2025
Modification Thread Index. .
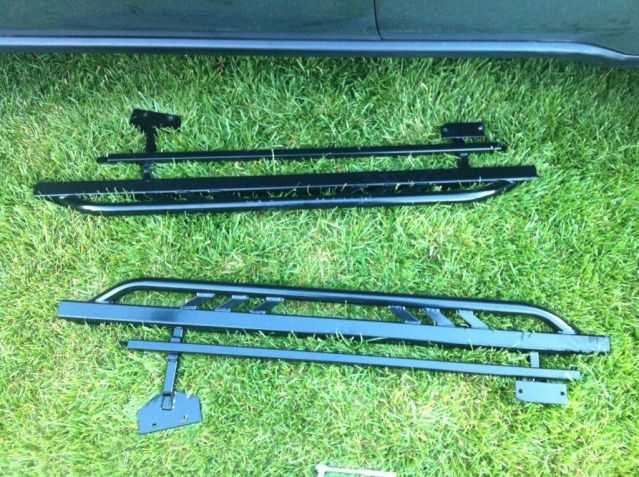
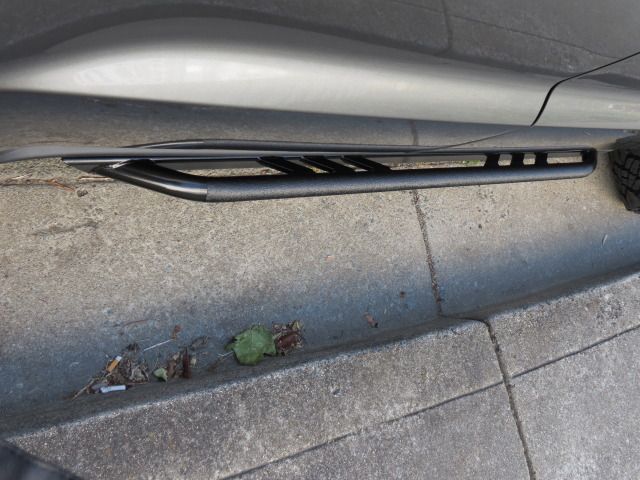
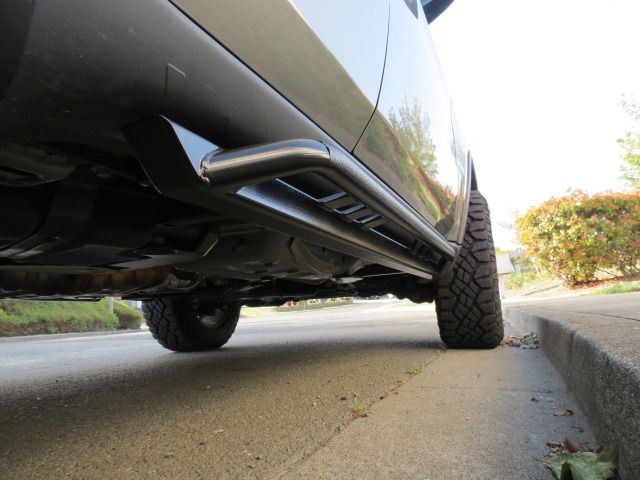
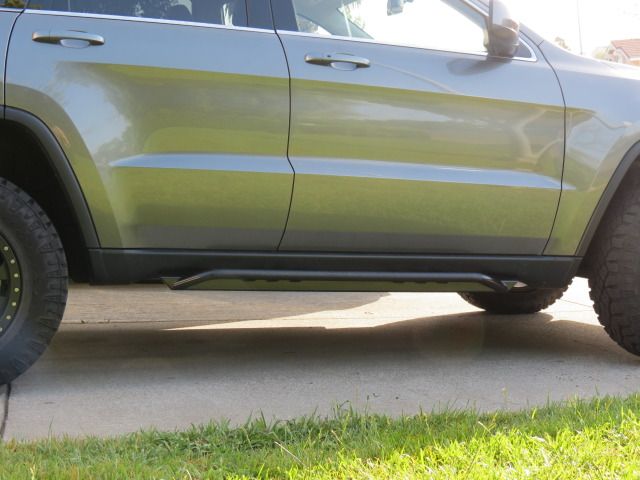
Rock Rails, Bars, Sliders, Tow Hooks
Mopar Rock Rails Video
Running/Tubular bars
Rocky Road Slider Install
Mopar Rock Rails 2014 WK2
Trailhawk Sliders/Rock Rails
Trailhawk Rock Rails Install Tip
Tow Hook Install
Tow Hook Install Summit
Tow Hook Install High Altitude
Uneek Rock Sliders
2018 MOPAR Trail Hawk Rock Rails
Body Modifications, Running Boards
Pinch Weld and Tire Size
33s on 20s
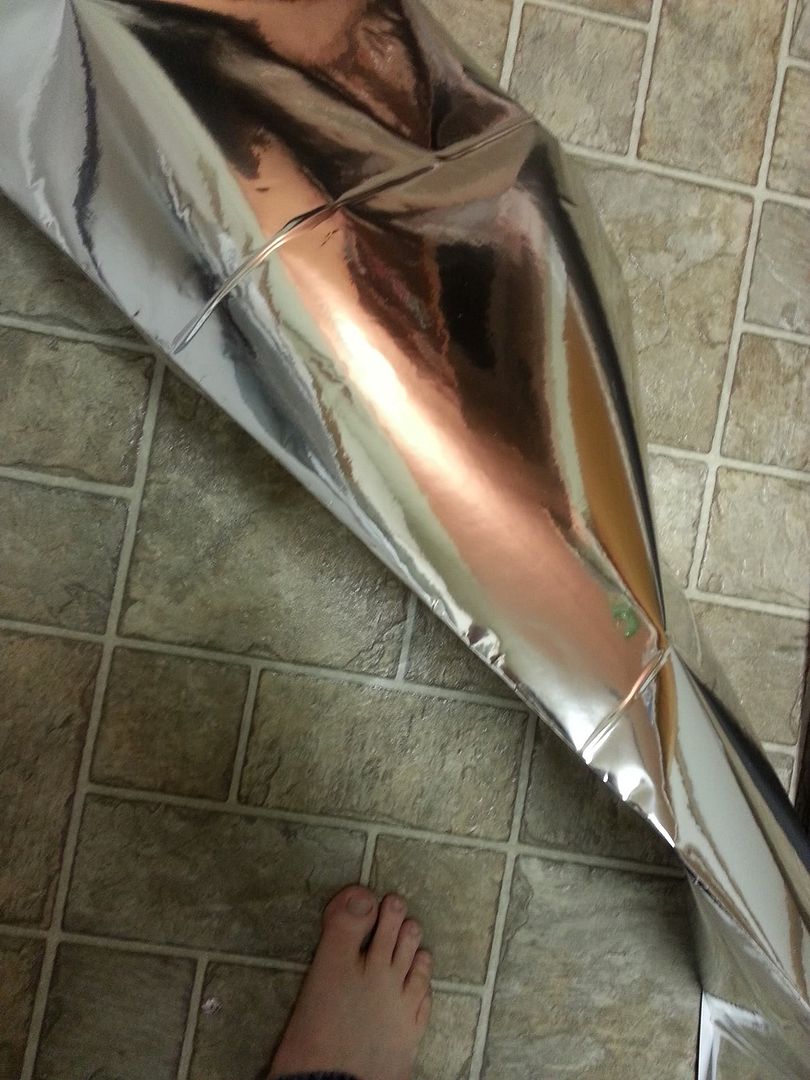
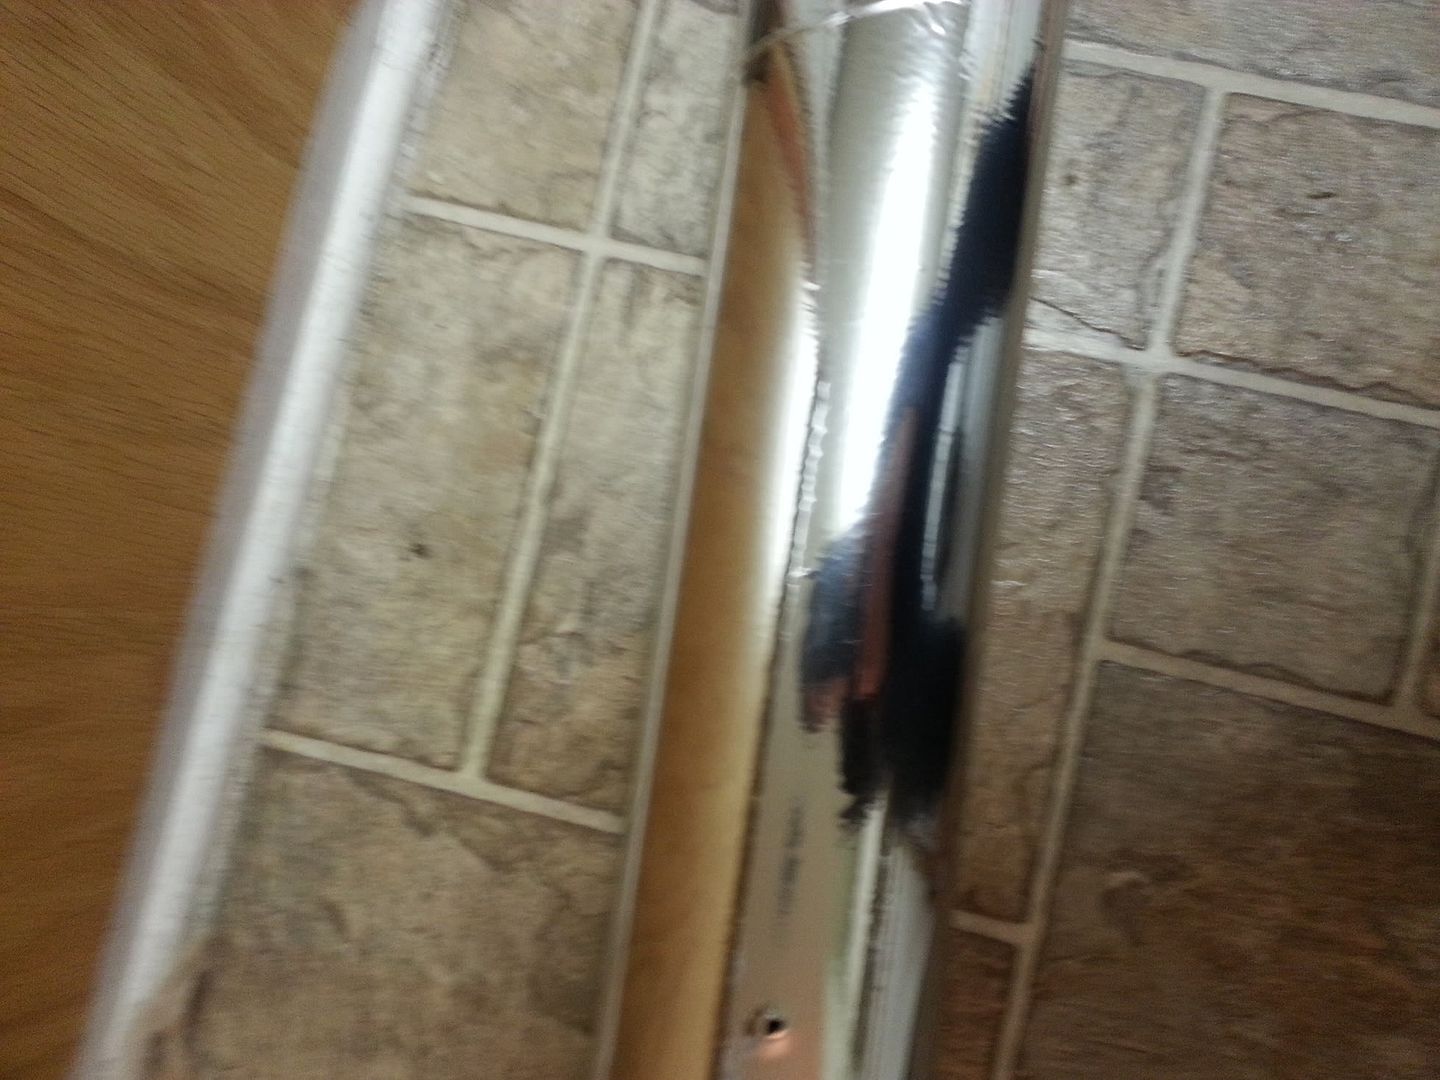
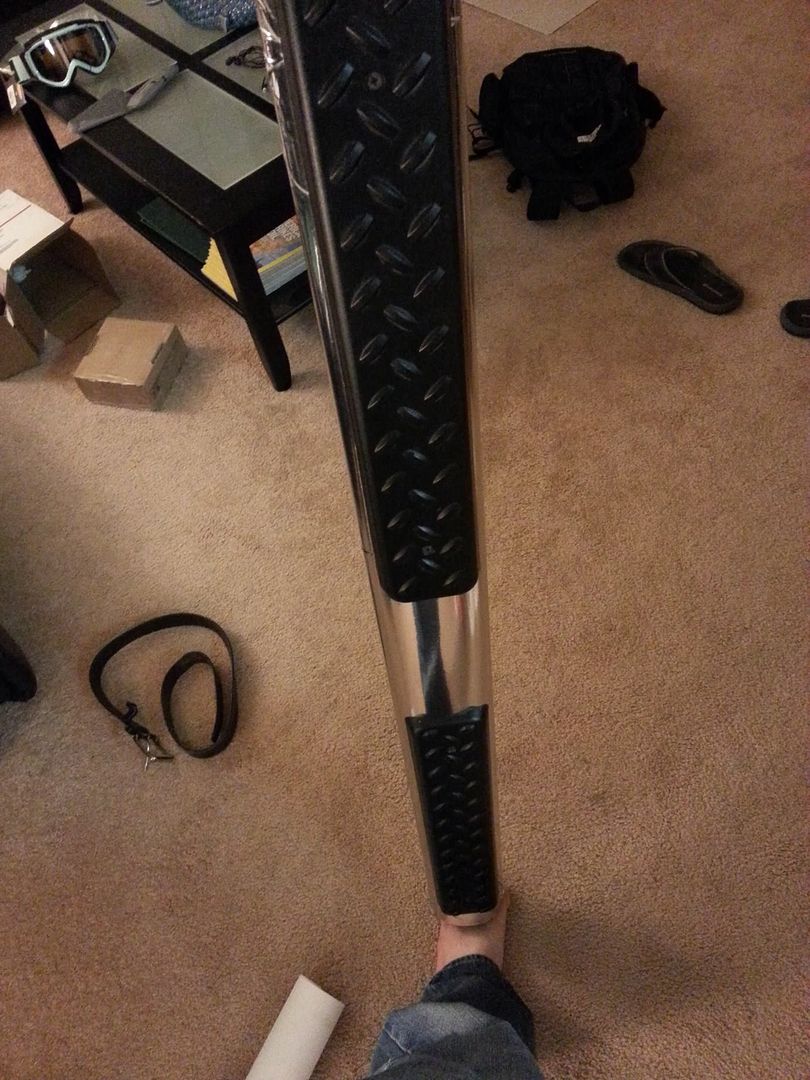
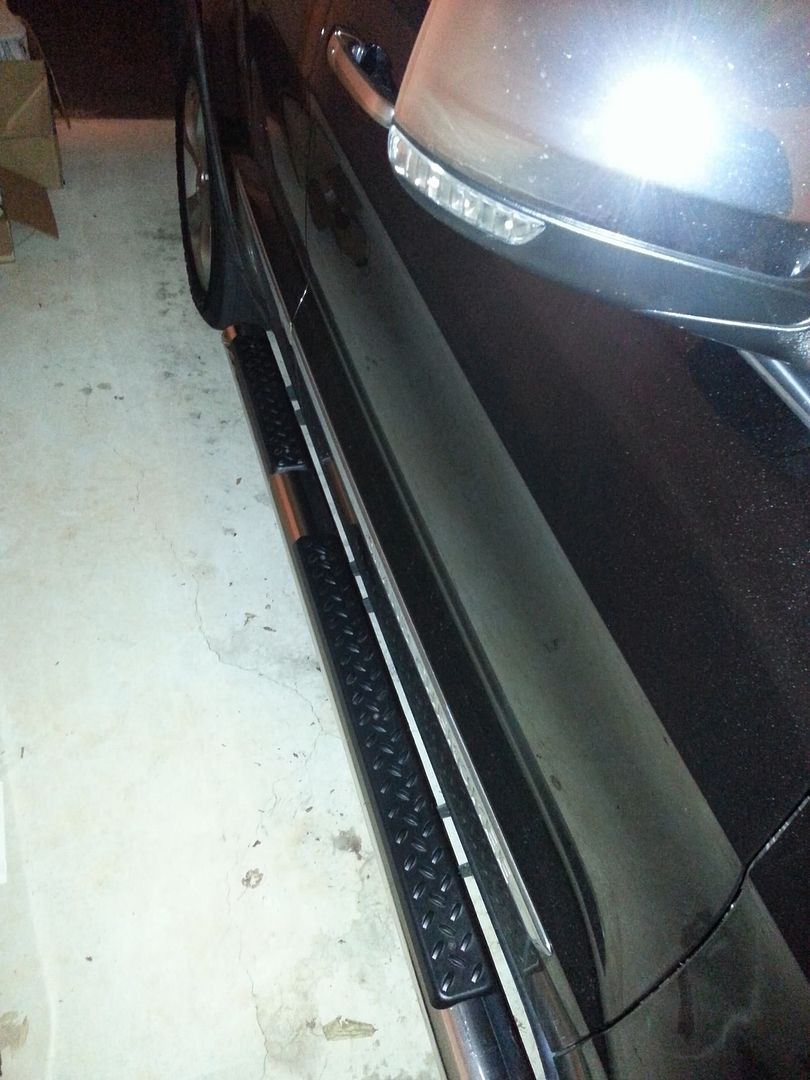
Running Boards on 2015 Summit
Bumpers, Winches, Other Body Armor
RRO Bumper Winch Instal
RRO winch kit on a 2014
Chief Products / Warn Hidden Winch Installation (2017)
Chief Rear Bumper Guard Install
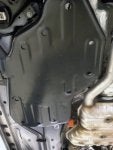
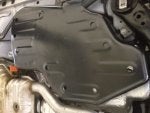
Mopar Skid Plates
Lower Front Guard
Chief Products Rear Bumper Guard
Offroad Animal Winch
Electrical Other Than Lighting
AlfaOBD Mod List
2011-2013 Sub and Amp
Aux switches to dash
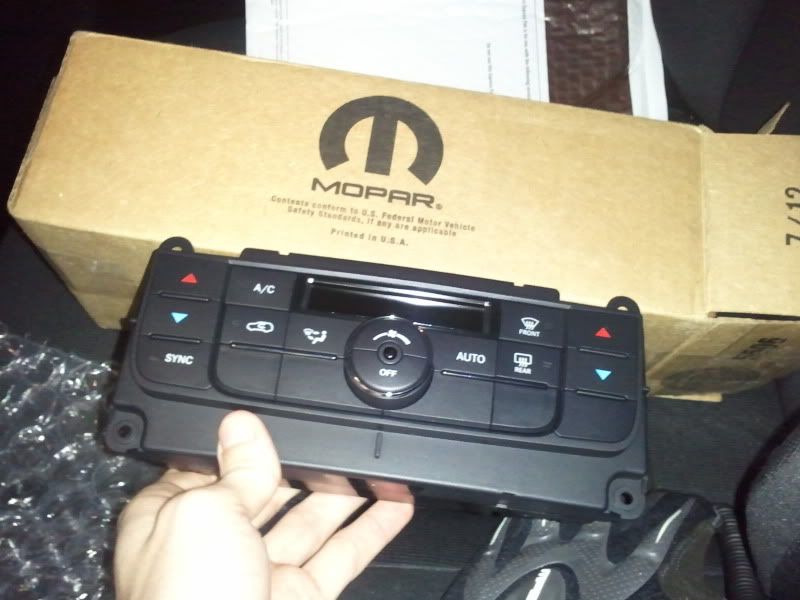
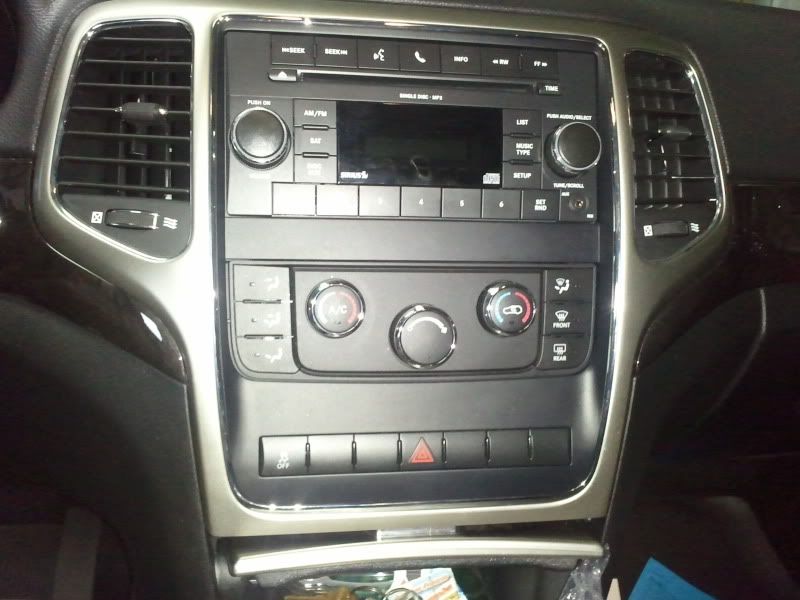
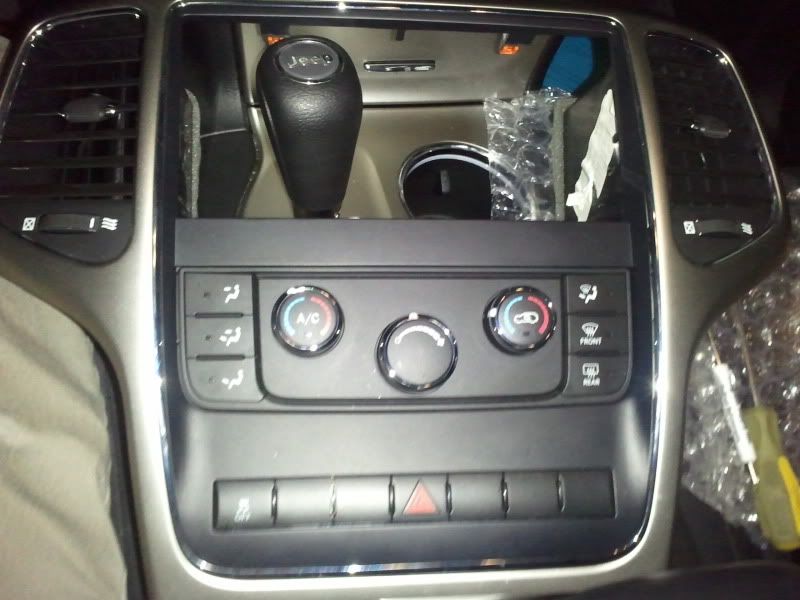
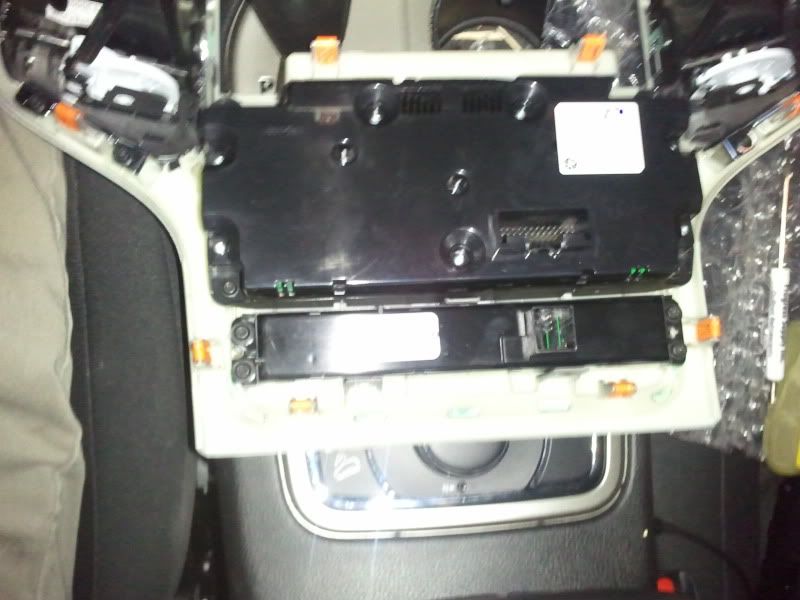
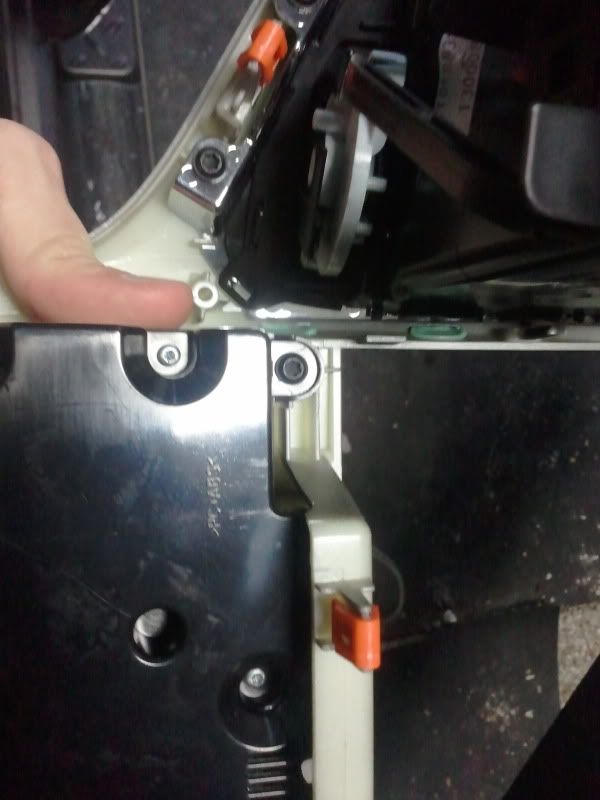
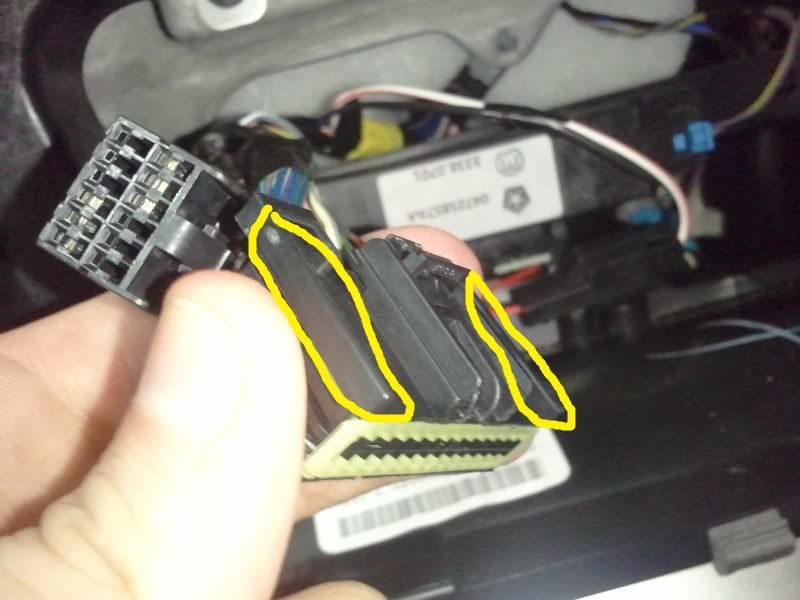
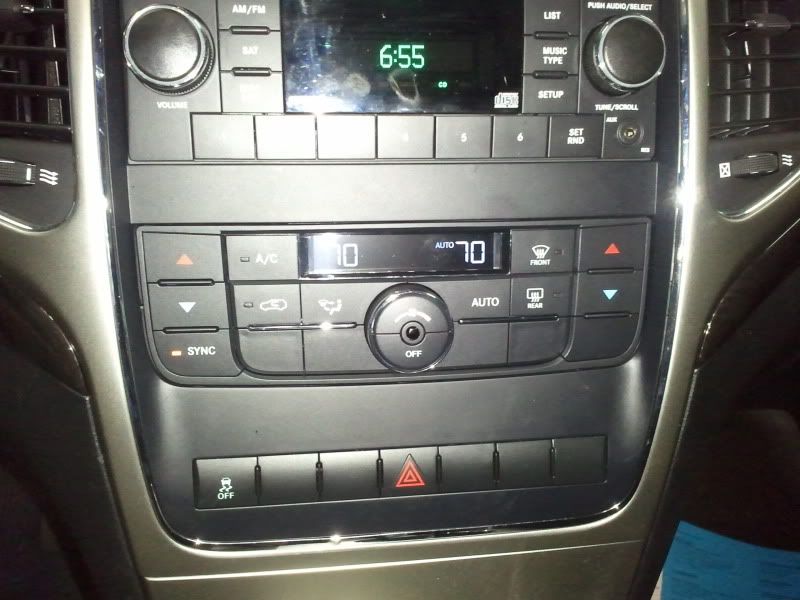
Add Auto Climate your non-climate-controlled WK2
JW Speaker LED fogs
DIY Phone Mount
Trailer brake controller in center console;.... Trailer brake controller under dash
Dealer Anti-Theft System Removal
CB and HAM antennas ;.. CB in a 2014
Rear Camera Install 1, Backup Camera Install 2 ... (2014+)
Shark Fin Antenna 2011-2013
Dash Camera Install ;... Another Dash Cam
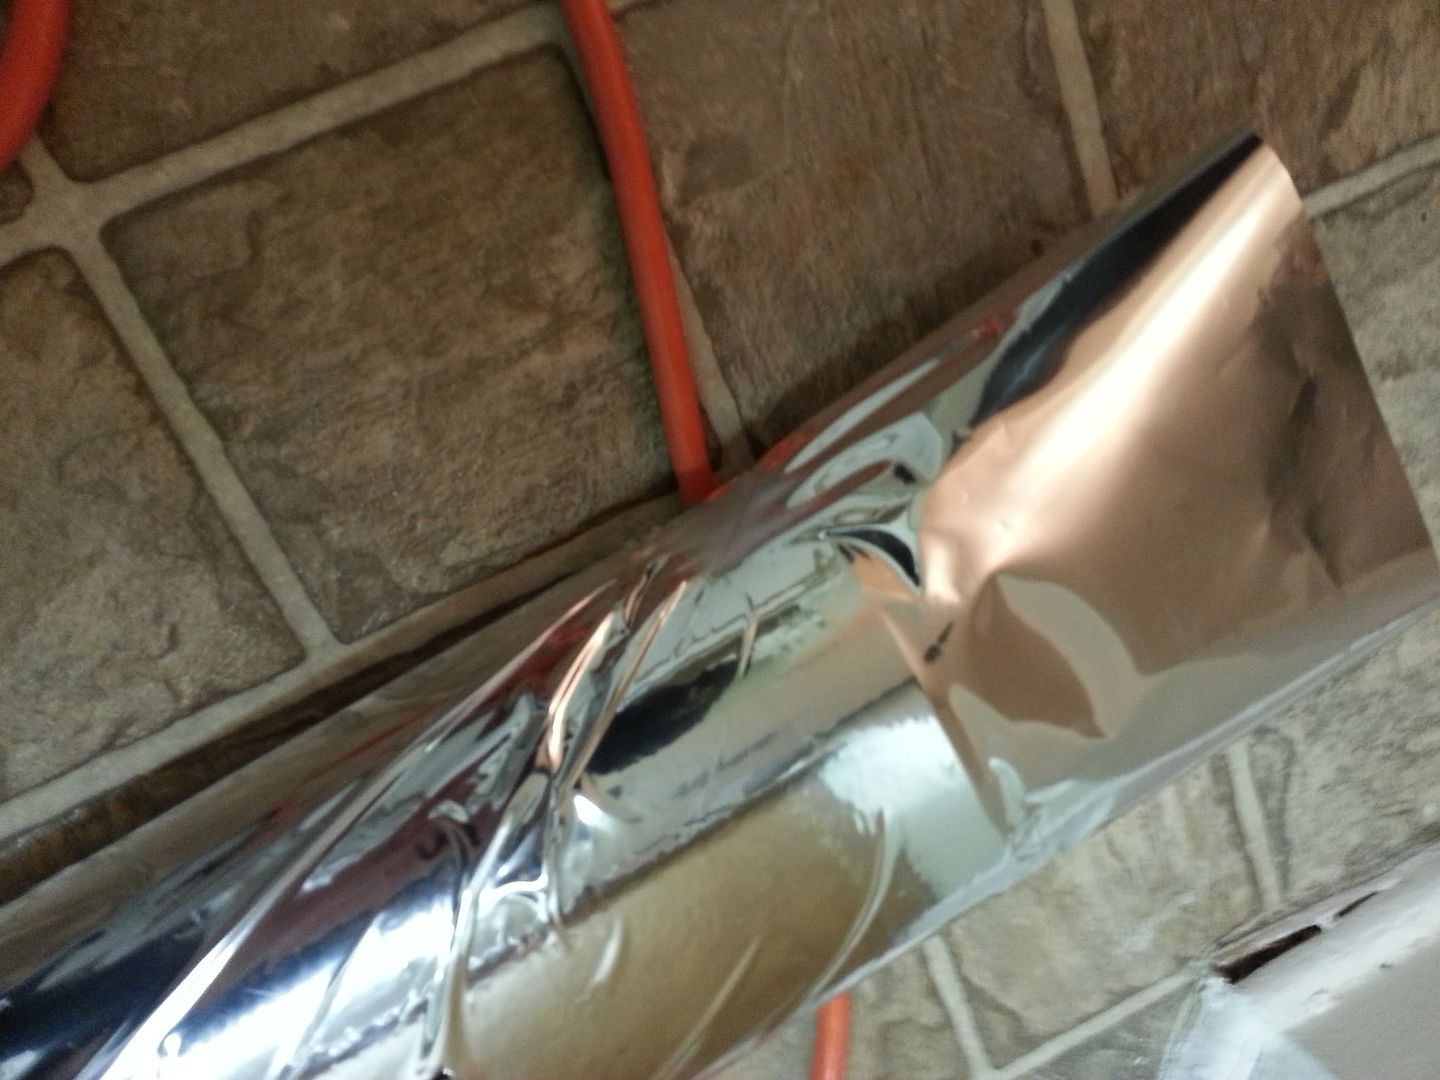
Passing Wires Through The Firewall : Photos Here
LED Roof Rack Cable Routing
Nexus 7 Mounting
Heated Steering Wheel
Swapping out RA2 to RA4 Radio on '15
Wireless Charging Phone Mount (2015)
Subwoofer, 2014
Aux Switch Panel
Cobra 75XB CB Installation (2017)
Ham Radio Install
Dual Battery Install
2018 Altitude Audio Upgrade
Updating Radio Firmware
Replacing 730n (RHR) with Kenwood Radio
UAQ install into 2016
Lighting
Rigid Industries Duallys in factory fog light housing
Light Bar
H11 5000k "Xtreme" kit in a 2015
2011 LED Fog Light Replaced With LEDS That Have Large Heat Sink
Rear Bumper Lights
LED Light Bars + and Switches
Projector Retrofit - 2015
Swap out halogen H11's to H9's (2018 Altitude)
HID-Halogen 2014 differences
Another Roof Rack Light Bar
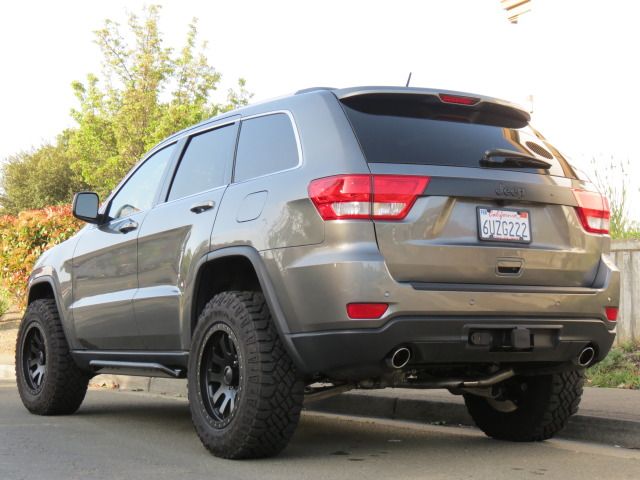
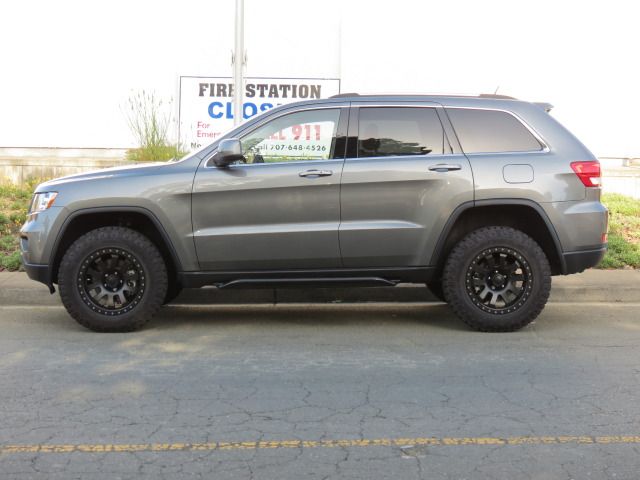
Lifts
Rocky Road 2.5 lift Install
OME Lift Install
Eibach Lift Kit
Another OME Lift Install
QL Air to Coils Spring Suspension
Brakes and Other Suspension
Note that some WK2 have upgraded brakes where SD parts are replaced by HD parts. A fairly easy modification. The VIN will indicate SD brakes and brake shops will install SD rotors (solid rears) and maybe SD replacement calipers in the rear. The mismatch is not all that obvious but leads to uneven front pad wear, more stress on the rear caliper, and reduced braking performance. A vented rear rotor is a sure sign of HD brakes, but a solid rear is no longer a sure sign of SD brakes.
Installing SRT Sway Bars
Air Lift 1000
Sway Bar Info
SRT Brake Retrofit
Helwig 7732 Sway Bar
Trim
Chrome vinyl wrapping your running boards
Interior Trim Removal PDF
Replace your black roof trim with OEM roof rails
Replace your black roof trim with OEM roof rails more details
Another roof rail write up
Fascia Grille removal PDF
Grill Update 2014 Limited to Summit
Removing grill without also removing bumper cover
Rear seat belt extenders
STR8 Grill On a 2011
Side Window Deflectors
Exhaust Tips
SRT Style Engine Cover
Exhaust
Corsa exhaust install
2014 Summit-only 5.7L Corsa Cat-back and Volant CAI
Flowmaster Exhaust
Hemi muffler X-pipe substitute
Intake
2014 Summit-only 5.7L Corsa Cat-back and Volant CAI
Cargo Carriers and Racks, Hitches
Yakima Roof Basket Installation
Roof Rail Delete
2018 Altitude Hitch Install w/o Bumper Removal (at end of thread)
Another Hitch Install w/o Bumper Removal
Cargo Tie Downs
Chief Products Roof Rack
____
Are Aftermarket HID (High Intensity Discharge) Lights Legal?
Installing HID's into a vehicle not originally equipped with them from the factory is technically illegal.
There is a lot of confusion around aftermarket HID kits. Many people want the benefits of brighter headlight bulbs and have seen HID on executive vehicles. There's a wide range of HID kits on the market and many are at affordable prices, but a lot of customers are not fully informed of the true picture.
Although there have not been any definitive answers to searches performed online to whether a particular aftermarket HID kit is legal or not, some States do have specific laws stated in written literature posted regarding the legality of specific headlight upgrades.
Your specific State's headlight upgrade laws can be found by typing in (your State) HID, High Intensity Discharge, or Xenon Headlight Laws.
HIDs installed in headlight systems designed for halogen lights produce substantially different beam patterns. They are difficult to aim, and emit light that exceeds the intensity allowed under the U.S. Department of Transportation's Federal Motor Vehicle Safety Standards.
Also see HID Glare, and Headlight Glare.
Under federal regulation FMVSS 108, replacement lights must conform to the specifications for the original equipment manufacturer's system they will be installed in. The National Highway Transportation Safety Administration has determined that HID conversion kits can never be designed to meet this standard. The NHTSA declared HID kits illegal in 2004.
Installing HID's into a vehicle not originally equipped with them from the factory is technically illegal. Practically speaking, you stand little chance of being cited for them provided you educate yourself on the requirements of HID lighting and take the necessary steps to ensure you have the right equipment and adjustments to keep it safe. That is, make sure your vehicle's headlight assembly uses an appropriately designed projector lense (as opposed to a reflector), and of course that your headlights are properly aligned after installation. Many newer vehicles use projector lenses because stock halogen bulbs also benefit from the "light shaping", but having just any old projector lense does not necessarily ensure that the beam pattern will be correct. It is absolutely essential for HID's to give the light output a sharp cutoff line to prevent blinding oncoming traffic. As HID's become more popular, aftermarket projector housings are being produced for some vehicles.
The Department of Transportation (DOT) states that improperly-installed HID's are getting a lot of complaints. Vendors will usually include a disclaimer that they are intended for offroad use only, but it's no secret that people don't follow this rule. Now, there are a lot of aftermarket automotive parts that qualify as illegal but aren't strictly enforced. Logically, the safety implications of blinding oncoming drivers are more serious than, say, an exhaust that exceeds the legal noise level. So the DOT has actively gone after vendors of HID conversion kits, threatening monetary fines if they continue selling them, and consequently there are now fewer places to buy them.
Modifying Module parameters via Scan Tools
Just a warning that changing settings may void your warranty. Today every change is recorded in long term memory, which can not deleted. Partly for warranty purposes, as well as for ID purposes and fraud prevention.
The following two things are always recorded for every module affected:
Dealer code (none = unauthorized manipulation- voids immediately any warranty on this vehicle)
The changed "from - to" detail.
The memory is called automatically from dealer's DTS which is then checked and verified by FCA computers.
Last index update: 14 June, 2025
Modification Thread Index. .
Rock Rails, Bars, Sliders, Tow Hooks
Mopar Rock Rails Video
Running/Tubular bars
Rocky Road Slider Install
Mopar Rock Rails 2014 WK2
Trailhawk Sliders/Rock Rails
Trailhawk Rock Rails Install Tip
Tow Hook Install
Tow Hook Install Summit
Tow Hook Install High Altitude
Uneek Rock Sliders
2018 MOPAR Trail Hawk Rock Rails
Body Modifications, Running Boards
Pinch Weld and Tire Size
33s on 20s
Running Boards on 2015 Summit
Bumpers, Winches, Other Body Armor
RRO Bumper Winch Instal
RRO winch kit on a 2014
Chief Products / Warn Hidden Winch Installation (2017)
Chief Rear Bumper Guard Install
Mopar Skid Plates
Lower Front Guard
Chief Products Rear Bumper Guard
Offroad Animal Winch
Electrical Other Than Lighting
AlfaOBD Mod List
2011-2013 Sub and Amp
Aux switches to dash
Add Auto Climate your non-climate-controlled WK2
JW Speaker LED fogs
DIY Phone Mount
Trailer brake controller in center console;.... Trailer brake controller under dash
Dealer Anti-Theft System Removal
CB and HAM antennas ;.. CB in a 2014
Rear Camera Install 1, Backup Camera Install 2 ... (2014+)
Shark Fin Antenna 2011-2013
Dash Camera Install ;... Another Dash Cam
Passing Wires Through The Firewall : Photos Here
LED Roof Rack Cable Routing
Nexus 7 Mounting
Heated Steering Wheel
Swapping out RA2 to RA4 Radio on '15
Wireless Charging Phone Mount (2015)
Subwoofer, 2014
Aux Switch Panel
Cobra 75XB CB Installation (2017)
Ham Radio Install
Dual Battery Install
2018 Altitude Audio Upgrade
Updating Radio Firmware
Replacing 730n (RHR) with Kenwood Radio
UAQ install into 2016
Lighting
Rigid Industries Duallys in factory fog light housing
Light Bar
H11 5000k "Xtreme" kit in a 2015
2011 LED Fog Light Replaced With LEDS That Have Large Heat Sink
Rear Bumper Lights
LED Light Bars + and Switches
Projector Retrofit - 2015
Swap out halogen H11's to H9's (2018 Altitude)
HID-Halogen 2014 differences
Another Roof Rack Light Bar
Lifts
Rocky Road 2.5 lift Install
OME Lift Install
Eibach Lift Kit
Another OME Lift Install
QL Air to Coils Spring Suspension
Brakes and Other Suspension
Note that some WK2 have upgraded brakes where SD parts are replaced by HD parts. A fairly easy modification. The VIN will indicate SD brakes and brake shops will install SD rotors (solid rears) and maybe SD replacement calipers in the rear. The mismatch is not all that obvious but leads to uneven front pad wear, more stress on the rear caliper, and reduced braking performance. A vented rear rotor is a sure sign of HD brakes, but a solid rear is no longer a sure sign of SD brakes.
Installing SRT Sway Bars
Air Lift 1000
Sway Bar Info
SRT Brake Retrofit
Helwig 7732 Sway Bar
Trim
Chrome vinyl wrapping your running boards
Interior Trim Removal PDF
Replace your black roof trim with OEM roof rails
Replace your black roof trim with OEM roof rails more details
Another roof rail write up
Fascia Grille removal PDF
Grill Update 2014 Limited to Summit
Removing grill without also removing bumper cover
Rear seat belt extenders
STR8 Grill On a 2011
Side Window Deflectors
Exhaust Tips
SRT Style Engine Cover
Exhaust
Corsa exhaust install
2014 Summit-only 5.7L Corsa Cat-back and Volant CAI
Flowmaster Exhaust
Hemi muffler X-pipe substitute
Intake
2014 Summit-only 5.7L Corsa Cat-back and Volant CAI
Cargo Carriers and Racks, Hitches
Yakima Roof Basket Installation
Roof Rail Delete
2018 Altitude Hitch Install w/o Bumper Removal (at end of thread)
Another Hitch Install w/o Bumper Removal
Cargo Tie Downs
Chief Products Roof Rack
____
Are Aftermarket HID (High Intensity Discharge) Lights Legal?
Installing HID's into a vehicle not originally equipped with them from the factory is technically illegal.
There is a lot of confusion around aftermarket HID kits. Many people want the benefits of brighter headlight bulbs and have seen HID on executive vehicles. There's a wide range of HID kits on the market and many are at affordable prices, but a lot of customers are not fully informed of the true picture.
Although there have not been any definitive answers to searches performed online to whether a particular aftermarket HID kit is legal or not, some States do have specific laws stated in written literature posted regarding the legality of specific headlight upgrades.
Your specific State's headlight upgrade laws can be found by typing in (your State) HID, High Intensity Discharge, or Xenon Headlight Laws.
HIDs installed in headlight systems designed for halogen lights produce substantially different beam patterns. They are difficult to aim, and emit light that exceeds the intensity allowed under the U.S. Department of Transportation's Federal Motor Vehicle Safety Standards.
Also see HID Glare, and Headlight Glare.
Under federal regulation FMVSS 108, replacement lights must conform to the specifications for the original equipment manufacturer's system they will be installed in. The National Highway Transportation Safety Administration has determined that HID conversion kits can never be designed to meet this standard. The NHTSA declared HID kits illegal in 2004.
Installing HID's into a vehicle not originally equipped with them from the factory is technically illegal. Practically speaking, you stand little chance of being cited for them provided you educate yourself on the requirements of HID lighting and take the necessary steps to ensure you have the right equipment and adjustments to keep it safe. That is, make sure your vehicle's headlight assembly uses an appropriately designed projector lense (as opposed to a reflector), and of course that your headlights are properly aligned after installation. Many newer vehicles use projector lenses because stock halogen bulbs also benefit from the "light shaping", but having just any old projector lense does not necessarily ensure that the beam pattern will be correct. It is absolutely essential for HID's to give the light output a sharp cutoff line to prevent blinding oncoming traffic. As HID's become more popular, aftermarket projector housings are being produced for some vehicles.
The Department of Transportation (DOT) states that improperly-installed HID's are getting a lot of complaints. Vendors will usually include a disclaimer that they are intended for offroad use only, but it's no secret that people don't follow this rule. Now, there are a lot of aftermarket automotive parts that qualify as illegal but aren't strictly enforced. Logically, the safety implications of blinding oncoming drivers are more serious than, say, an exhaust that exceeds the legal noise level. So the DOT has actively gone after vendors of HID conversion kits, threatening monetary fines if they continue selling them, and consequently there are now fewer places to buy them.
Modifying Module parameters via Scan Tools
Just a warning that changing settings may void your warranty. Today every change is recorded in long term memory, which can not deleted. Partly for warranty purposes, as well as for ID purposes and fraud prevention.
The following two things are always recorded for every module affected:
Dealer code (none = unauthorized manipulation- voids immediately any warranty on this vehicle)
The changed "from - to" detail.
The memory is called automatically from dealer's DTS which is then checked and verified by FCA computers.