Well it's finally time for me to start a build thread. I had been debating for a while now about doing one and decided with the upcoming changes, now is the time to start.
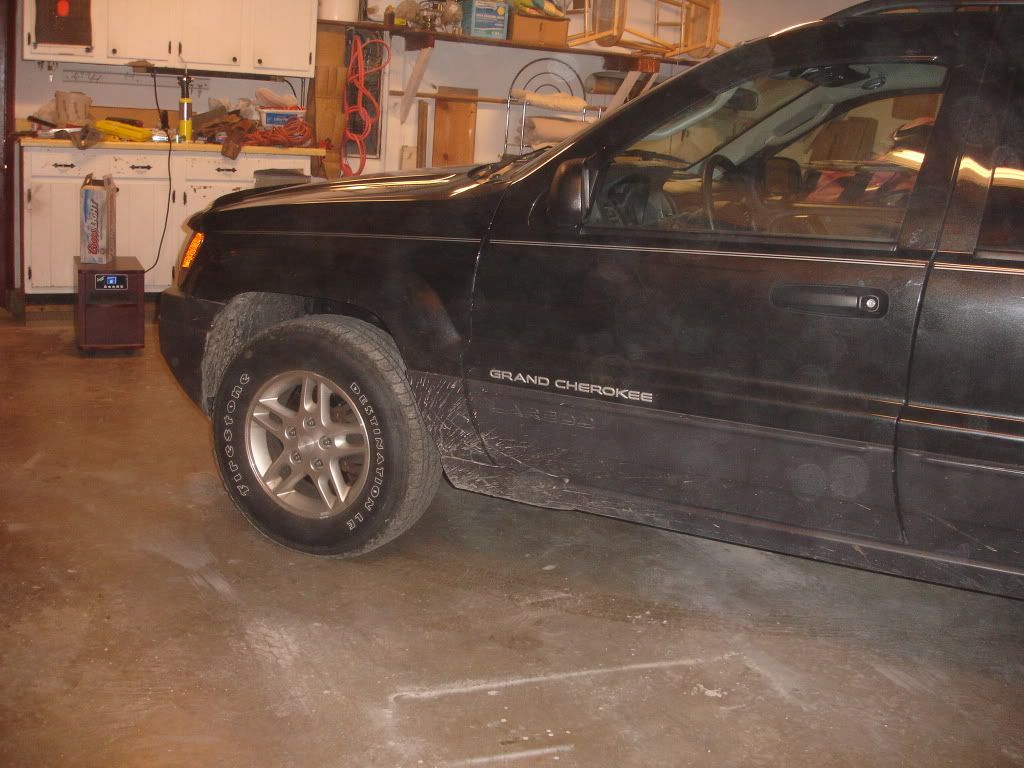
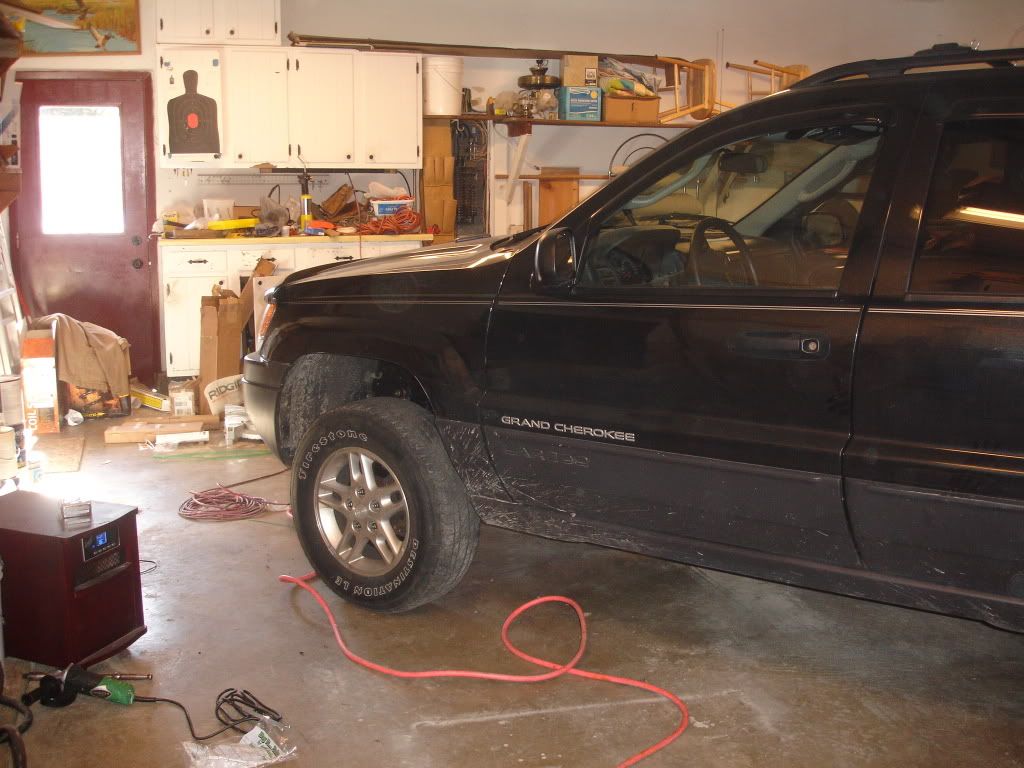
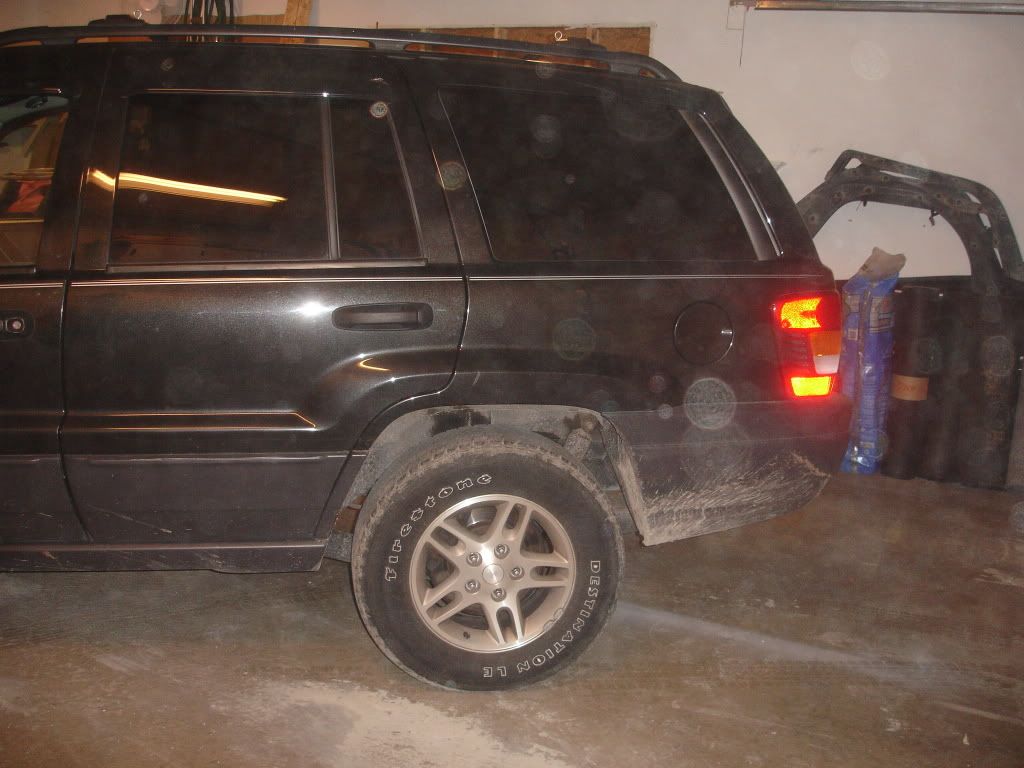
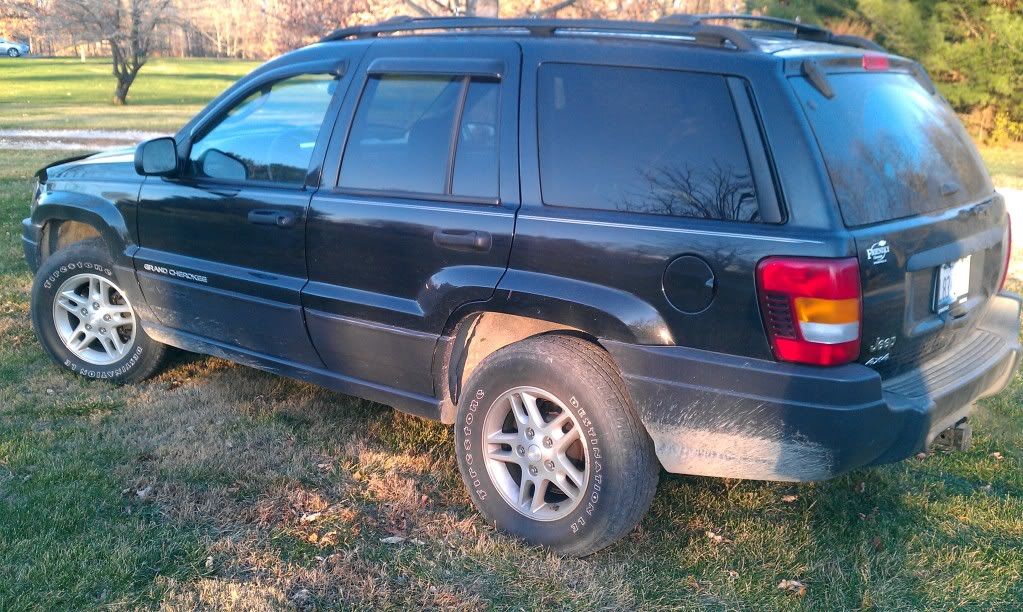
For a little back story, before I bought my WJ, I was a little unsure of what I wanted. I was debating on a small truck or SUV but hadn't fully decided. It was suggested to me that I look at the Grand Cherokees. So after test driving a couple, I ended up buying this:
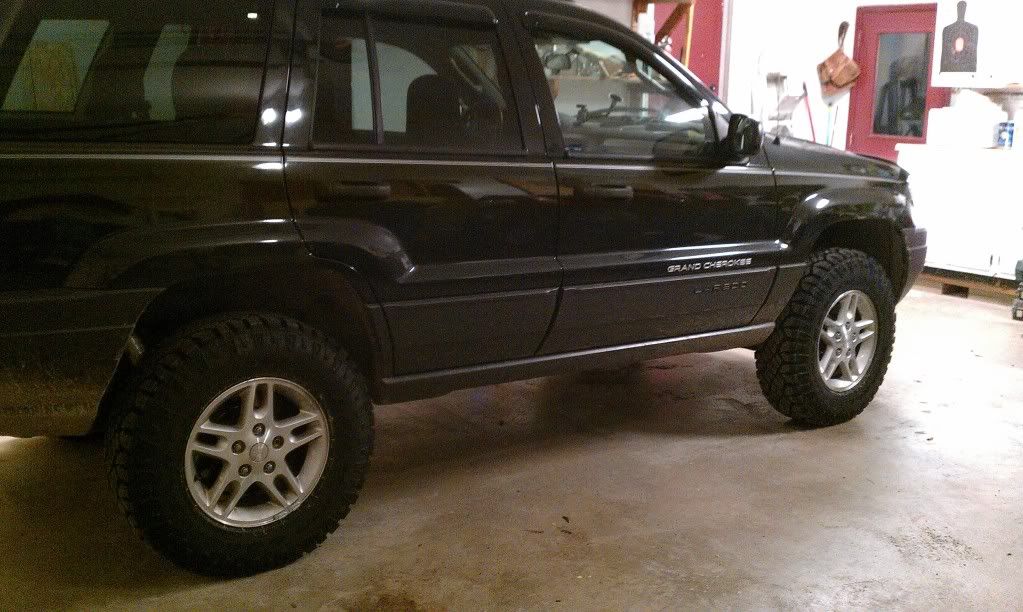
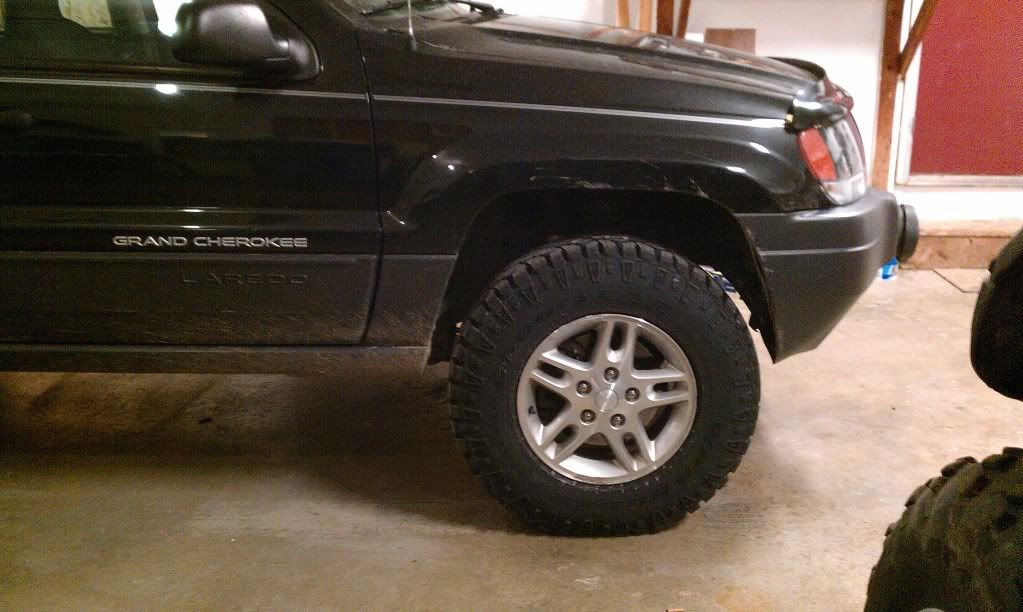
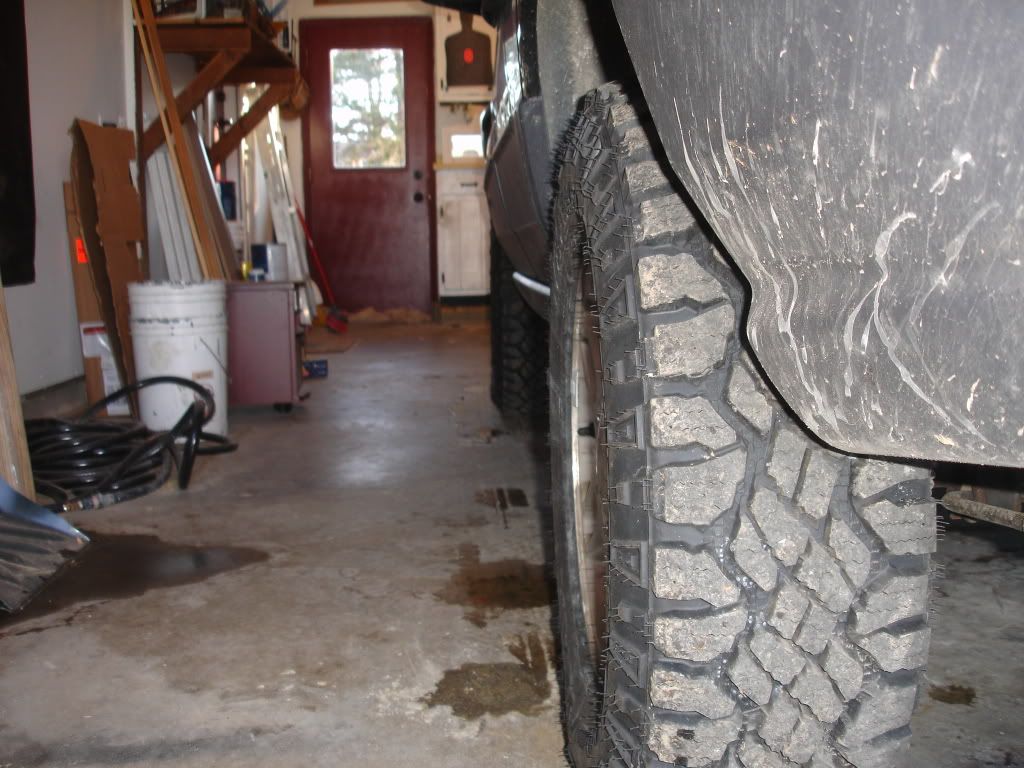
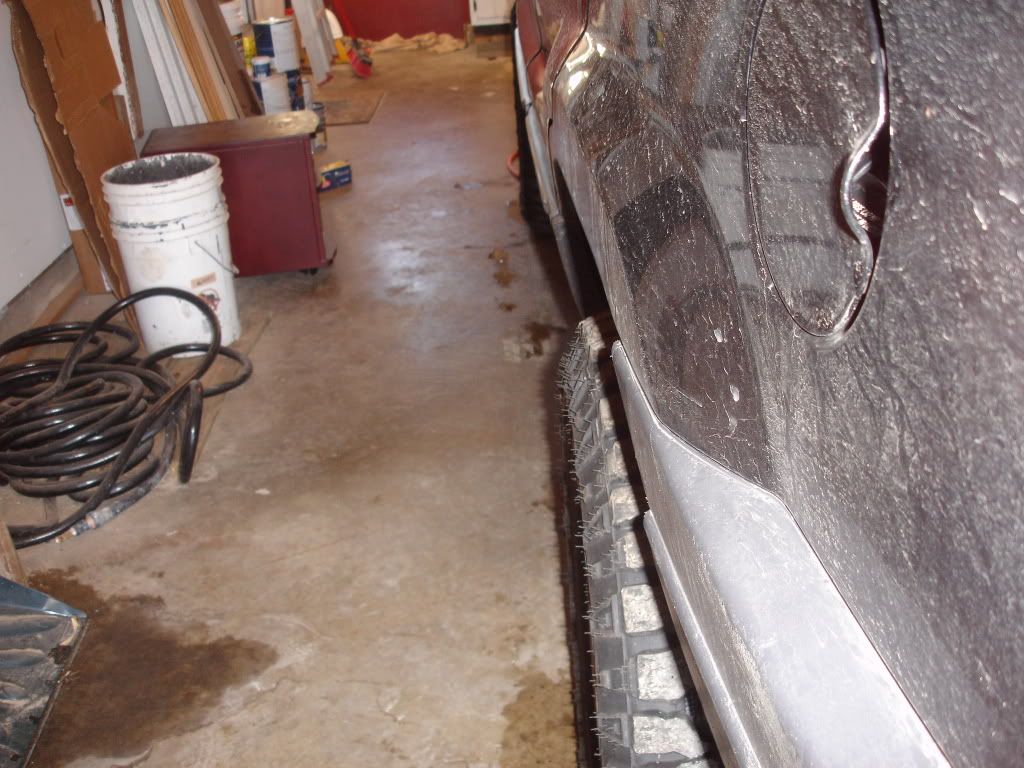
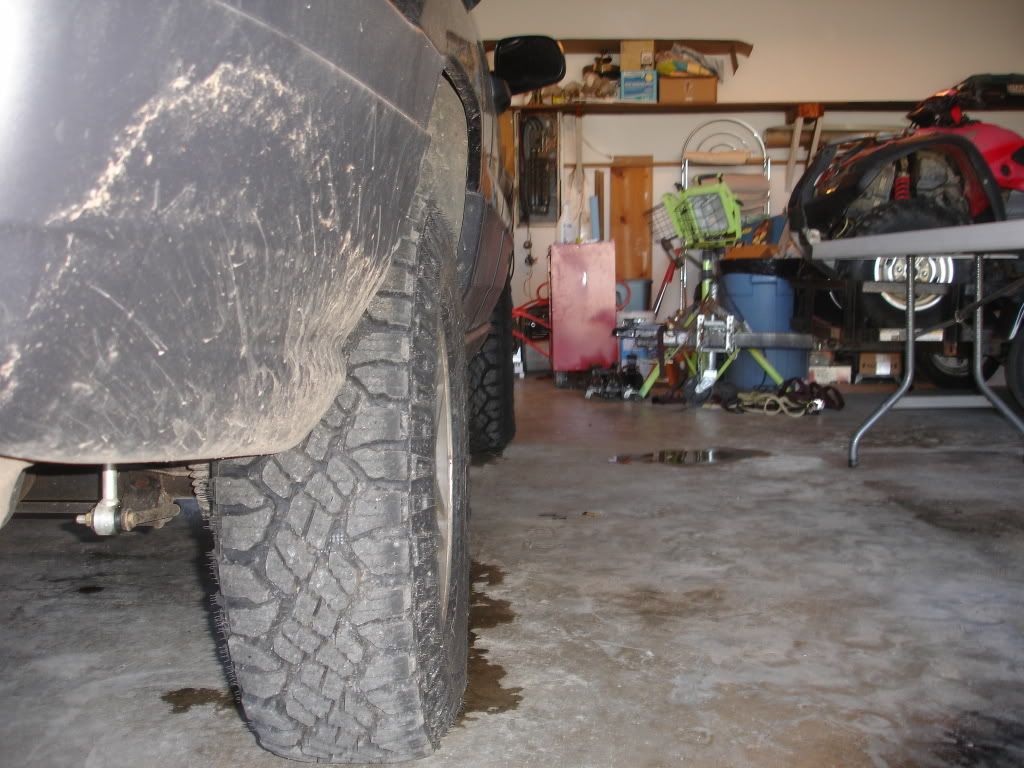
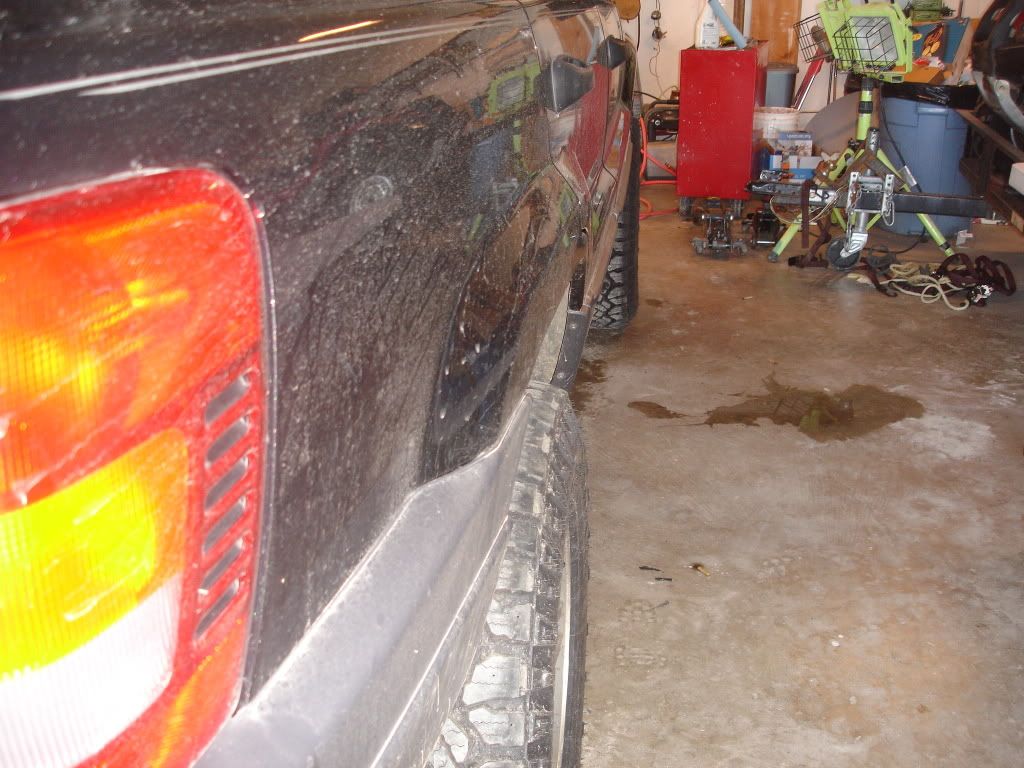
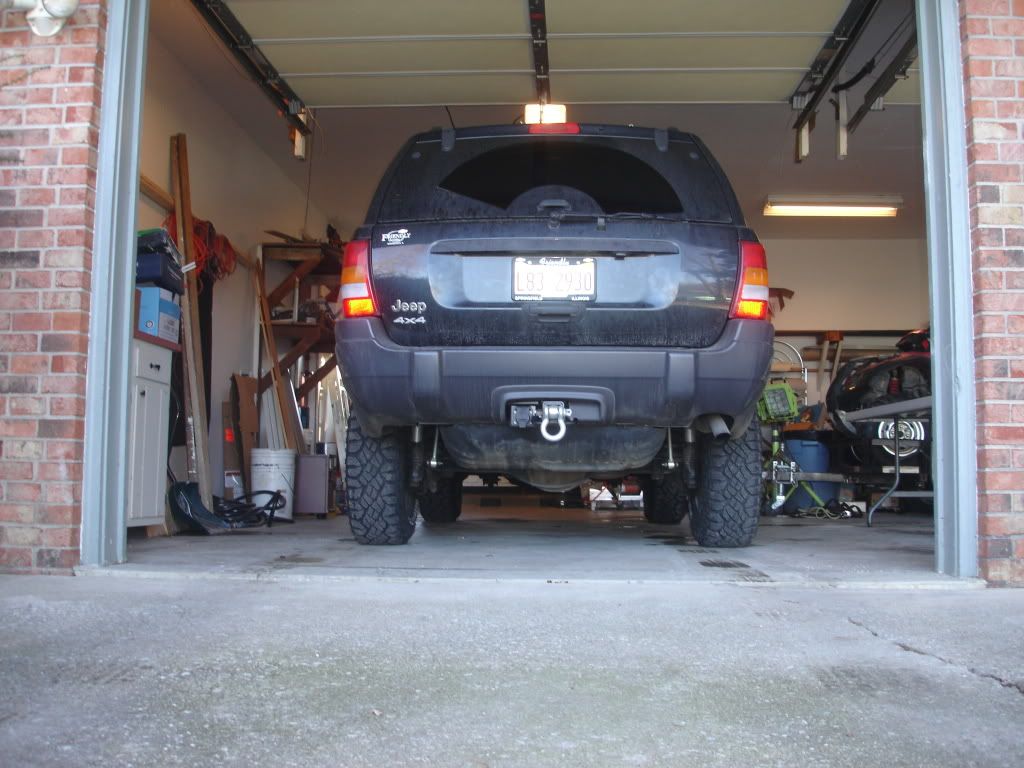
Black 2004 Jeep Grand Cherokee Laredo 4x4, Inline 6, Selec-Trac with about 81,000 miles.
(This is from this morning... Somehow I didn't have a picture of my money pit!)
![Image]()
Build Sheet:
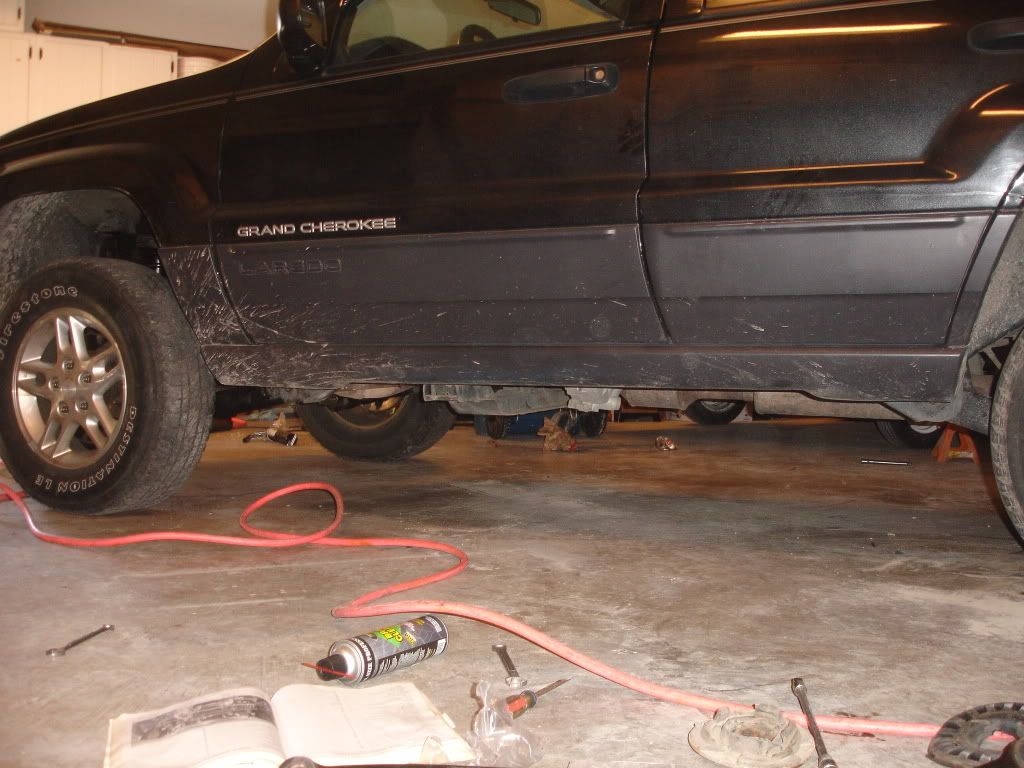
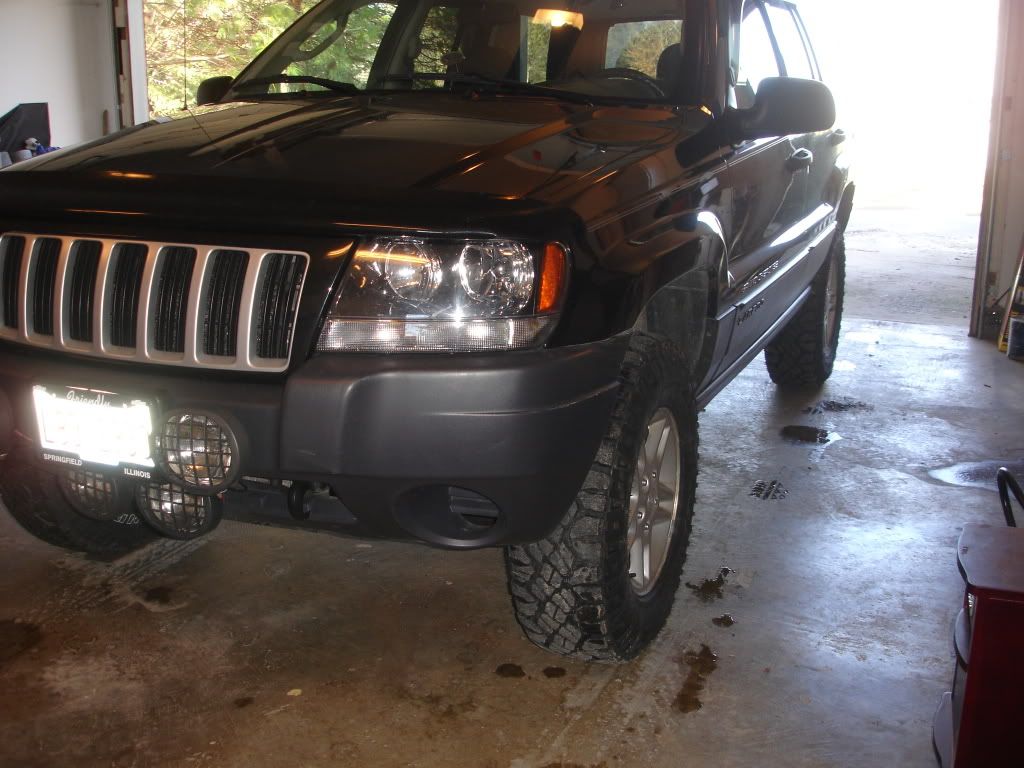
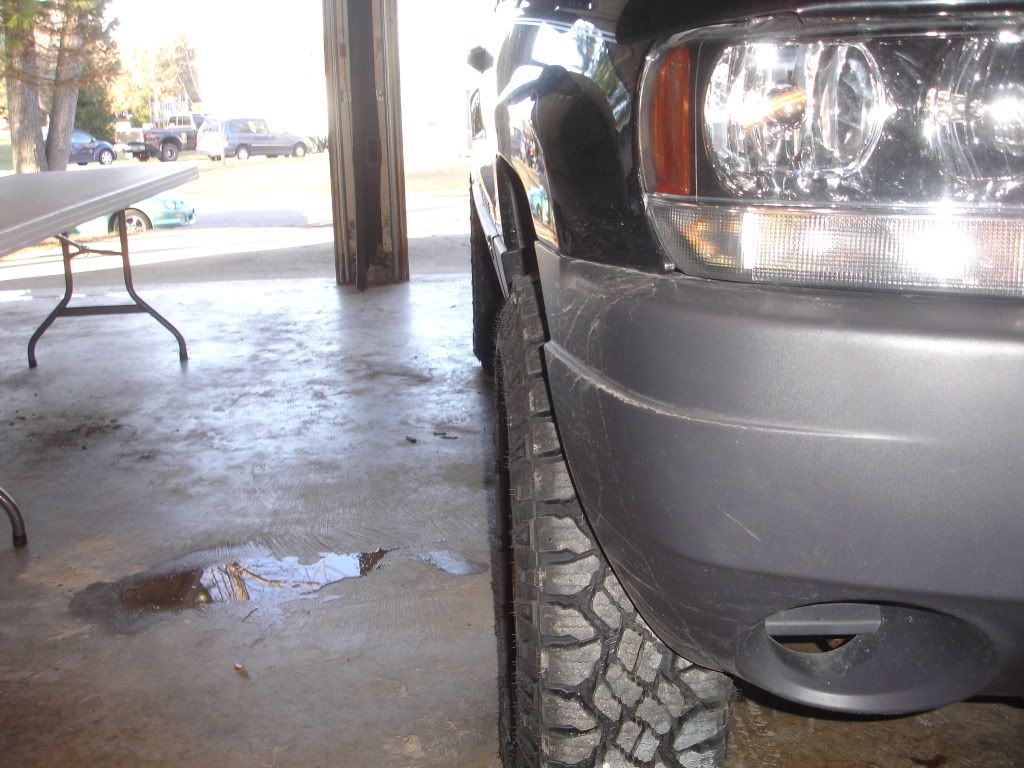
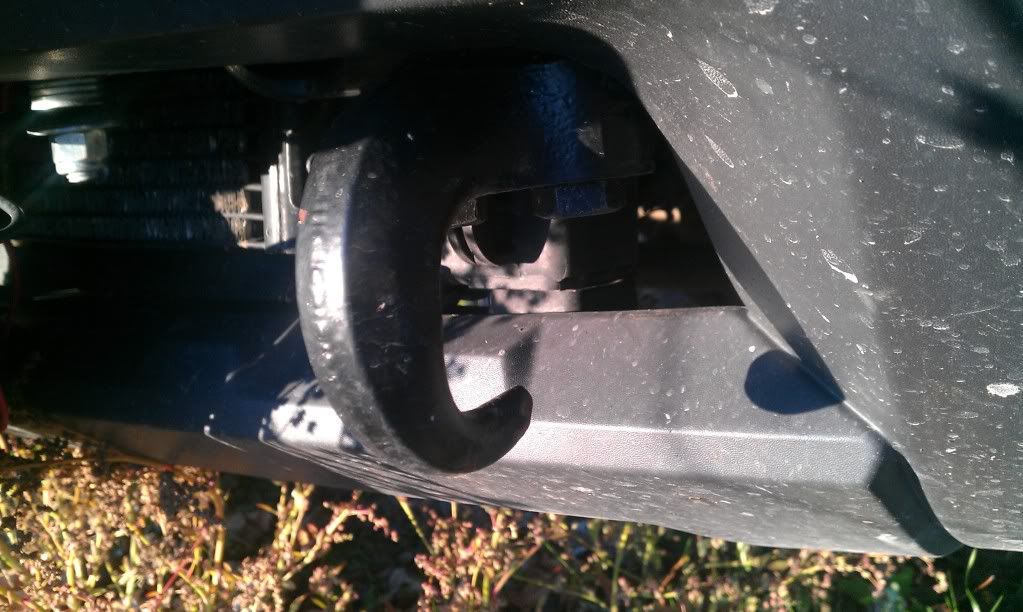
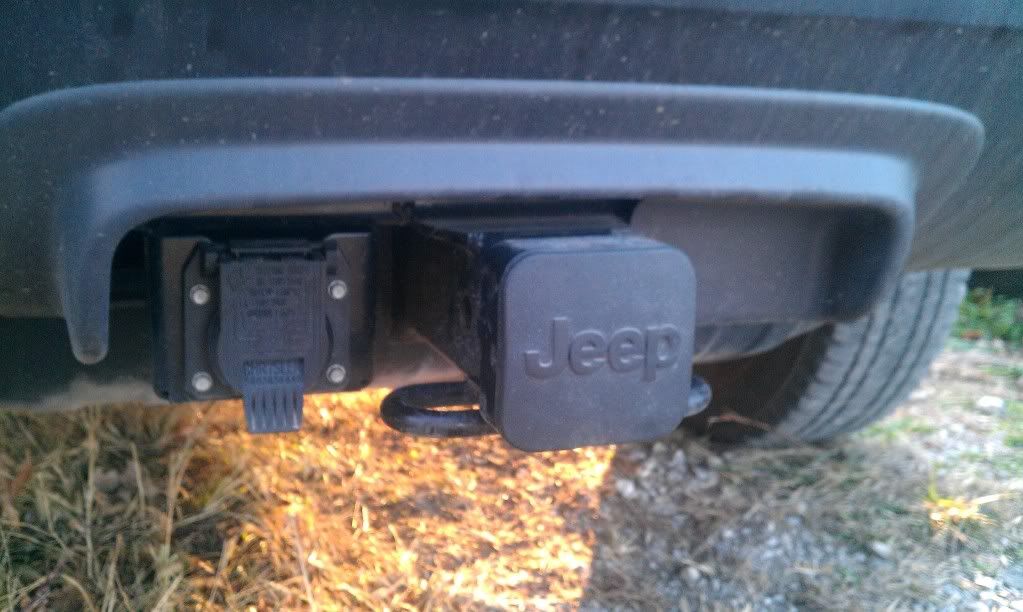
After a little while, I started tinkering. I installed Mopar tow hooks and a hitch.
Factory tow hook installed:
![Image]()
My rendition of a proper factory hitch install:
![Image]()
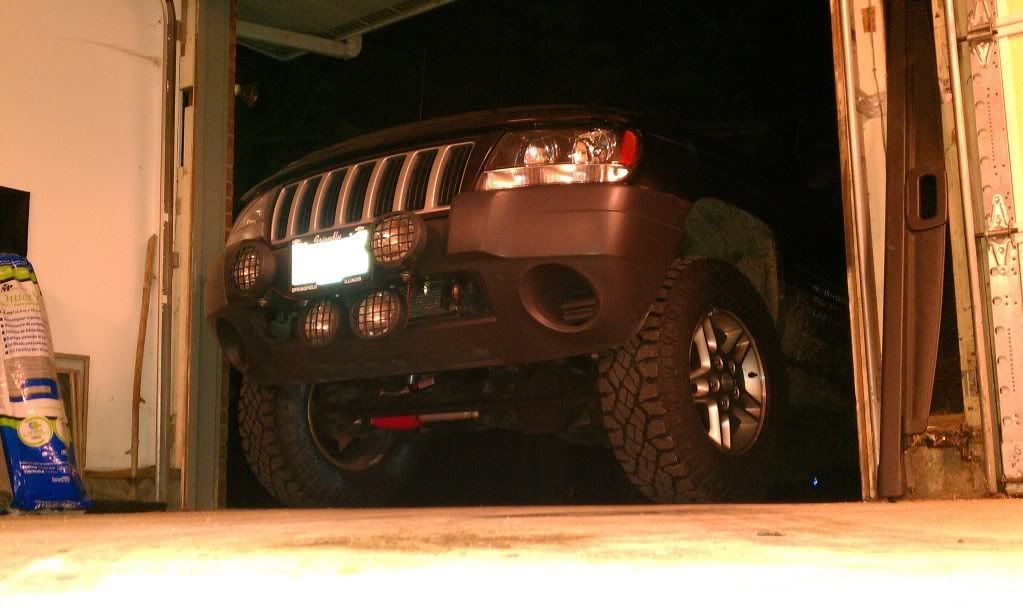
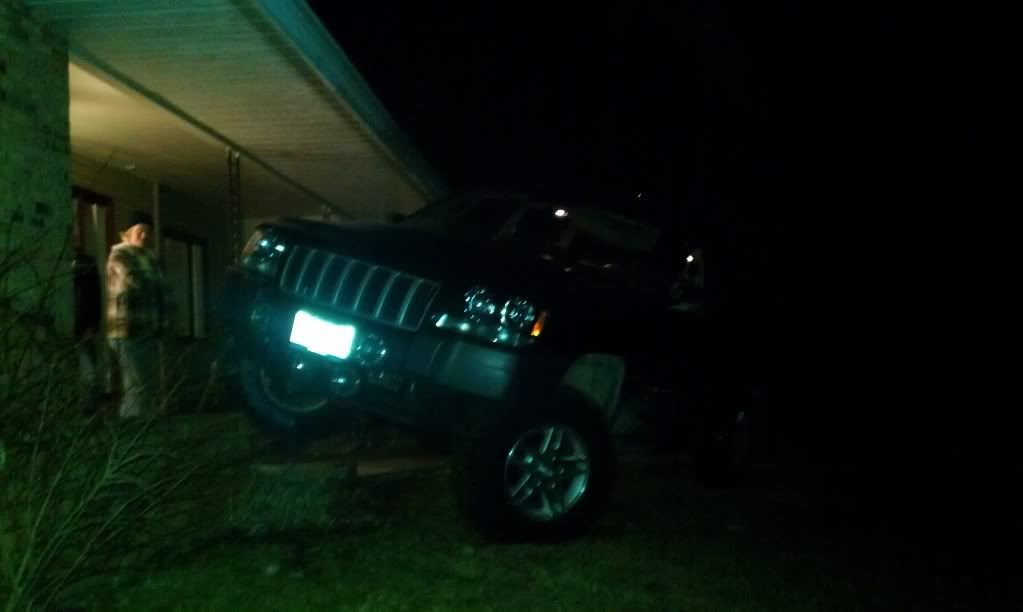
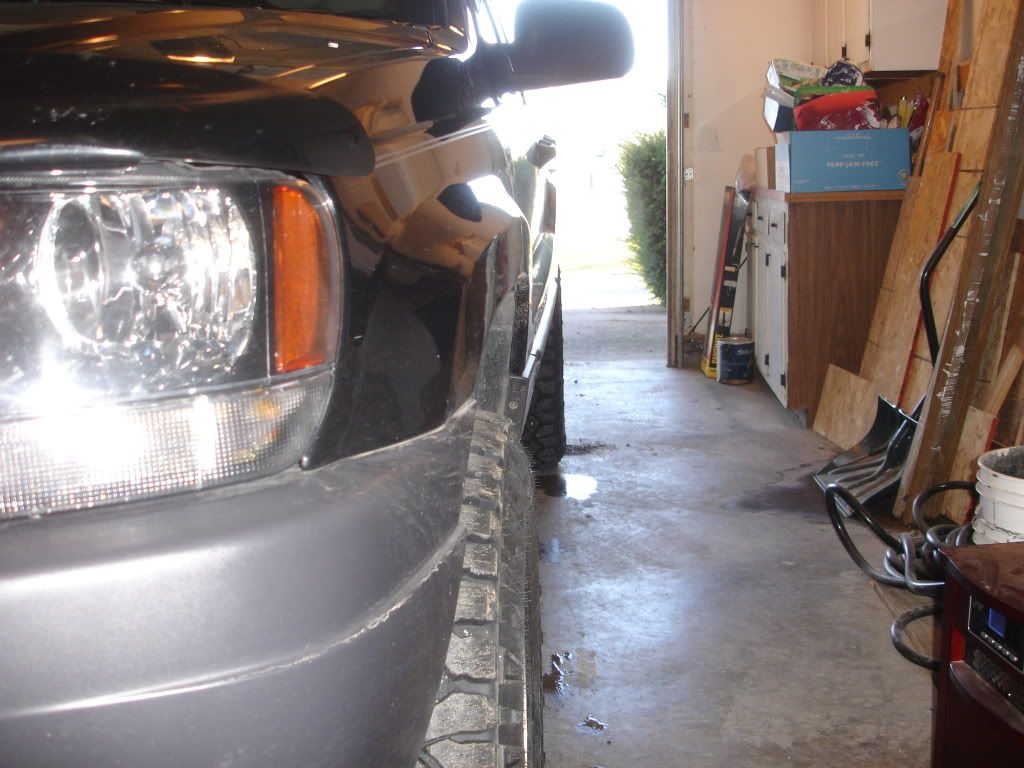
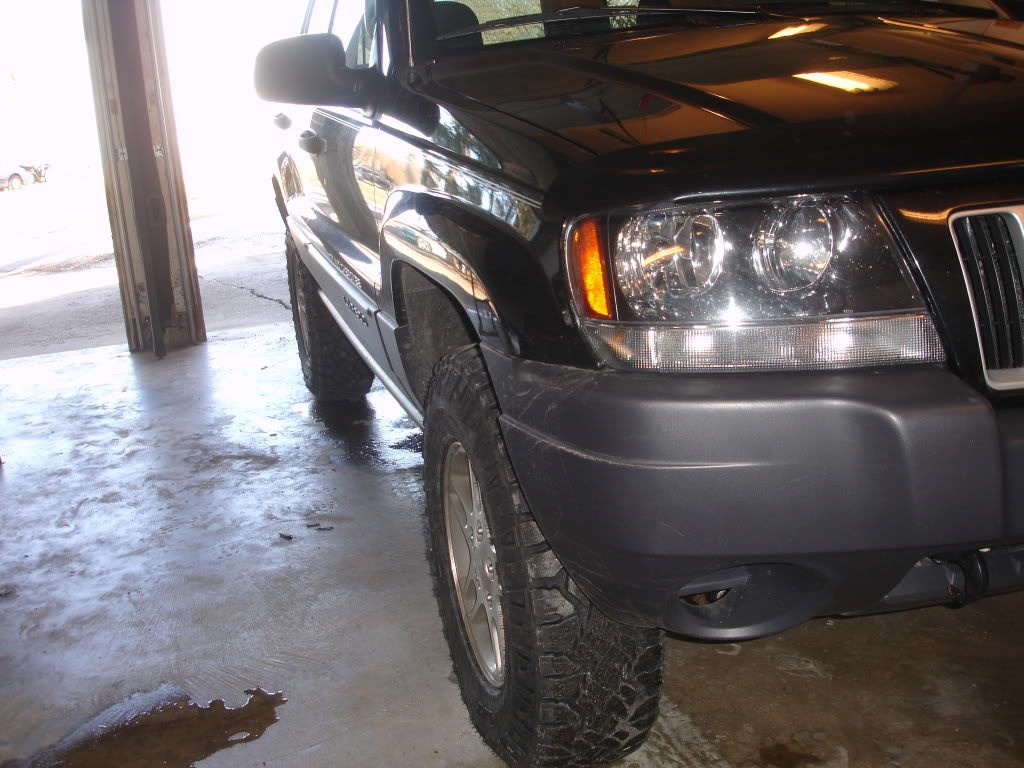
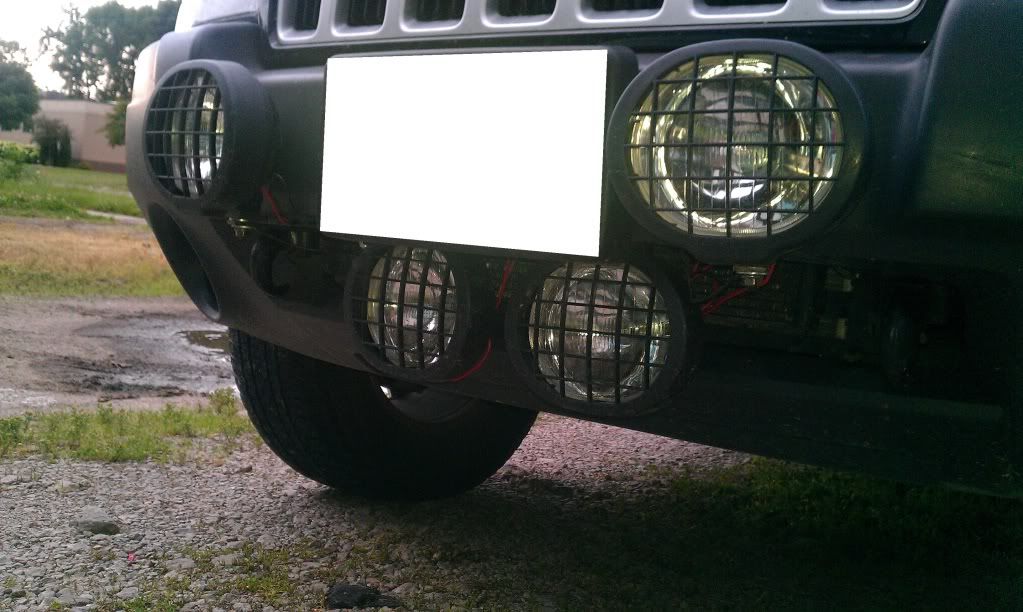
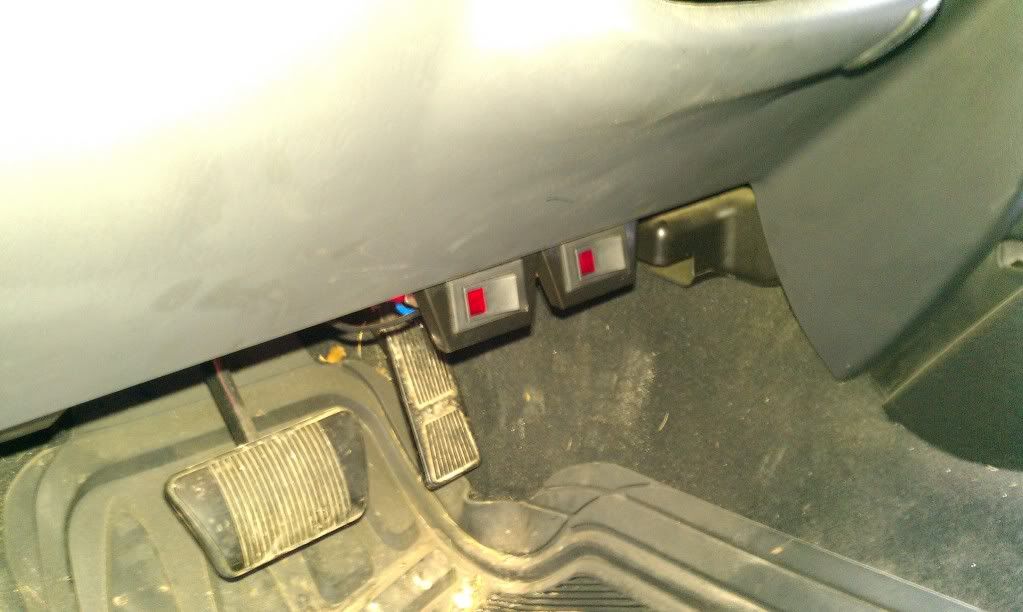
Then I grabbed a couple sets of the off road light's from Harbor Freight and made a light bar utilizing the mounting points for the tow hooks:
![Image]()
![Image]()
![Image]()
Here is a little write up on it if you are interested:
04 Grand Cherokee Off Road Light Install
Overall, I like these lights, especially for the price. They are quite bright and are also sturdy where I have them mounted. I will say, though, that they are more of a spot light as opposed to a flood light. Also, where they are now, there is a good possibility of them getting smashed or broken off while off roading. I will probably move them in the future but I am pleased with how it is set up currently. They are really nice for seeing deer, etc. while driving down country roads.
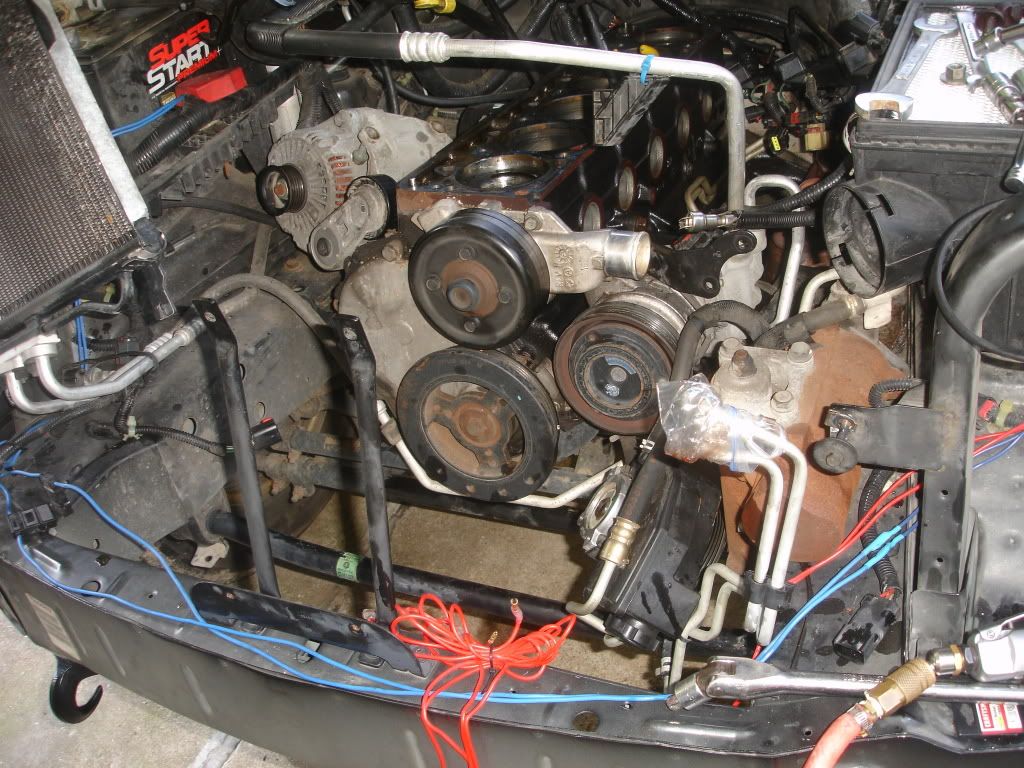
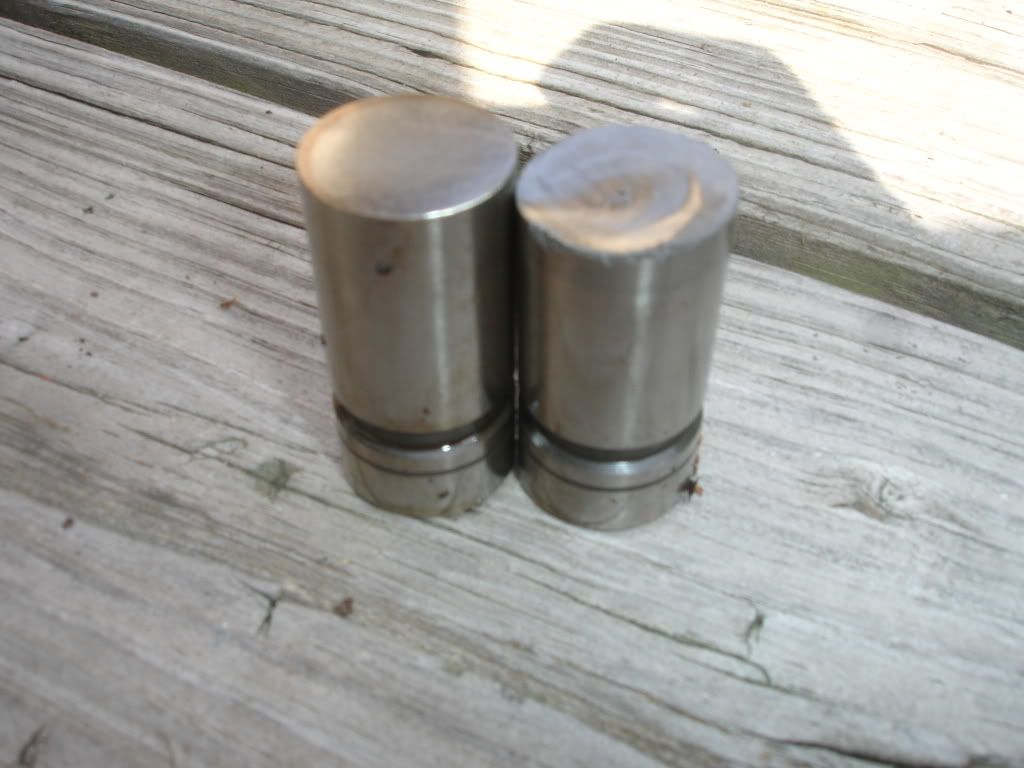
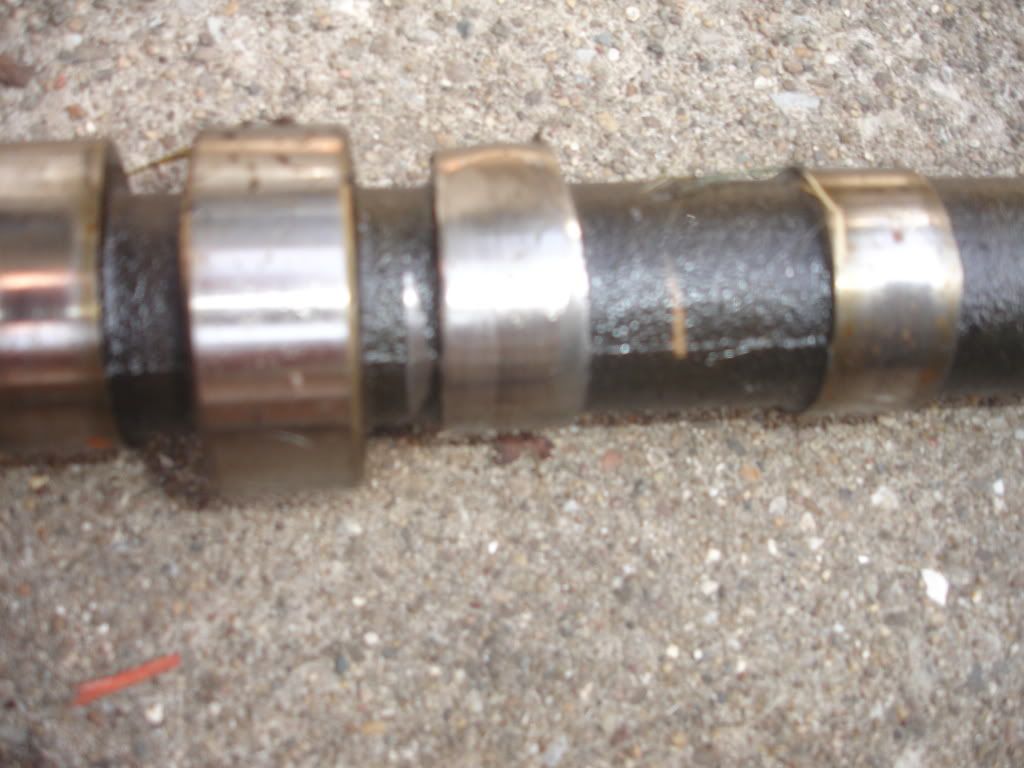
Less than a month later, on the way to a bachelor party, my jeep became ill with a misfire code for Cylinder 5. Turns out, the lifter wore down and ground into the camshaft. Here are some highlights of the camshaft and lifter install:
![Image]()
![Image]()
![Image]()
And here is the write up of the whole process:
2004 4.0 I6 Jeep Grand Cherokee Camshaft, Timing Set, and Lifter Replacement
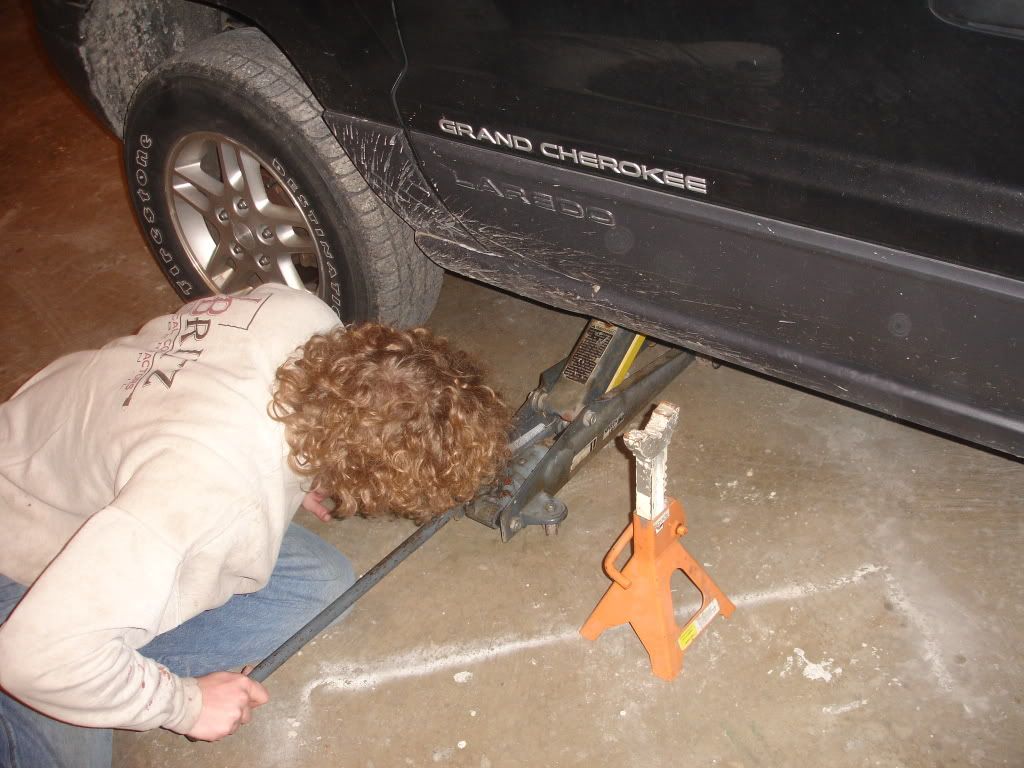
Since then, I've put in a new TPS, cleaned the Throttle Body and IAC, threw on a new gas cap in hopes of fixing my EVAP leak (no luck, looks like I've got some work to do!), replaced the water pump and thermostat, flushed the cooling system and refilled with the good stuff, Zerex G-05. I also found out that the Transmission Rear Output Shaft Seal and all 4 shocks were replaced at 67k and the Transfer Case was replaced at 80k. So basically, most of the vehicle can be considered 'new' now! Haha.
I am in the process of replacing the battery terminals to Marine Style. I have the neg side finished but unfortunately grabbed the wrong ends to finish the positive side. Pics to come.
Edit: Finished Marine Style Battery Terminals/Battery Cable Lug Install
OK, so the reason why I started the build thread...
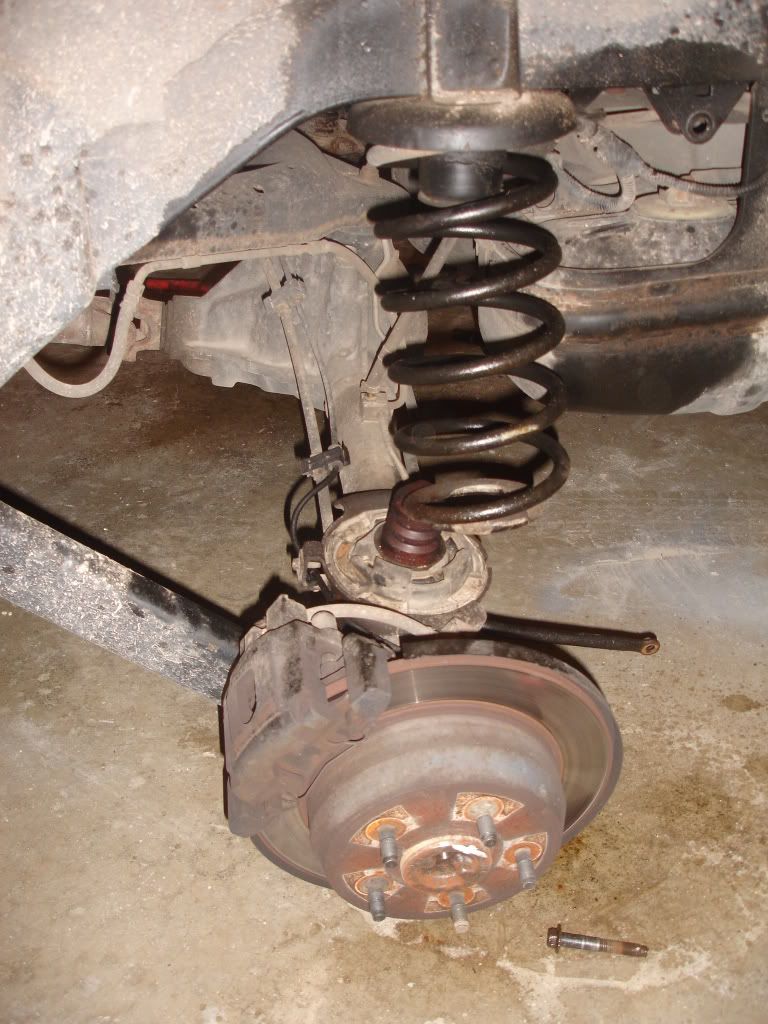
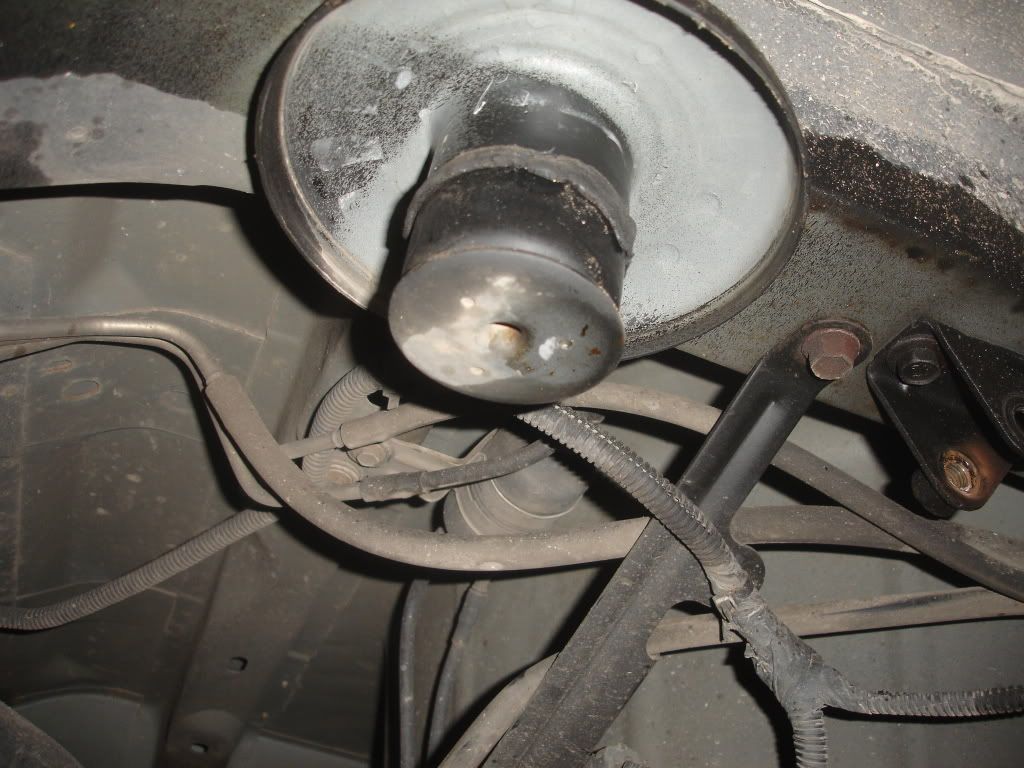
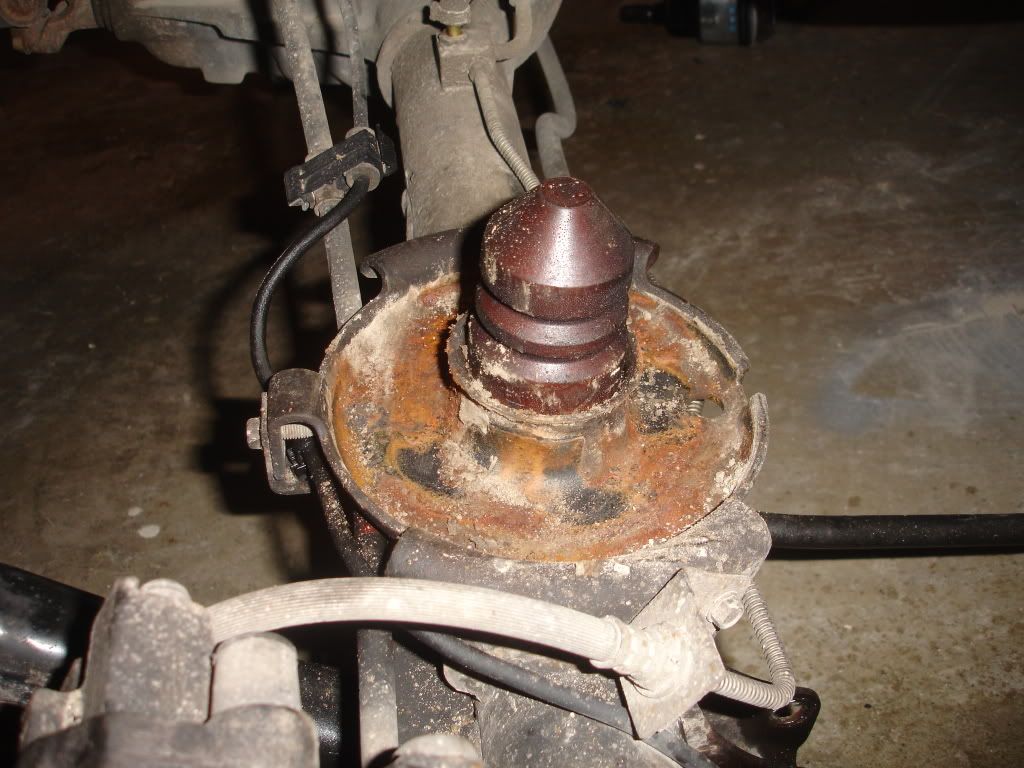
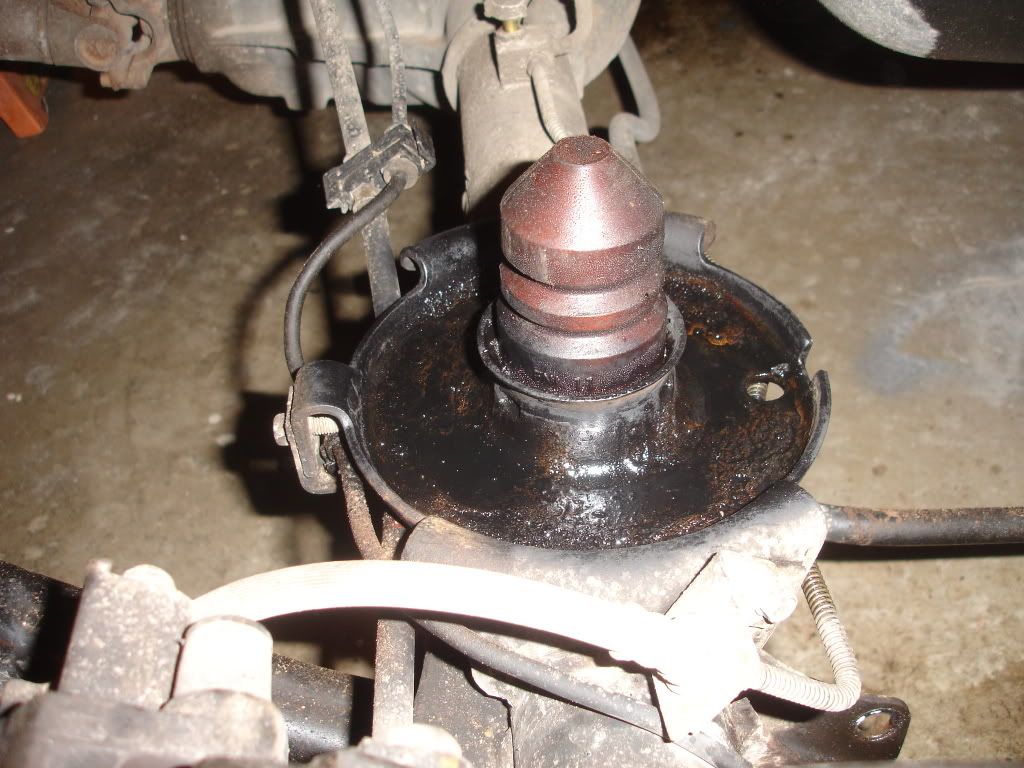
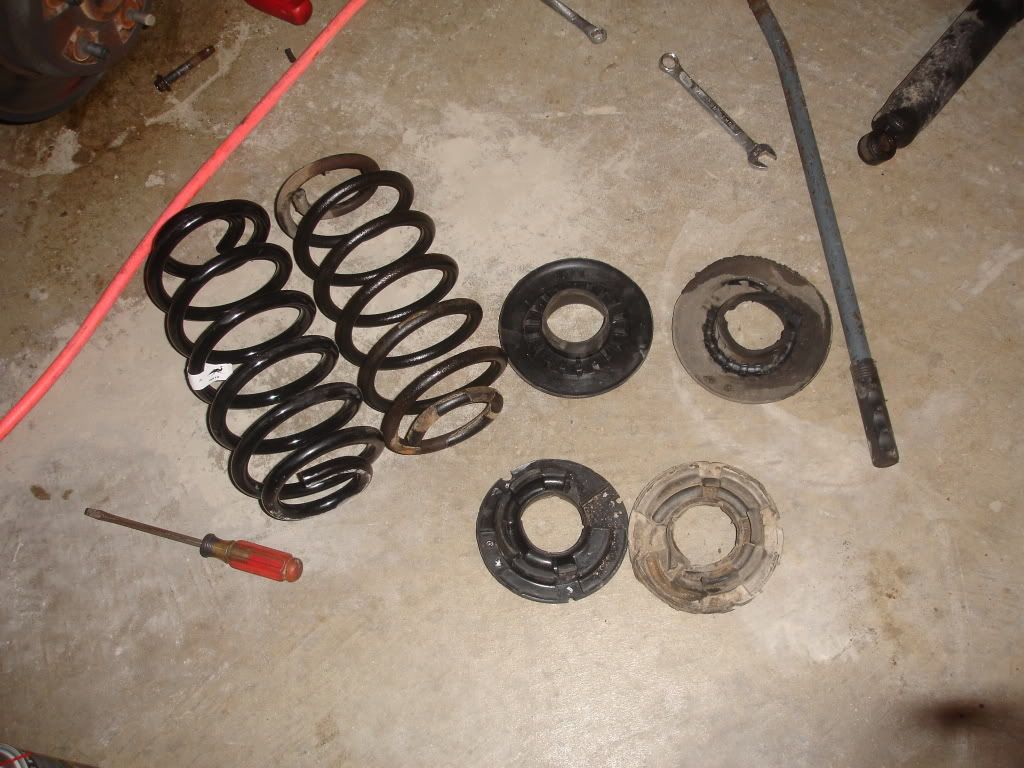
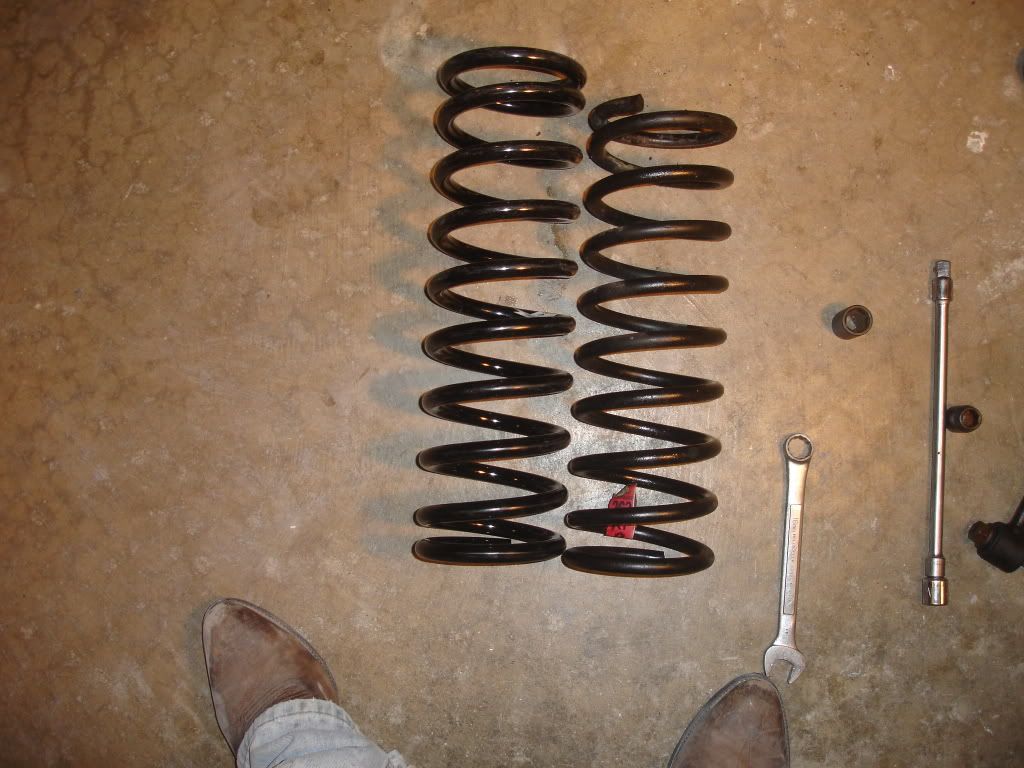
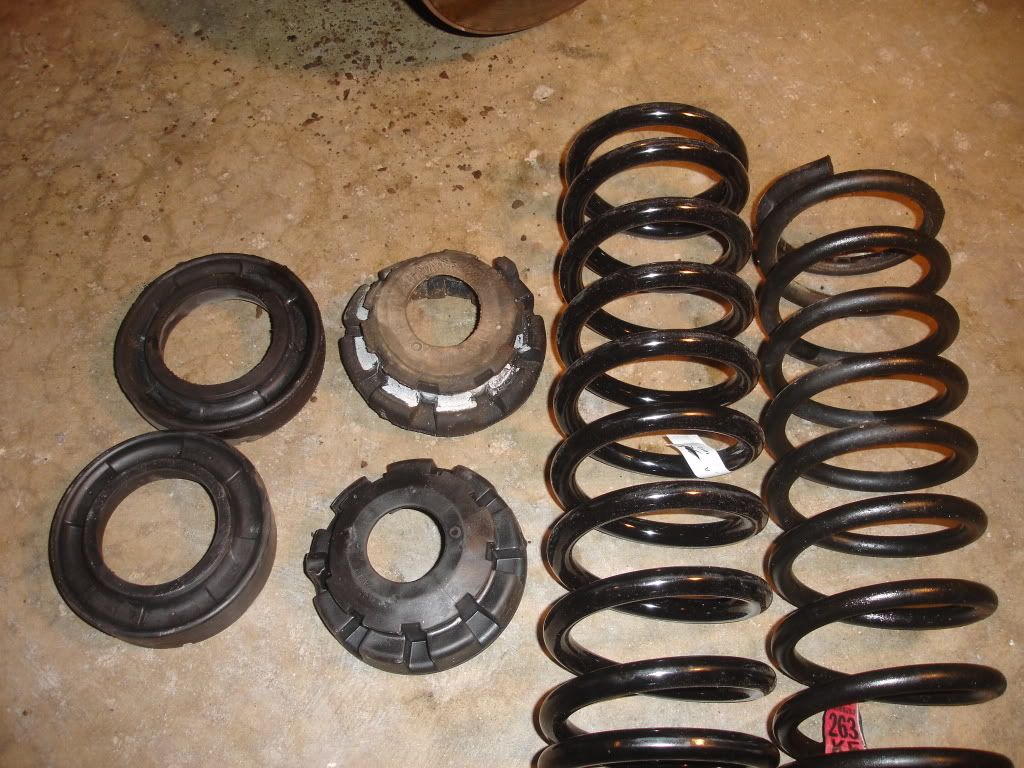
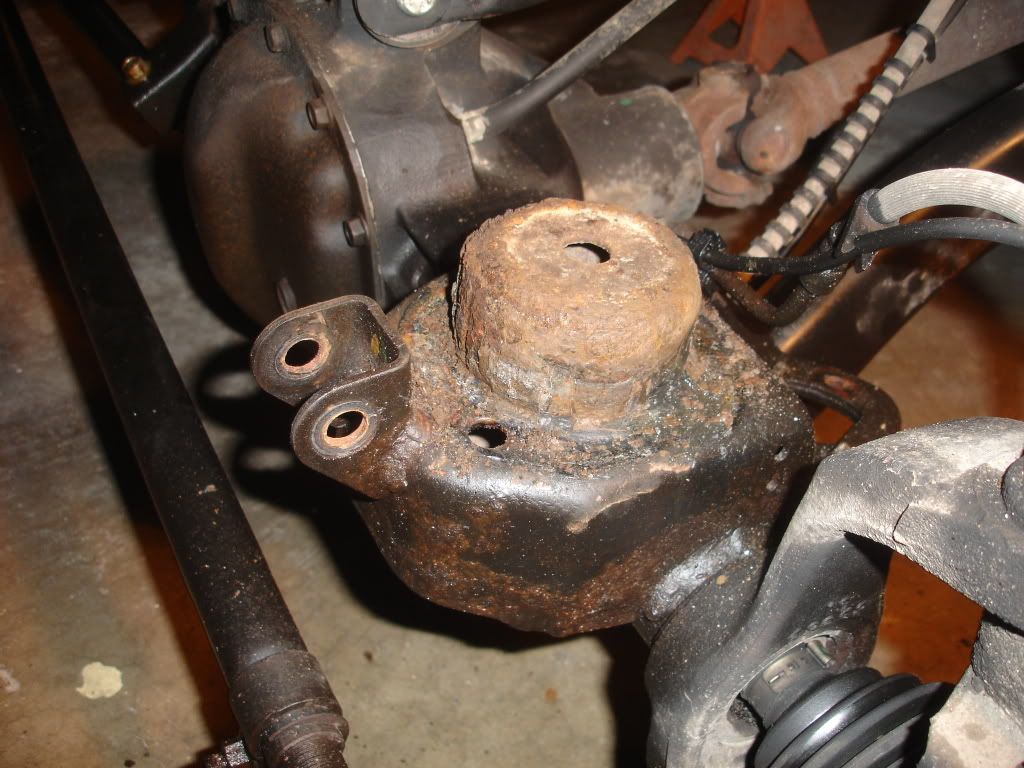
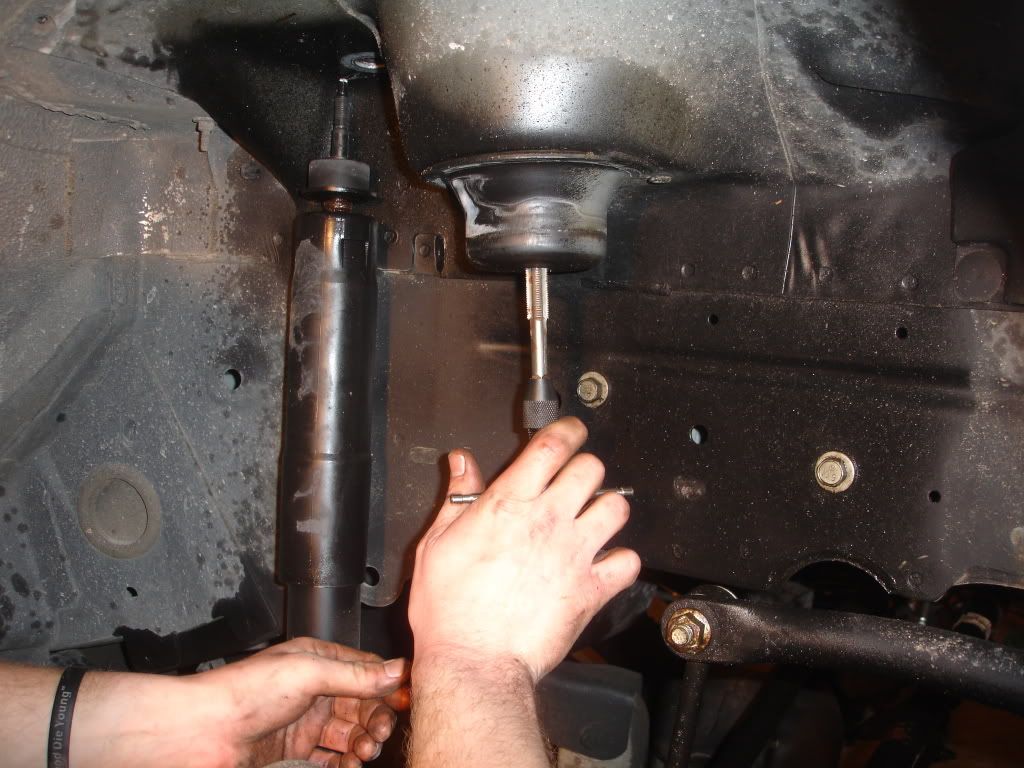
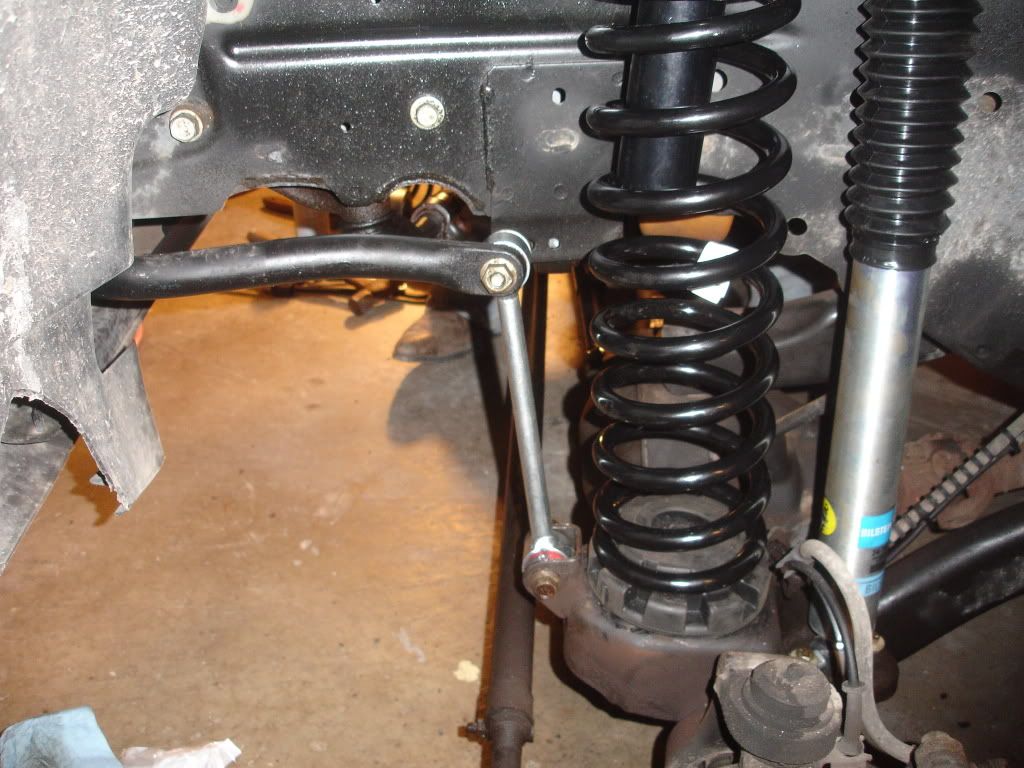
I've decided to lift the WJ! I talked to Kolak last weekend and ordered:
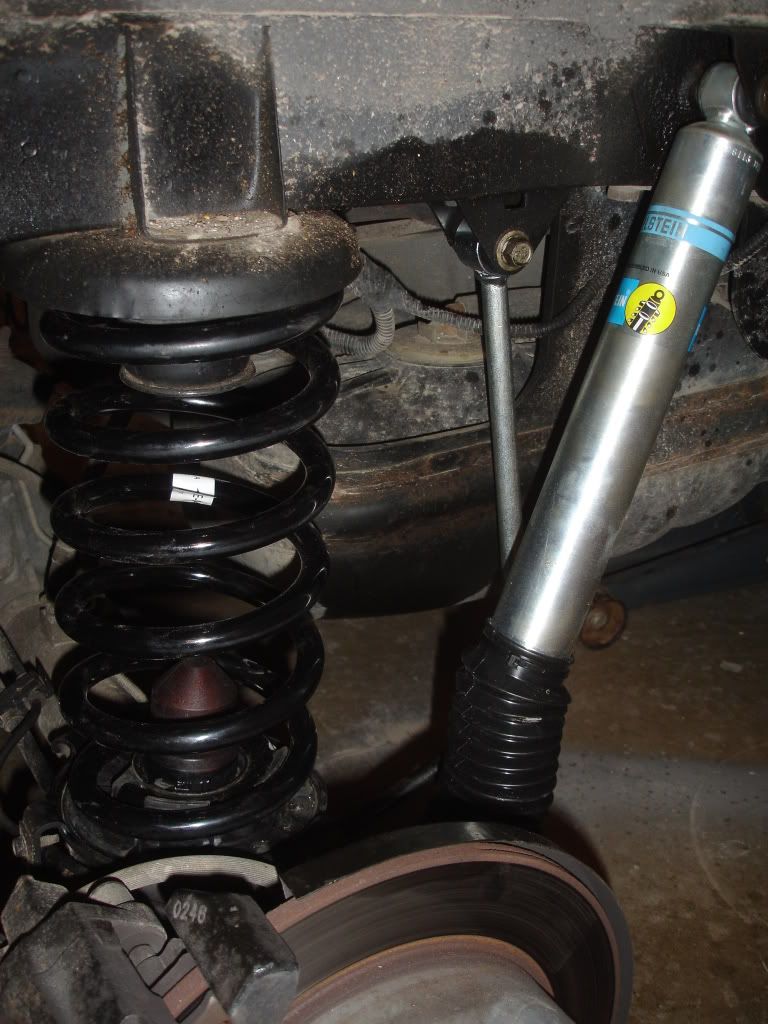
OME HD Springs
Bilstein 5100's
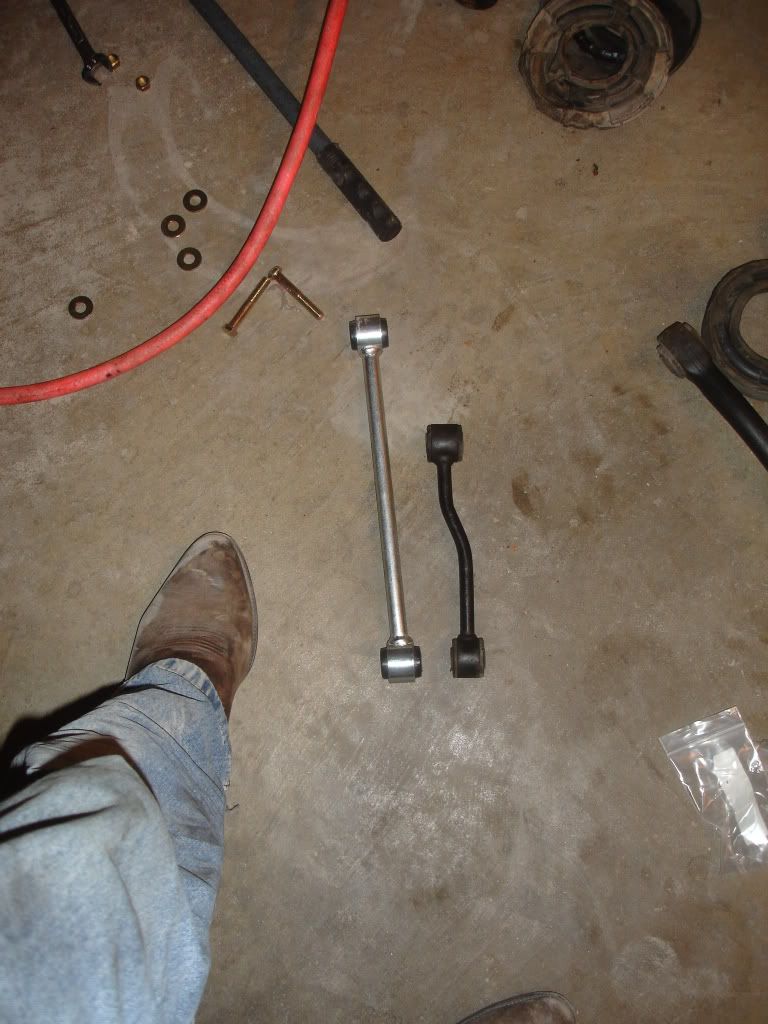
JKS Front Adjustable Trackbar
Rancho HD Steering Stabilizer
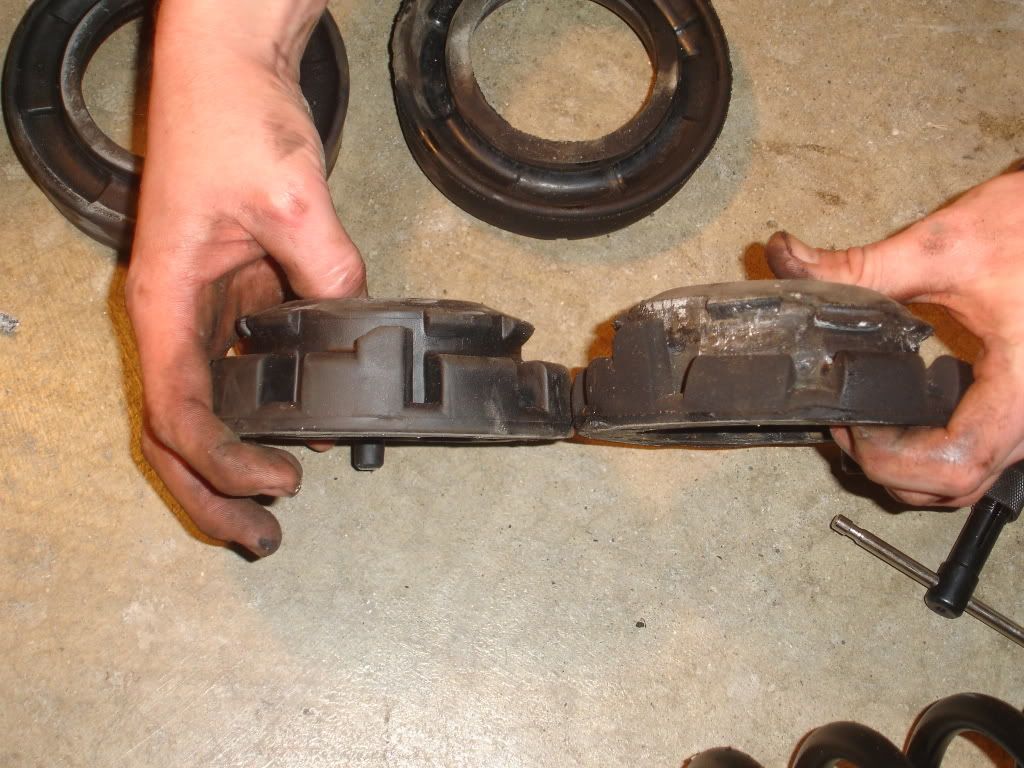
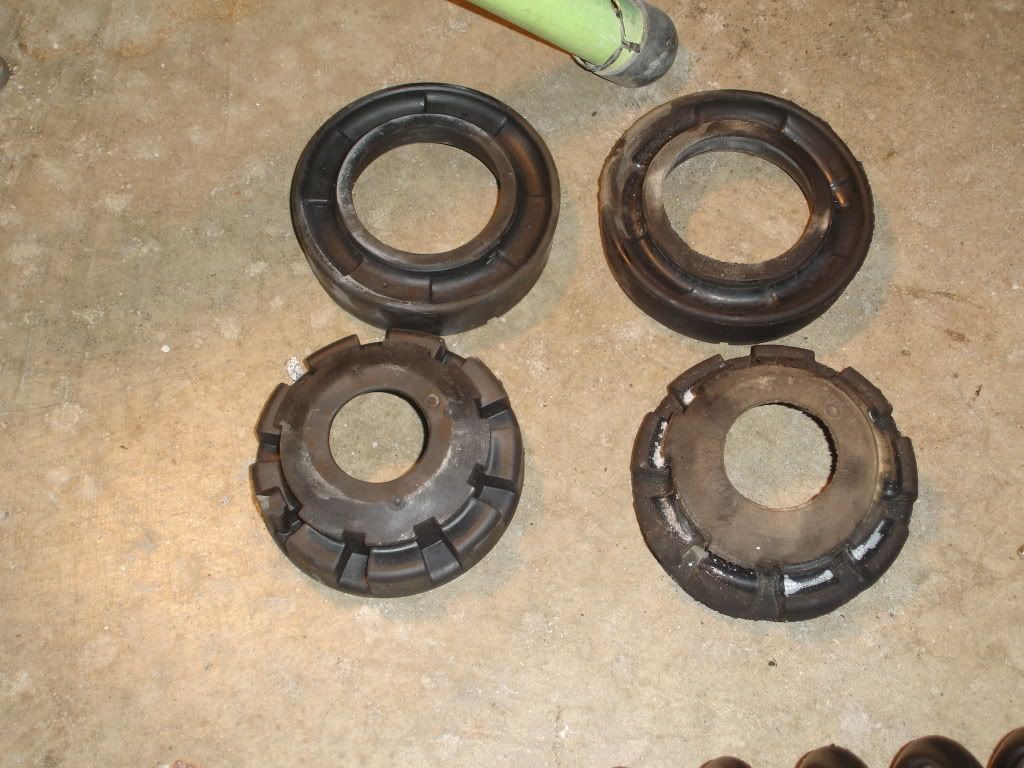
Spring Isolators
I will be taking pictures of the progress along the way and figured, what better place to show these pics/progress than here!
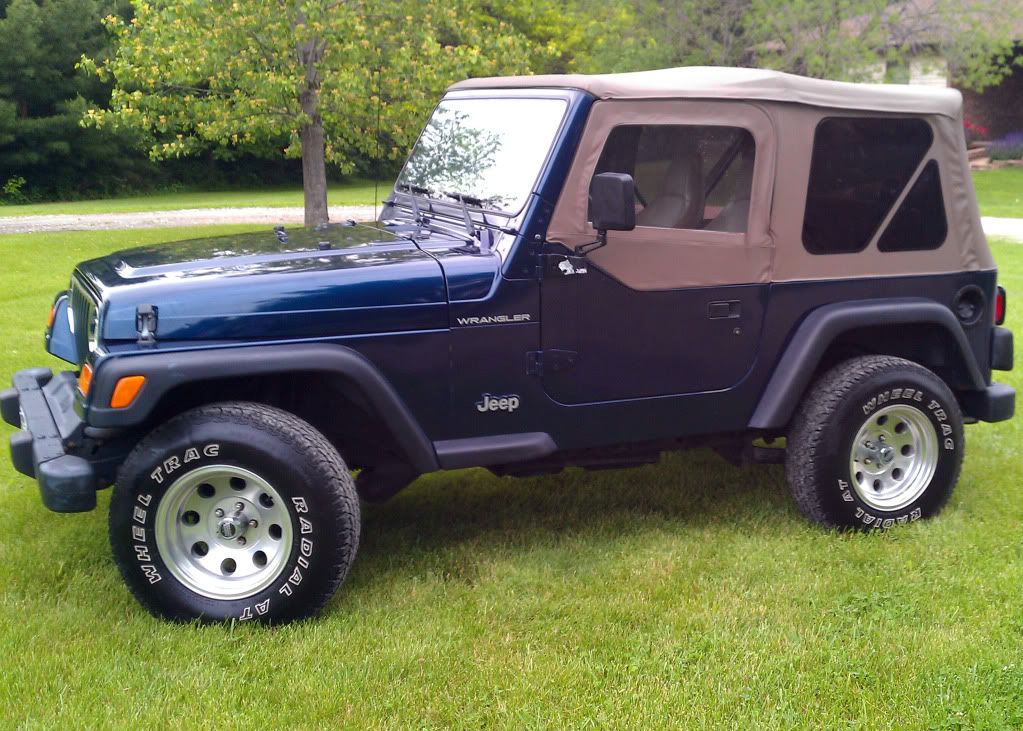
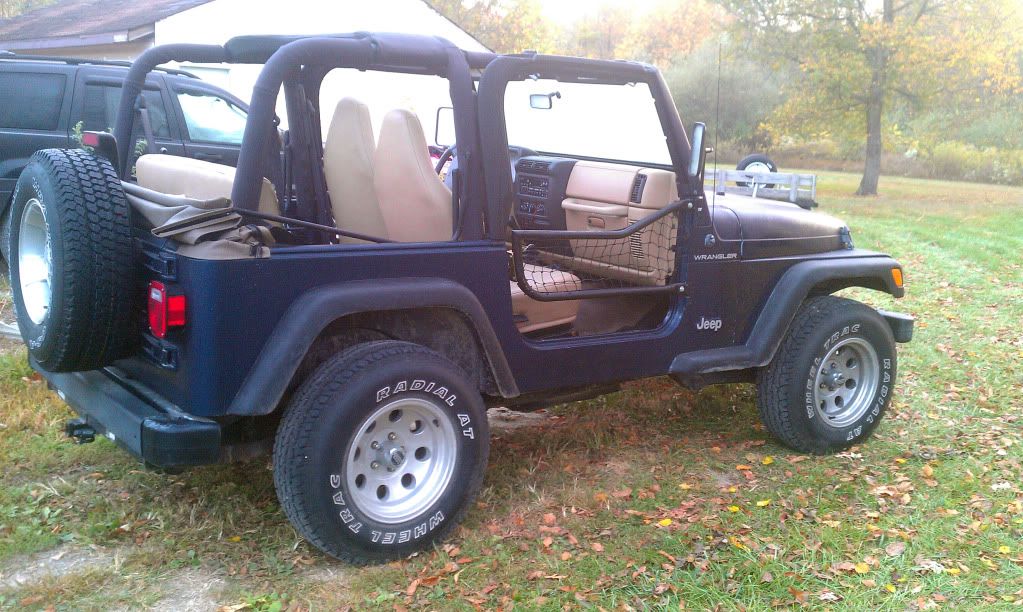
Also, though this is a WJ build thread and will stay that way, occasionally I'll be throwing pictures on here of this:
Clean
![Image]()
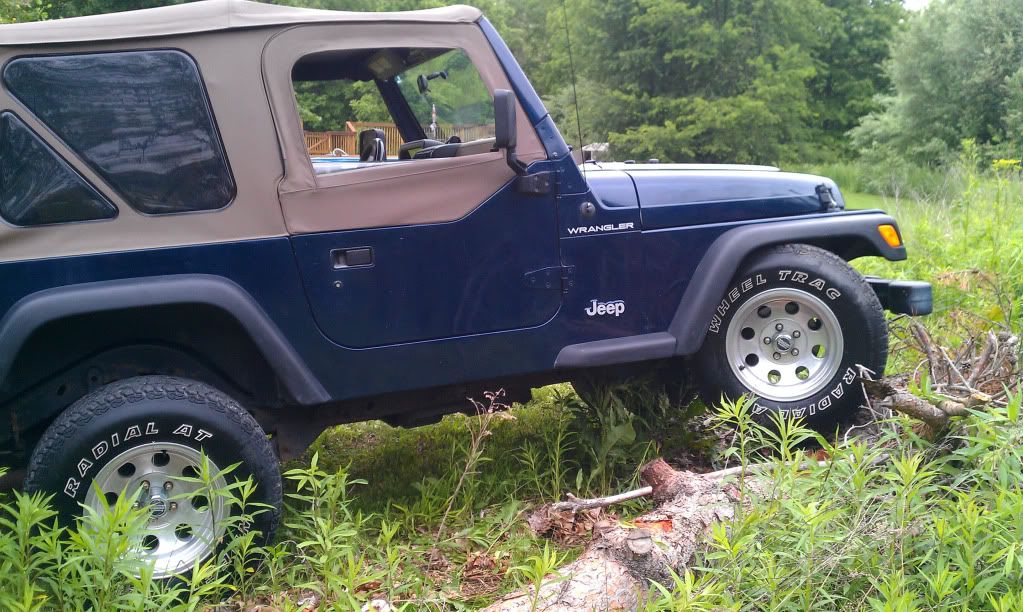
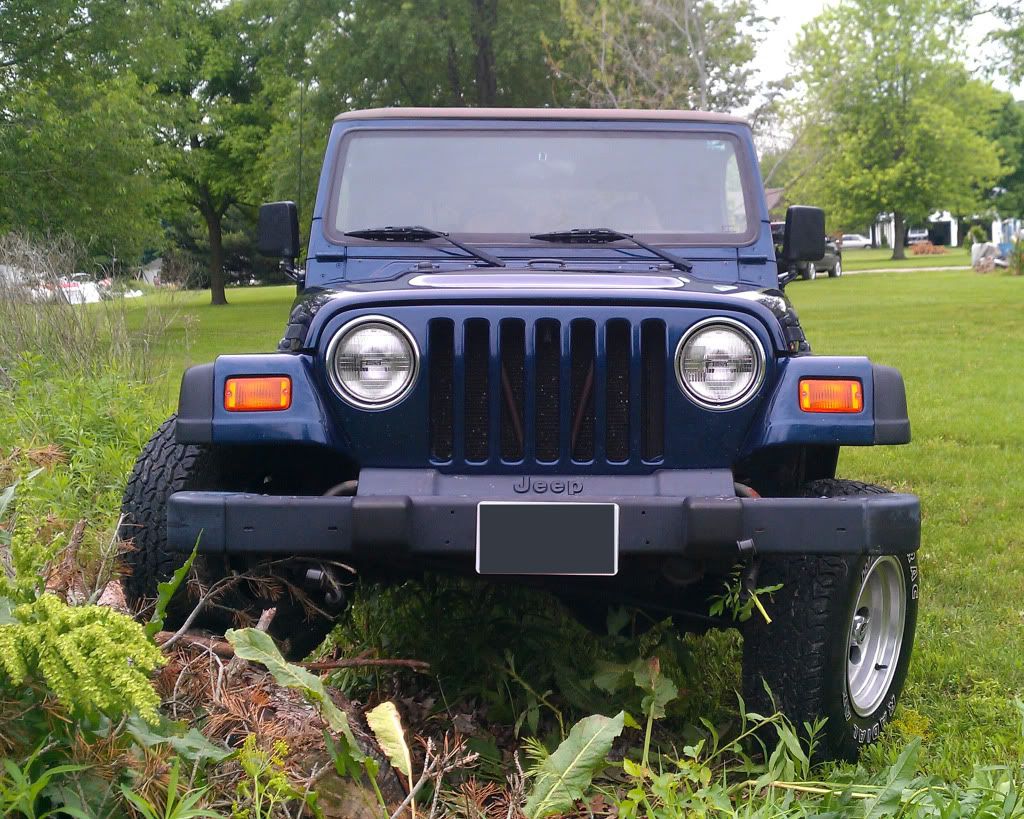
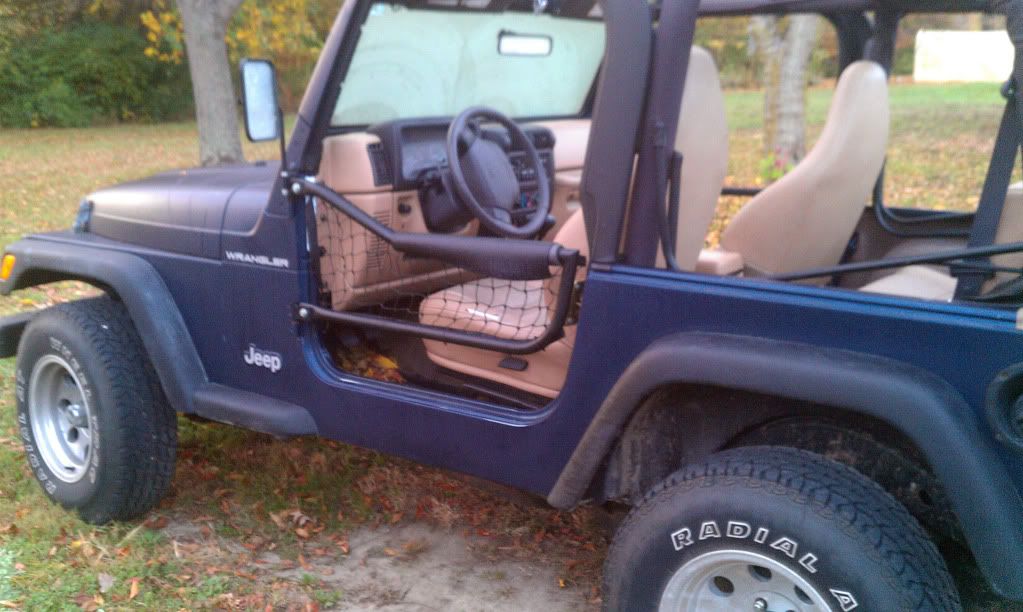
Disco'd
![Image]()
![Image]()
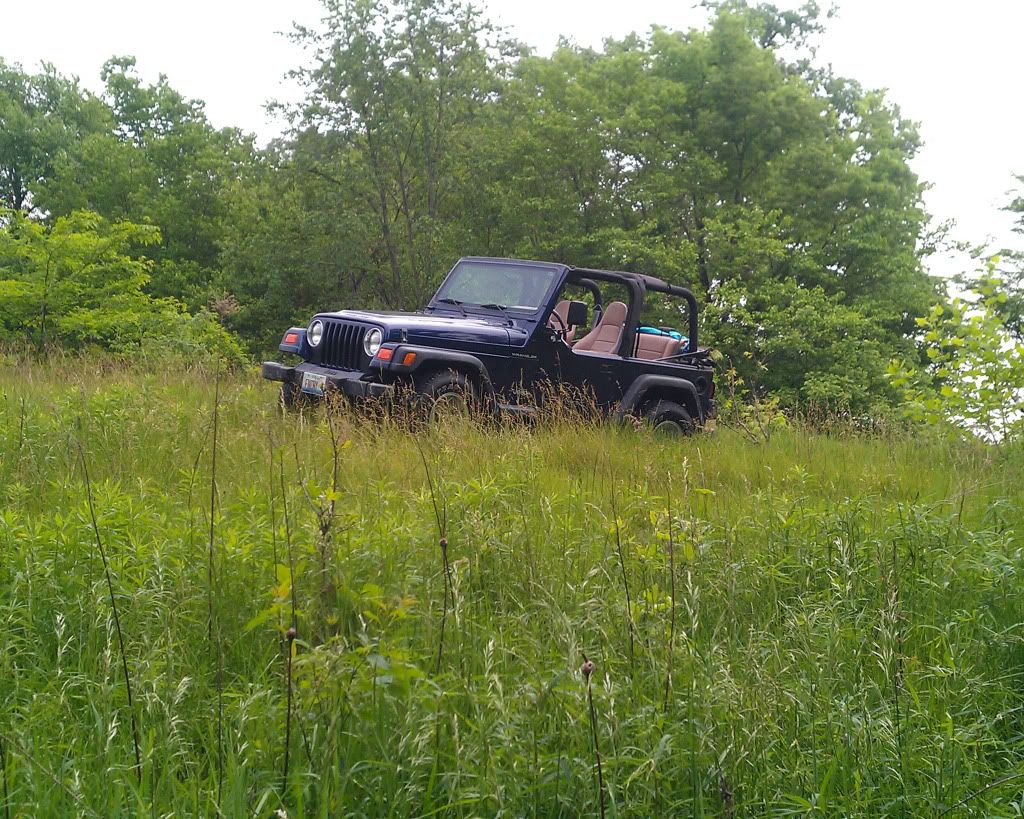
'Wheeling' Trip (It's stock with 31's... And it's my girlfriend's... And she wasn't crazy about me taking her 'baby' (I believe she named it Daisy??) on a wheeling trip... So I did some very mild wheeling and watched the hardcore stuff.)
![Image]()
Picked up some Safari Doors from a JK:
![Image]()
![Image]()
Like I said, I'll probably throw a couple of pictures of 'Daisy' in here occasionally but it isn't going to be built so the TJ will just get some mentioning here and there.
Feel free to comment/make suggestions of everything along the way. Hope you all enjoy!
Chris
For a little back story, before I bought my WJ, I was a little unsure of what I wanted. I was debating on a small truck or SUV but hadn't fully decided. It was suggested to me that I look at the Grand Cherokees. So after test driving a couple, I ended up buying this:
Black 2004 Jeep Grand Cherokee Laredo 4x4, Inline 6, Selec-Trac with about 81,000 miles.
(This is from this morning... Somehow I didn't have a picture of my money pit!)
Build Sheet:
Code:
Vehicle Description: JEEP GRAND CHEROKEE LAREDO 4X4 SPORT UTILITY 4-DR
Model Year: 2004
Body Model: WJ J H 74
Build Date: July 16, 2003
In-Service Date: September 10, 2003

Sales Code     Description
*S5 Prem Cloth High-Back Bucket Seats
-DV Dark Slate Gray
ADC Convenience Group
APAS Monotone Paint
A24P 4.0L Engine(ERH)/4Spd Auto Trans(DGK
BAZS 136 Amp Alternator
BC6S 625 Amp Maintenance Free Battery
BRYS Anti-Lock 4-Wheel Disc Brakes
CACS Low Back Bucket Seats
CBWS Highline Door Trim Panel
CFNS Rear 60/40 Folding Seat
CGUS Child Seat Anchor System-LATCH Ready
CG1S Next Gen Multistage Front Air Bags**
CKDS Floor Carpet
CKNS Cargo Compartment Carpet
CKTS Cargo Tie Down Loops
CLCS Front Floor Mats
CLHS Cargo Trim Panel w/Storage Net
CLPS Door Sill Scuff Pads
CSRS Passenger Assist Handles
CUDP Mini Overhead Console
CUFS Full Length Floor Console
DGBS All 4-Speed Automatic Transmissions
DGK 4-Spd. Automatic 42RE Transmission
DHAS Lock-Up Torque Converter
DHPS Selec-Trac Full Time 4WD System
DJJS Dana 30/186MM Front Axle
DMDS 3.55 Rear Axle Ratio
DRMS Dana 35C/194MM Rear Axle
ERH 4.0L I6 Power Tech Engine
GBBS Tinted Windshield Glass
GCBS Front Door Tinted Glass
GEGS Deep Tint Sunscreen Glass
GEPS Flipper Liftgate Glass
GFAS Rear Window Defroster
GNAS Rear View Day/Night Mirror
GNVS Sun Visors w/Vanity Mirror
GTNS Power Mirrors, Fold-Away
GXMP Remote Keyless Entry
GXXS Sentry Key Theft Deterrent System
HAAS Air Conditioning
HGAS Hood Insulation
HGDS Deluxe Insulation Group
JAYS Instrument Cluster w/Tach
JCBS 120 MPH Primary Speedometer
JHAS Var Intermittent Windshield Wipers
JHBS Rear Window Wiper/Washer
JJBS Dual Note Electric Horns
JKAS Locking Glove Box
JKPS 12V Auxiliary Power Outlet
JKYS Power Accessory Delay
JPBS Power Locks
JPDS Power Windows, Driver One-Touch
JPSS Power 6-Way Driver Seat
KRSS STRIPE/BADGE/MOLDING/COLOR
KWSS STRIPE/BADGE/MOLDING/COLOR
K4SS STRIPE/BADGE/MOLDING/COLOR
K5SS STRIPE/BADGE/MOLDING/COLOR
LACS Illuminated Entry
LAGS Warning Chime
LAZP Vehicle Information Center
LBBS Courtesy Lamps
LBCS Glove Box Lamp
LCES Rear Courtesy/Reading Lamps
LDBS Cargo Compartment Lamp
LETP Traveler/Mini Trip Computer
LMBS Halogen Headlamps
LPSS CHMSL Lamp
MDAS Front License Plate Bracket
MFTS Body Color Grille
MHAS Black Windshield Moldings
MVCS Jeep Badge
MWES Side Roof Rails
NAS 50 State Emissions
NBGP Federal Tier 2, Bin 9A Emissions
NFPS 20.5 Gallon Fuel Tank
NHMS Speed Control
PXR Brilliant Black Crystal Pearl Coat
QXRS Brilliant Black Crystal Pearl Coat
RAAC All Radio Equipped Vehicles
RBKS AM/FM Compact Disc Radio w/Chgr Ctrl
RCGS 6 Speakers
RDDS Fixed Long Mast Antenna
SBAS Power Rack and Pinion Steering
SCAS Steering Wheel
SDAS Normal Duty Suspension
SUAS Tilt Steering Column
TBBS Full Size Spare Tire
TBLS Inside Mounted Spare Tire
TR7P P225/75R16 OWL All Season Tires
TZAP Goodyear Brand Tires
WDQP 16" Steel Spare Wheel
WDRS 16X7.0 Lux Alum Silver Wheels
WLYC All Steel Wheels
WLZC All Aluminum Wheels
XPFS Protective Coating and Remover
YAAS Build To U.S. Mkt. SpecificationsFactory tow hook installed:
My rendition of a proper factory hitch install:
Then I grabbed a couple sets of the off road light's from Harbor Freight and made a light bar utilizing the mounting points for the tow hooks:

Here is a little write up on it if you are interested:
04 Grand Cherokee Off Road Light Install
Overall, I like these lights, especially for the price. They are quite bright and are also sturdy where I have them mounted. I will say, though, that they are more of a spot light as opposed to a flood light. Also, where they are now, there is a good possibility of them getting smashed or broken off while off roading. I will probably move them in the future but I am pleased with how it is set up currently. They are really nice for seeing deer, etc. while driving down country roads.
Less than a month later, on the way to a bachelor party, my jeep became ill with a misfire code for Cylinder 5. Turns out, the lifter wore down and ground into the camshaft. Here are some highlights of the camshaft and lifter install:
And here is the write up of the whole process:
2004 4.0 I6 Jeep Grand Cherokee Camshaft, Timing Set, and Lifter Replacement
Since then, I've put in a new TPS, cleaned the Throttle Body and IAC, threw on a new gas cap in hopes of fixing my EVAP leak (no luck, looks like I've got some work to do!), replaced the water pump and thermostat, flushed the cooling system and refilled with the good stuff, Zerex G-05. I also found out that the Transmission Rear Output Shaft Seal and all 4 shocks were replaced at 67k and the Transfer Case was replaced at 80k. So basically, most of the vehicle can be considered 'new' now! Haha.
I am in the process of replacing the battery terminals to Marine Style. I have the neg side finished but unfortunately grabbed the wrong ends to finish the positive side. Pics to come.
Edit: Finished Marine Style Battery Terminals/Battery Cable Lug Install
OK, so the reason why I started the build thread...
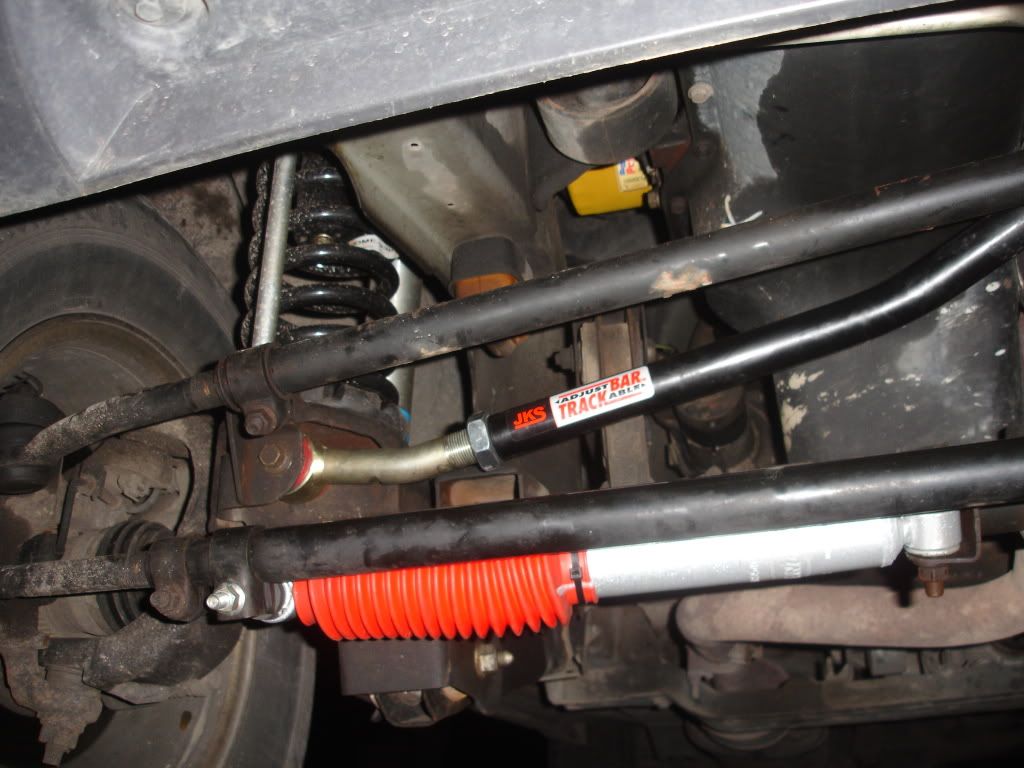
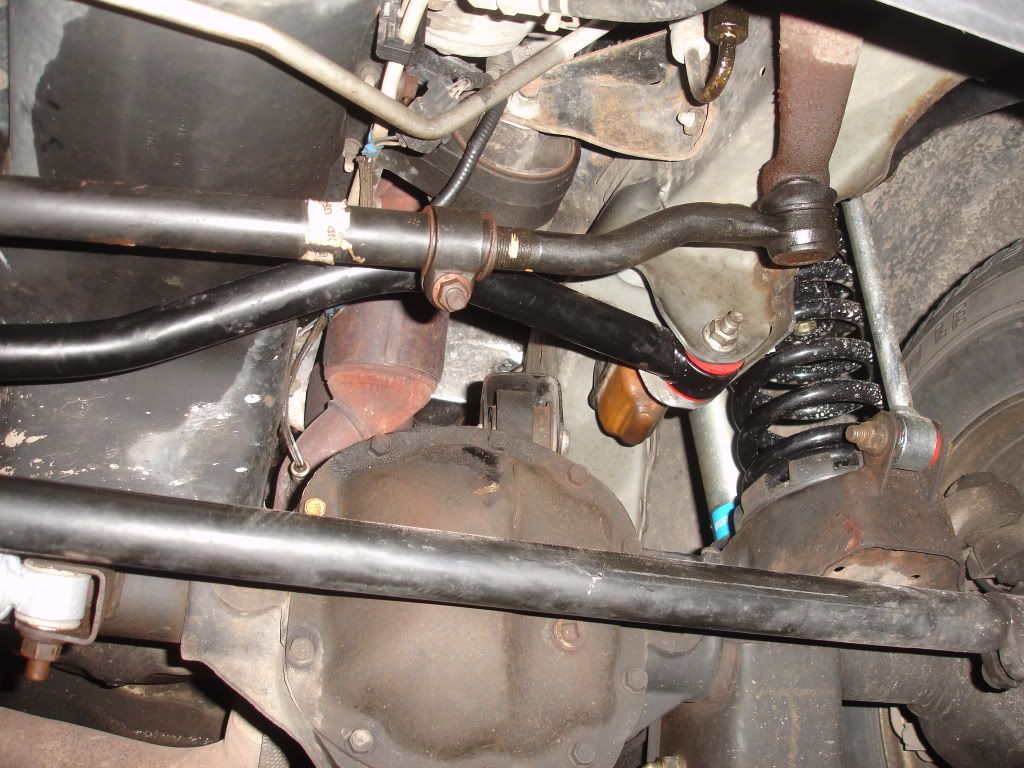
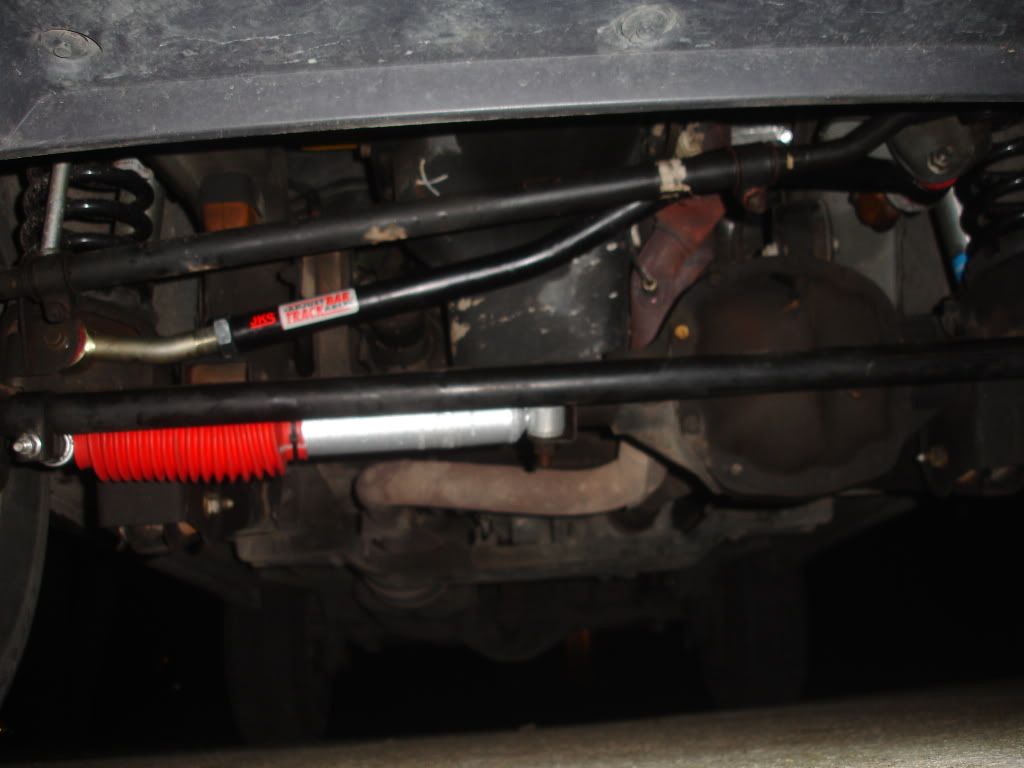
I've decided to lift the WJ! I talked to Kolak last weekend and ordered:
OME HD Springs
Bilstein 5100's
JKS Front Adjustable Trackbar
Rancho HD Steering Stabilizer
Spring Isolators
I will be taking pictures of the progress along the way and figured, what better place to show these pics/progress than here!
Also, though this is a WJ build thread and will stay that way, occasionally I'll be throwing pictures on here of this:
Clean
Disco'd
'Wheeling' Trip (It's stock with 31's... And it's my girlfriend's... And she wasn't crazy about me taking her 'baby' (I believe she named it Daisy??) on a wheeling trip... So I did some very mild wheeling and watched the hardcore stuff.)
Picked up some Safari Doors from a JK:
Like I said, I'll probably throw a couple of pictures of 'Daisy' in here occasionally but it isn't going to be built so the TJ will just get some mentioning here and there.
Feel free to comment/make suggestions of everything along the way. Hope you all enjoy!
Chris

 ):
):