Hey there jeep friends.
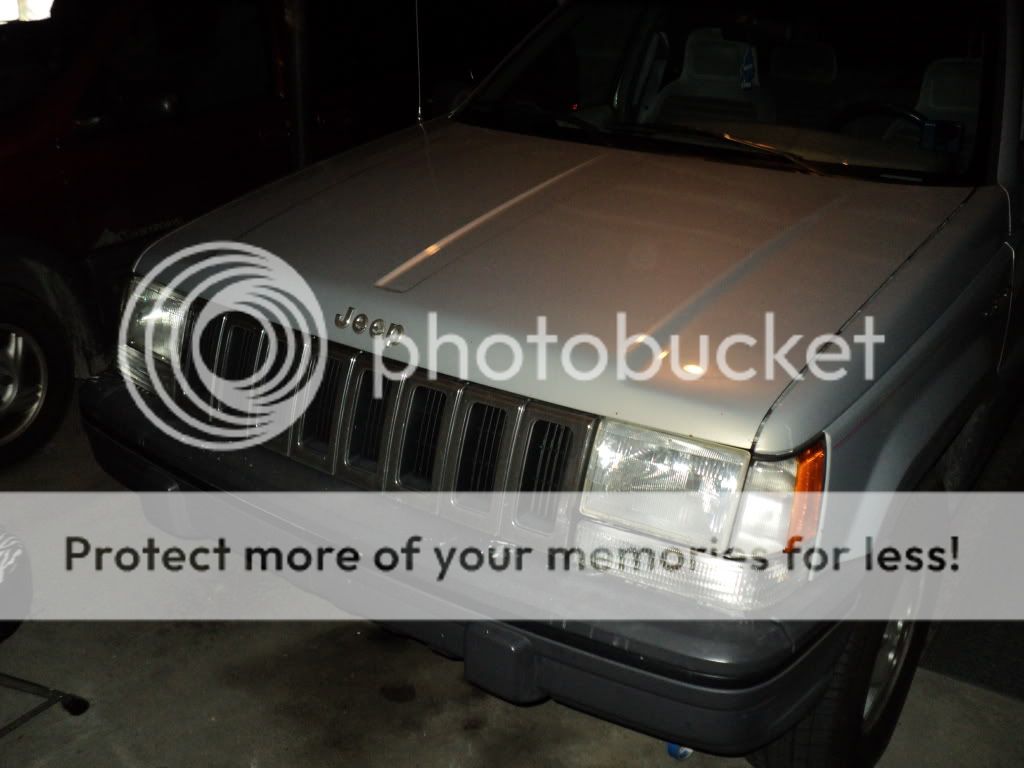
Today, as I was leaving to head to the store, i got a long look at my headlights and decided i was sick of the hazy/yellow/cloudy crap that covered my headlights! I know this is a common problem, so i decided to document the process for anybody else who wants to do this.
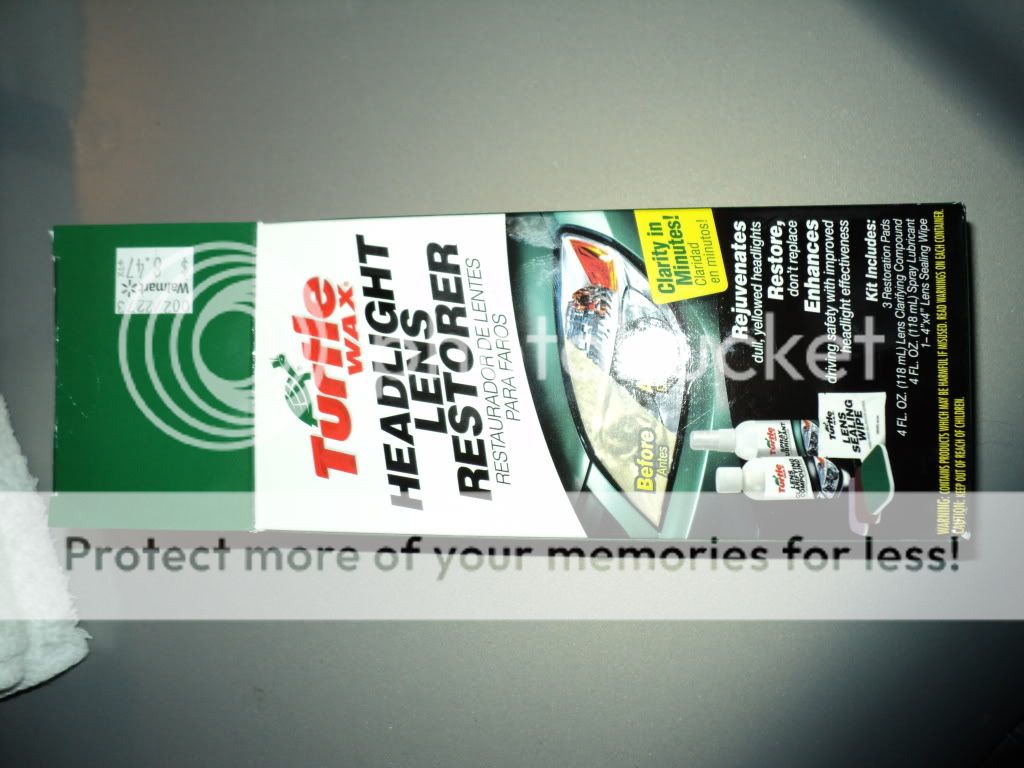
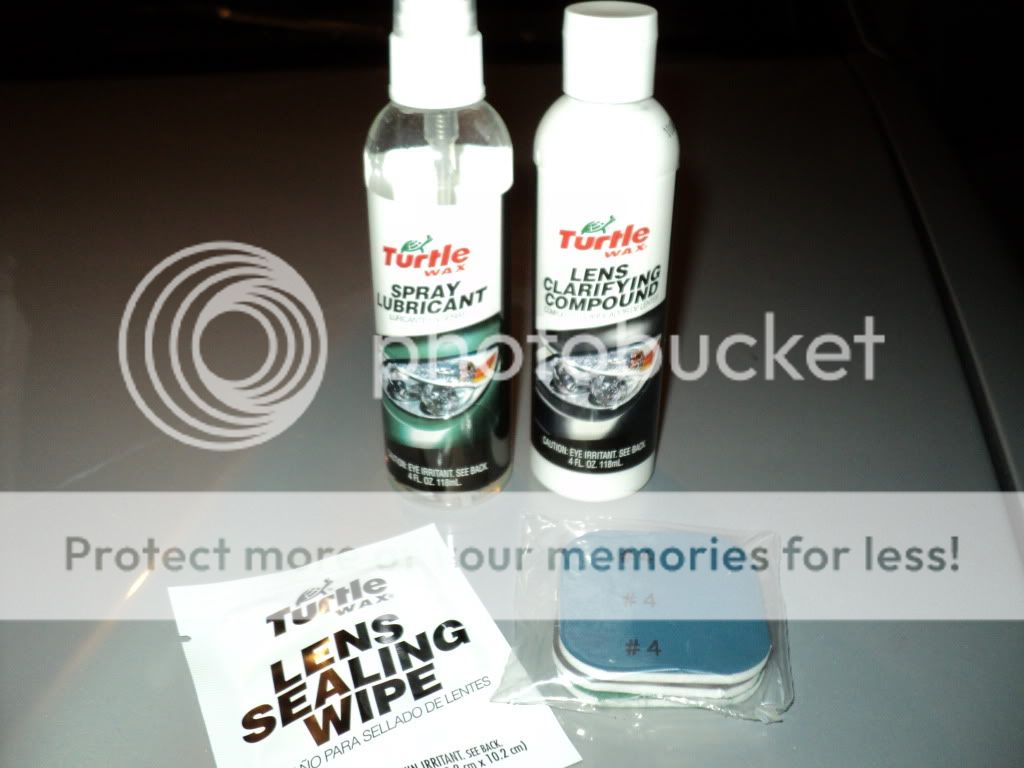
Materials:
Turtle Wax Headlight Resto kit ($8.99 @ Walmart)
CLEAN cloths.
Painters/masking Tape (Couple of bucks/Free if you just had to redo a baby room :laugh: )
![Image]()
![Image]()
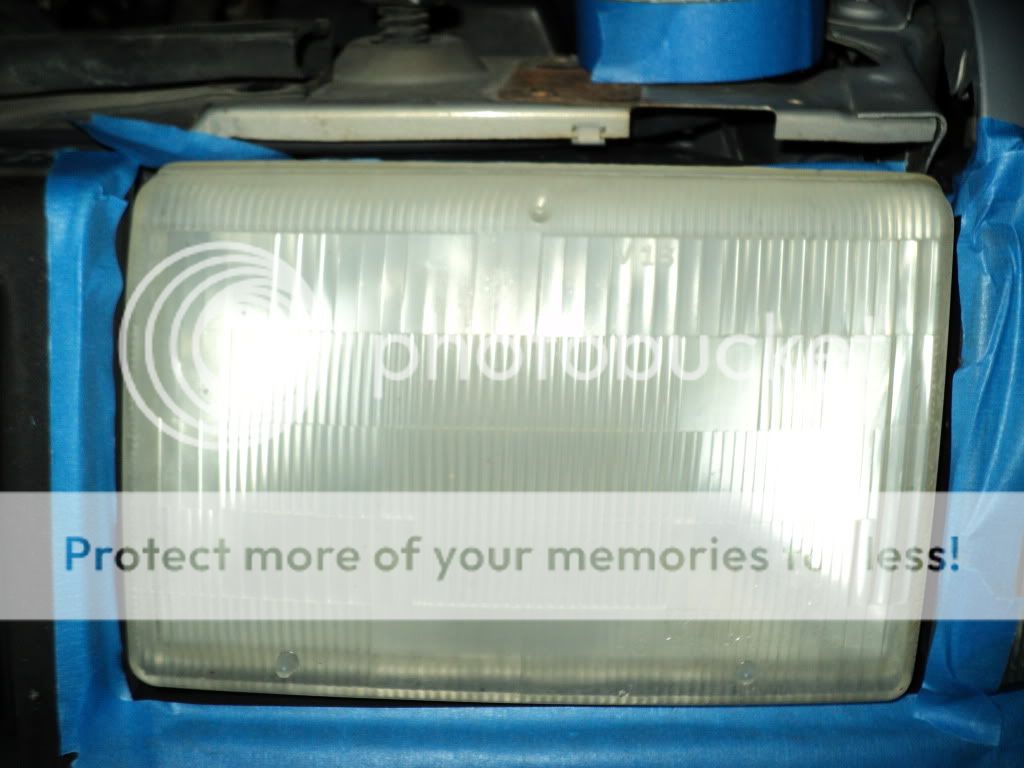
Step One:
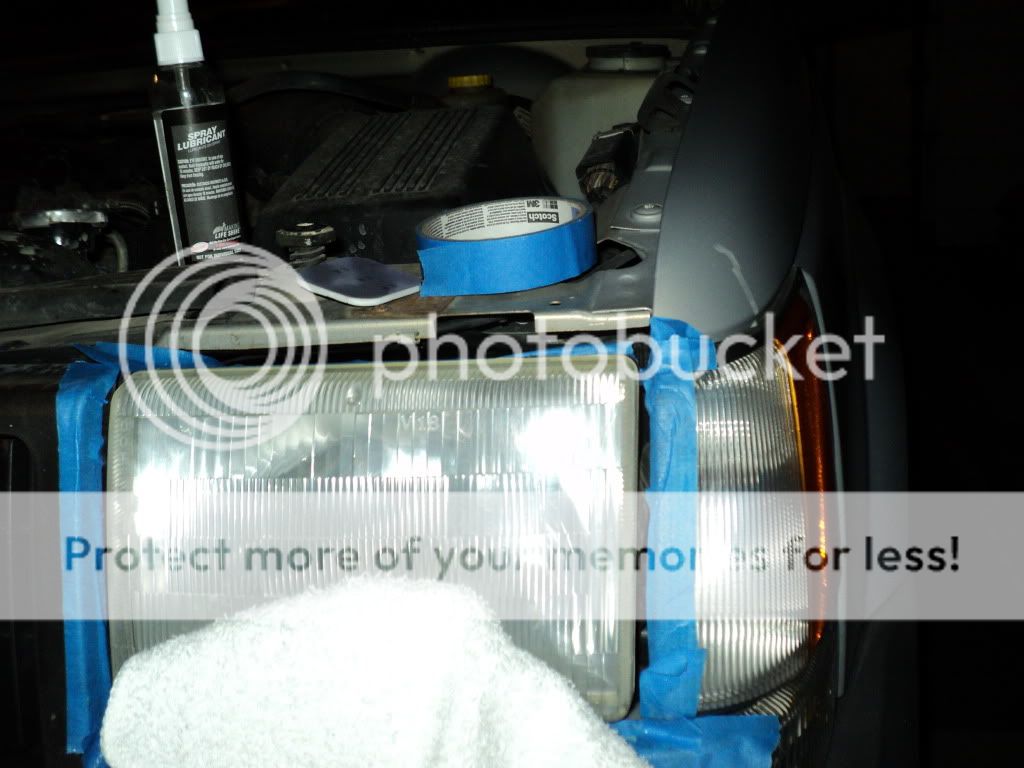
Tape off the area surrounding the headlight. I know this may seem like a pain, or a waste of time.... Just do it. You are going to be using chemicals and abrasive surfaces. The last thing you want to do is ruin your paint or scratch up something on accident.
![Image]()
Step Two:
Wash the headlight with water and a clean cloth of some kind. Dirt can scratch the headlight. This also helps you get a clean look at what you are dealing with.
Step Three:
This kit says to use the Clarifying compound first before sanding. My guess is that this is for very very minor hazing... This didn't even put a dent in my lights.
Step Four: (Sanding Stage #1)
Take out the green pad labeled #1, and the Spray lube. Coat the lens AND the pad. Firmly (not TOO hard) sand in either a vertical or horizontal motion. ** Remember which direction you choose** This is the longest step. You should take your time here and do a good job. Stop every few mins to re-apply the spray lube. Like all things worth while in life, Lube is important.
Step Five: (Sanding Stage #2)
As soon as you are satisfied with your initial sand, re-apply the spray lube, and take out the Brown sanding pad labeled #2. Make sure you spray the pad, and then re-sand the headlight in the OPPOSITE direction of step one. (If you went vertical before, go horizontal now.) Again, make sure you stop every so often and re-lube.
Step Six: (Final Sanding stage)
After you finish with the #2, get out the last pad. This sanding pad is labeled #3 on the Purple side, and #4 on the blue side. Repeat the above process, switching directions in between sides, and stopping to re-apply the lube.
Step 7:
After you are done sanding, clean the headlight with a clean rag/towel. Once you remove all of the wet-sanding residue use a different cloth to apply a liberal amount of the Lens Clarifying Compound. Rub in the compound until you cant see it anymore.
Step 8:
After you have rubbed in the compound, allow time for it to dry and haze up. Once this is done, buff it off with a clean cloth or a buffing drill attachment.
![Image]()
Step 9: (Last step)
Once you are done buffing, use the supplied plastic glove and apply the lens sealing wipe to the headlight. This takes up to 24 hours to cure, but once it does it protects the lens from further yellowing and hazing.
This kit worked great... I am very very pleased with the results! This was really easy, everybody can do it.
Hope this helps.
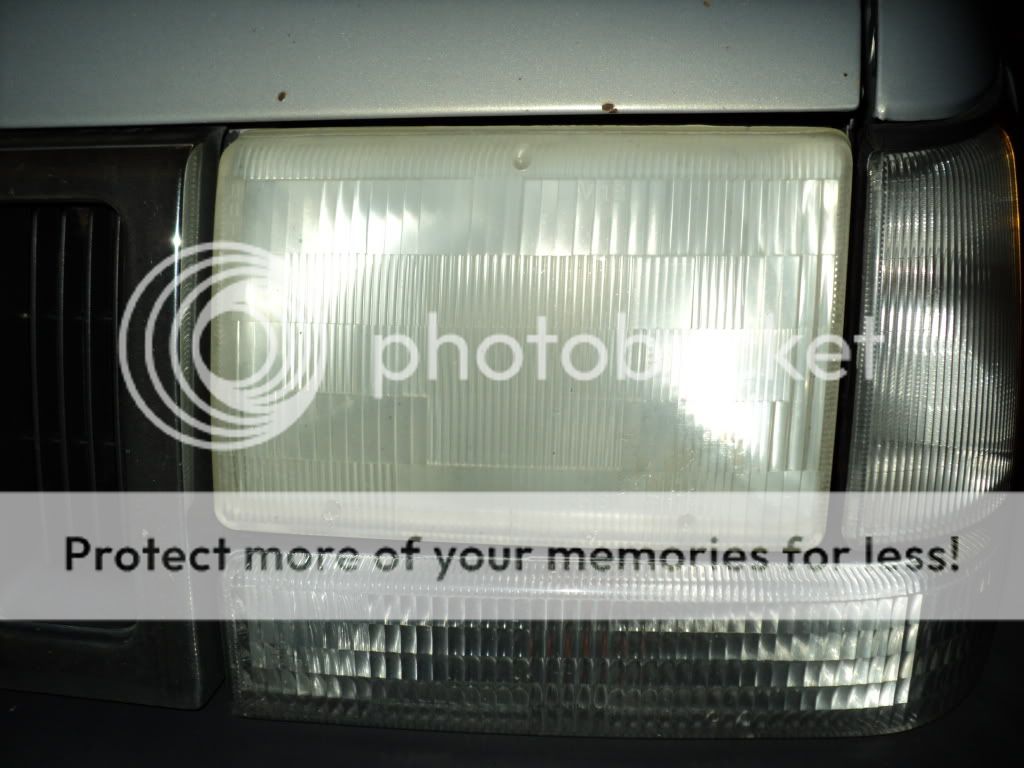
BEFORE:
![Image]()
AFTER:
![Image]()
Today, as I was leaving to head to the store, i got a long look at my headlights and decided i was sick of the hazy/yellow/cloudy crap that covered my headlights! I know this is a common problem, so i decided to document the process for anybody else who wants to do this.
Materials:
Turtle Wax Headlight Resto kit ($8.99 @ Walmart)
CLEAN cloths.
Painters/masking Tape (Couple of bucks/Free if you just had to redo a baby room :laugh: )
Step One:
Tape off the area surrounding the headlight. I know this may seem like a pain, or a waste of time.... Just do it. You are going to be using chemicals and abrasive surfaces. The last thing you want to do is ruin your paint or scratch up something on accident.
Step Two:
Wash the headlight with water and a clean cloth of some kind. Dirt can scratch the headlight. This also helps you get a clean look at what you are dealing with.
Step Three:
This kit says to use the Clarifying compound first before sanding. My guess is that this is for very very minor hazing... This didn't even put a dent in my lights.
Step Four: (Sanding Stage #1)
Take out the green pad labeled #1, and the Spray lube. Coat the lens AND the pad. Firmly (not TOO hard) sand in either a vertical or horizontal motion. ** Remember which direction you choose** This is the longest step. You should take your time here and do a good job. Stop every few mins to re-apply the spray lube. Like all things worth while in life, Lube is important.
Step Five: (Sanding Stage #2)
As soon as you are satisfied with your initial sand, re-apply the spray lube, and take out the Brown sanding pad labeled #2. Make sure you spray the pad, and then re-sand the headlight in the OPPOSITE direction of step one. (If you went vertical before, go horizontal now.) Again, make sure you stop every so often and re-lube.
Step Six: (Final Sanding stage)
After you finish with the #2, get out the last pad. This sanding pad is labeled #3 on the Purple side, and #4 on the blue side. Repeat the above process, switching directions in between sides, and stopping to re-apply the lube.
Step 7:
After you are done sanding, clean the headlight with a clean rag/towel. Once you remove all of the wet-sanding residue use a different cloth to apply a liberal amount of the Lens Clarifying Compound. Rub in the compound until you cant see it anymore.
Step 8:
After you have rubbed in the compound, allow time for it to dry and haze up. Once this is done, buff it off with a clean cloth or a buffing drill attachment.
Step 9: (Last step)
Once you are done buffing, use the supplied plastic glove and apply the lens sealing wipe to the headlight. This takes up to 24 hours to cure, but once it does it protects the lens from further yellowing and hazing.
This kit worked great... I am very very pleased with the results! This was really easy, everybody can do it.
Hope this helps.
BEFORE:
AFTER: