

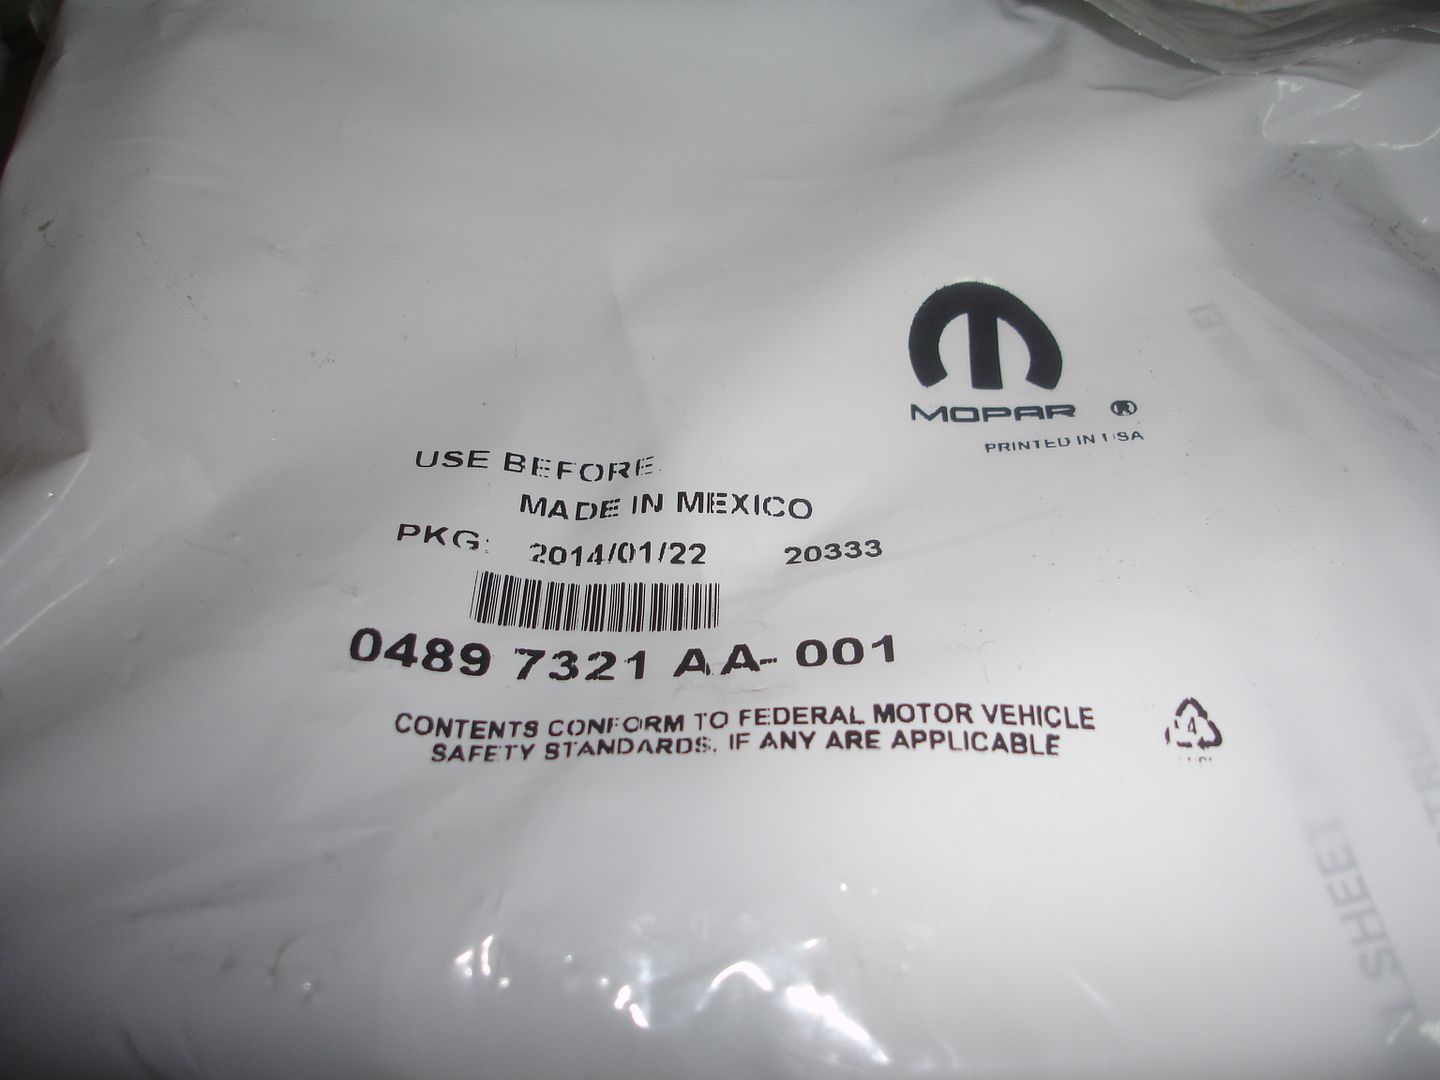
Recently, my WJ started dieing randomly and eventually showed me a code for the Crankshaft Position Sensor. Knowing this part must be OEM, I contacted Kolak for a genuine Mopar part. Let me tell ya, he gave me a great price!
![Image]()
![Image]()
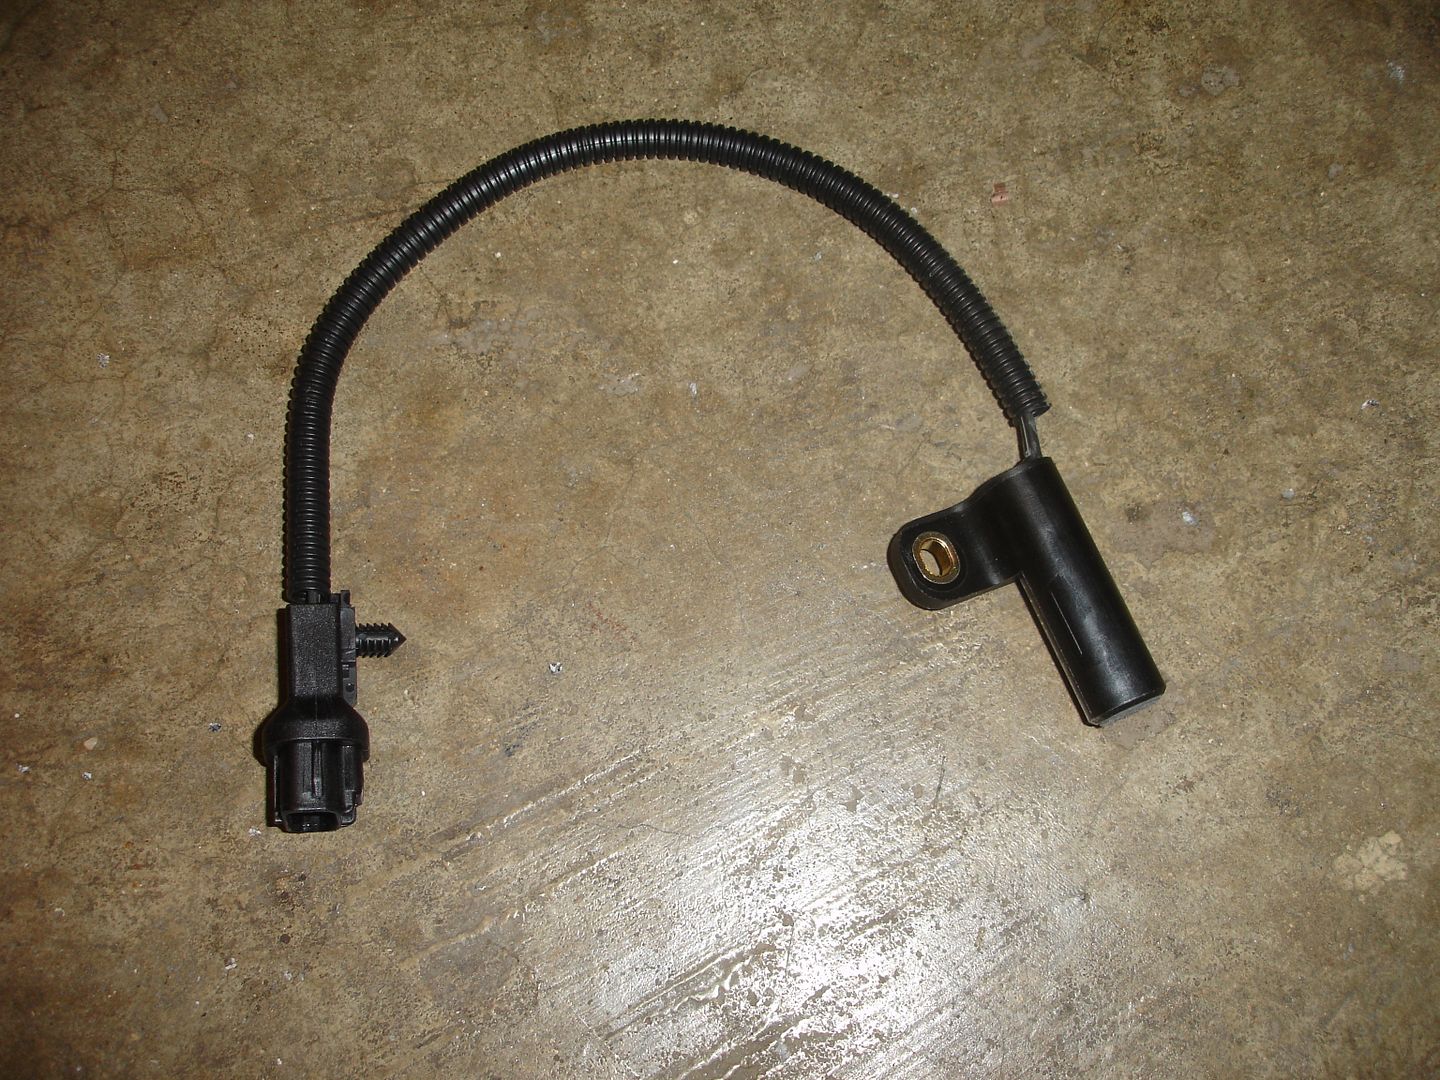
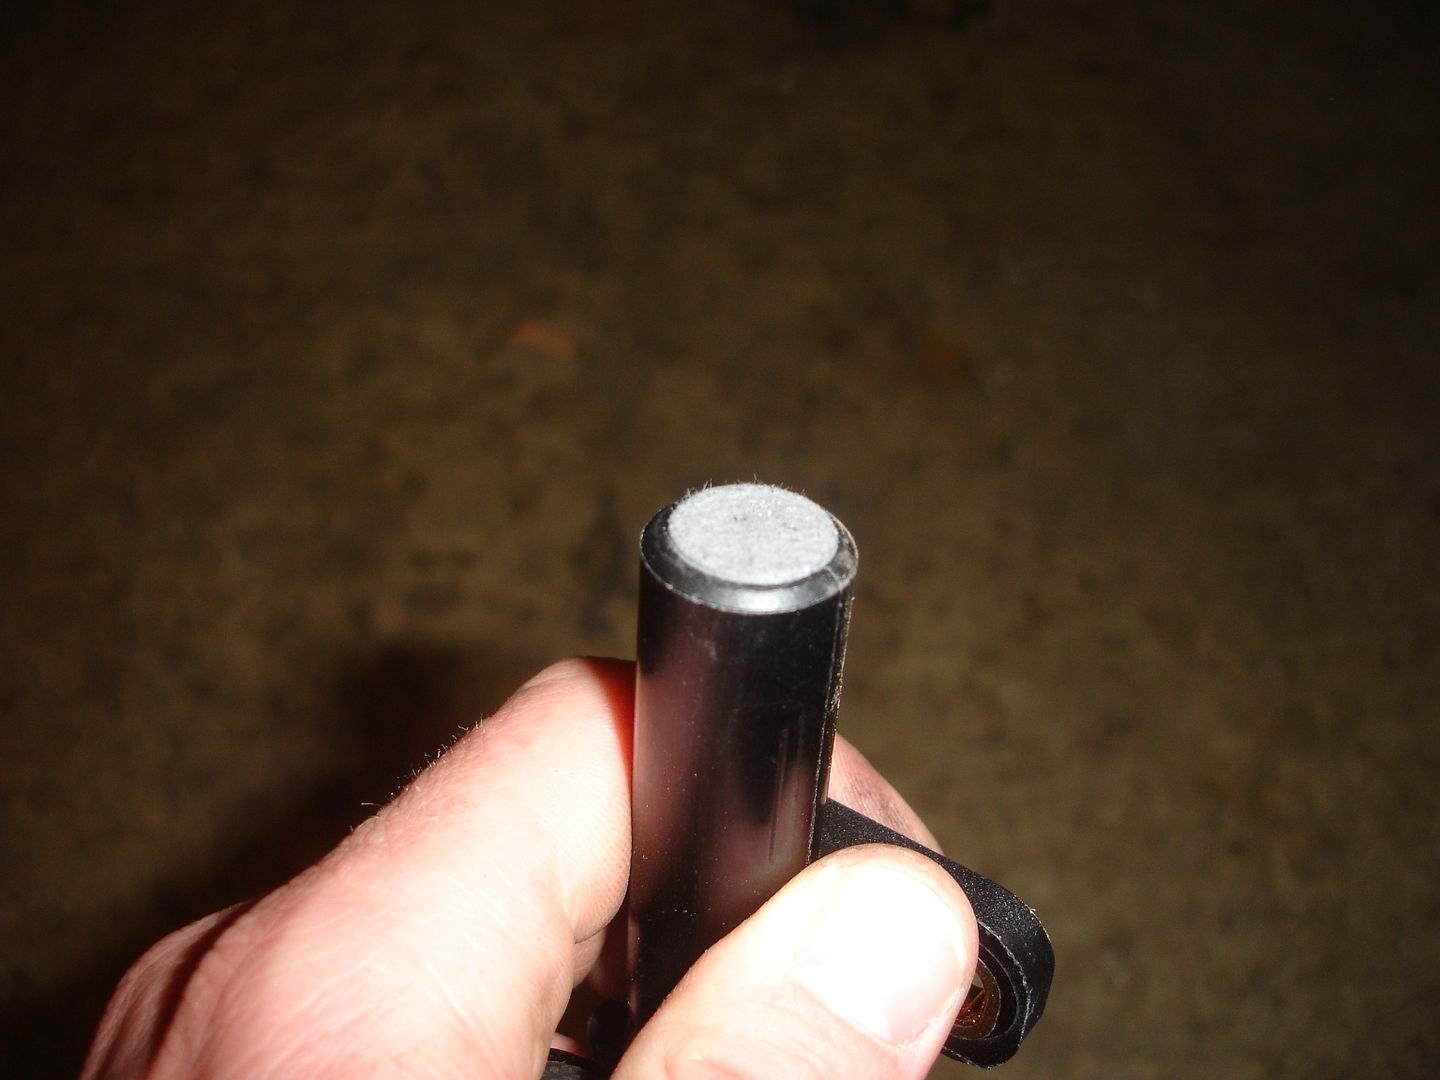
The new sensor has a felt-like cover on the end. This is present so the depth does not need to be set. You simply (HA!) remove the old sensor, install the new sensor, and start it up. Once the vehicle is running, it'll rub off the felt.
![Image]()
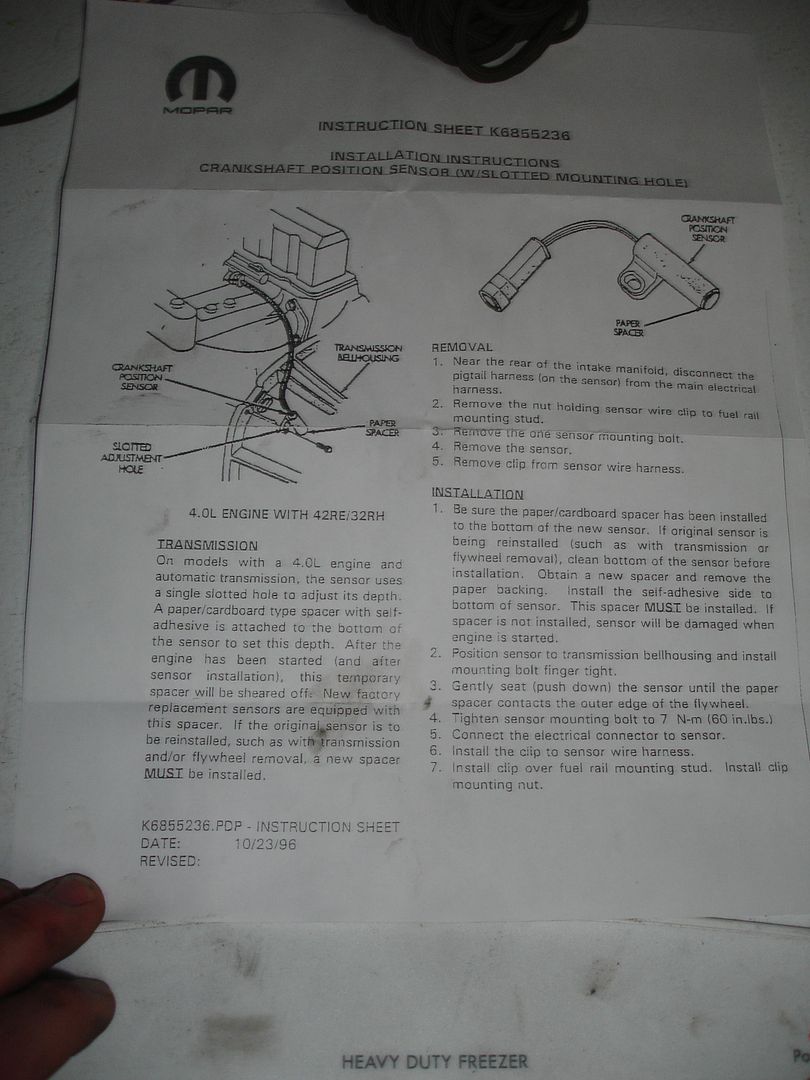
For those wondering, here is the instruction sheet that comes with it. They sure make it sound easy!
![Image]()
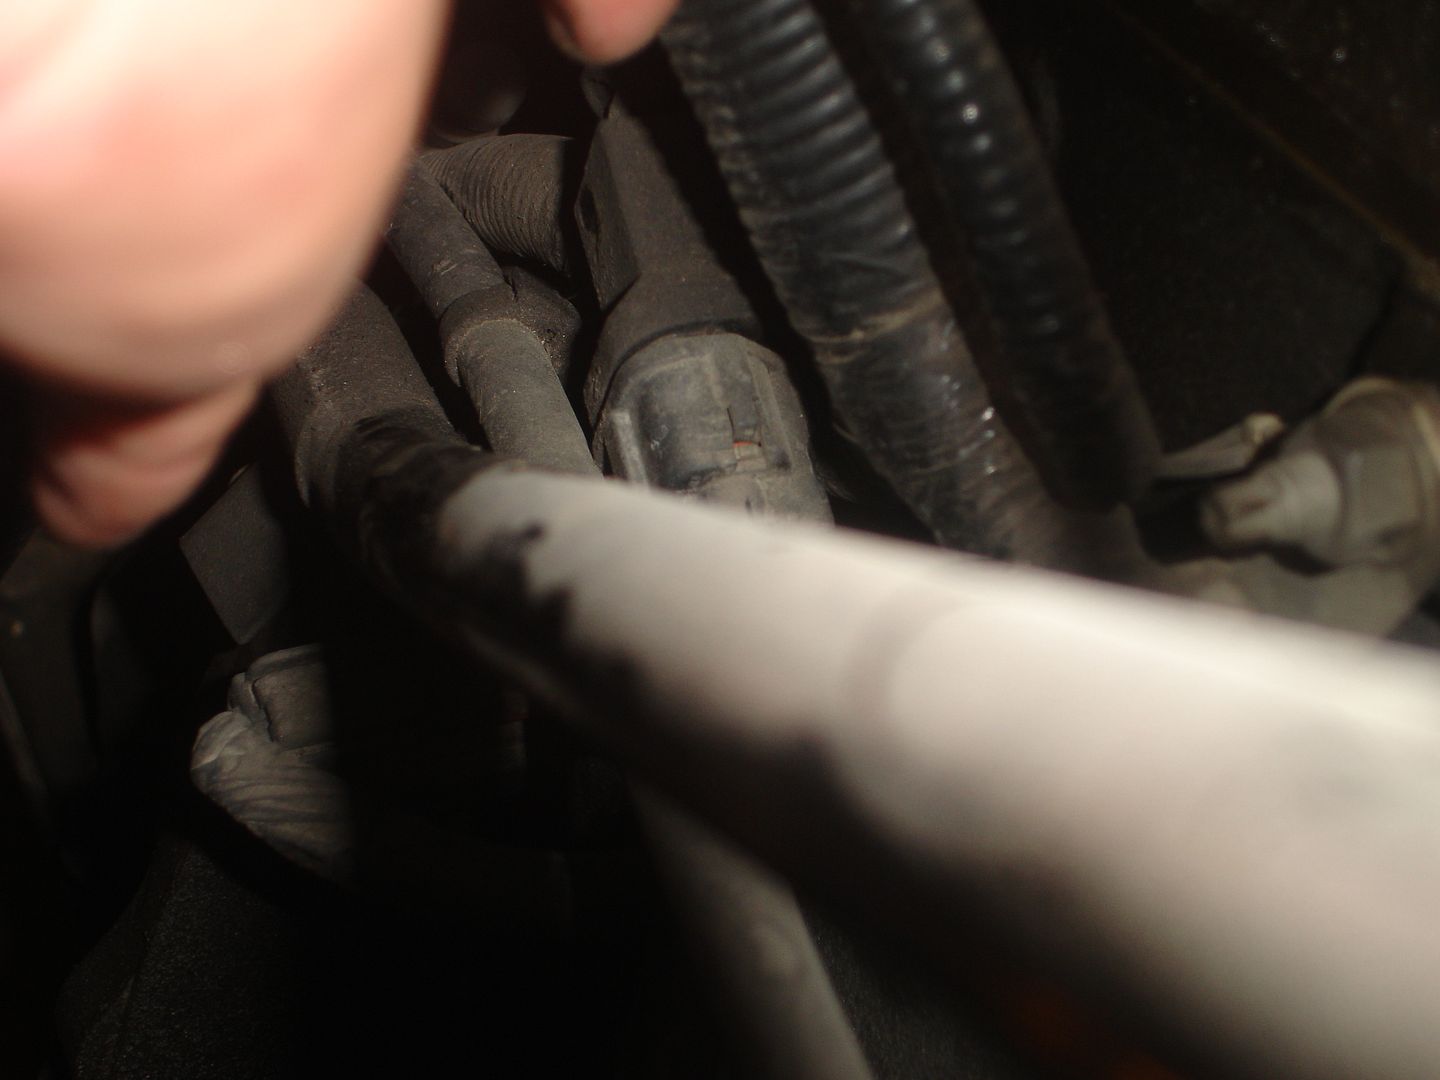
From the top looking down on the passenger side, you'll see the sensor wires connected to the wiring harness. In this picture, it's the horizontal wire with the plug located directly behind the transmission dipstick tube.
![Image]()
![Image]()
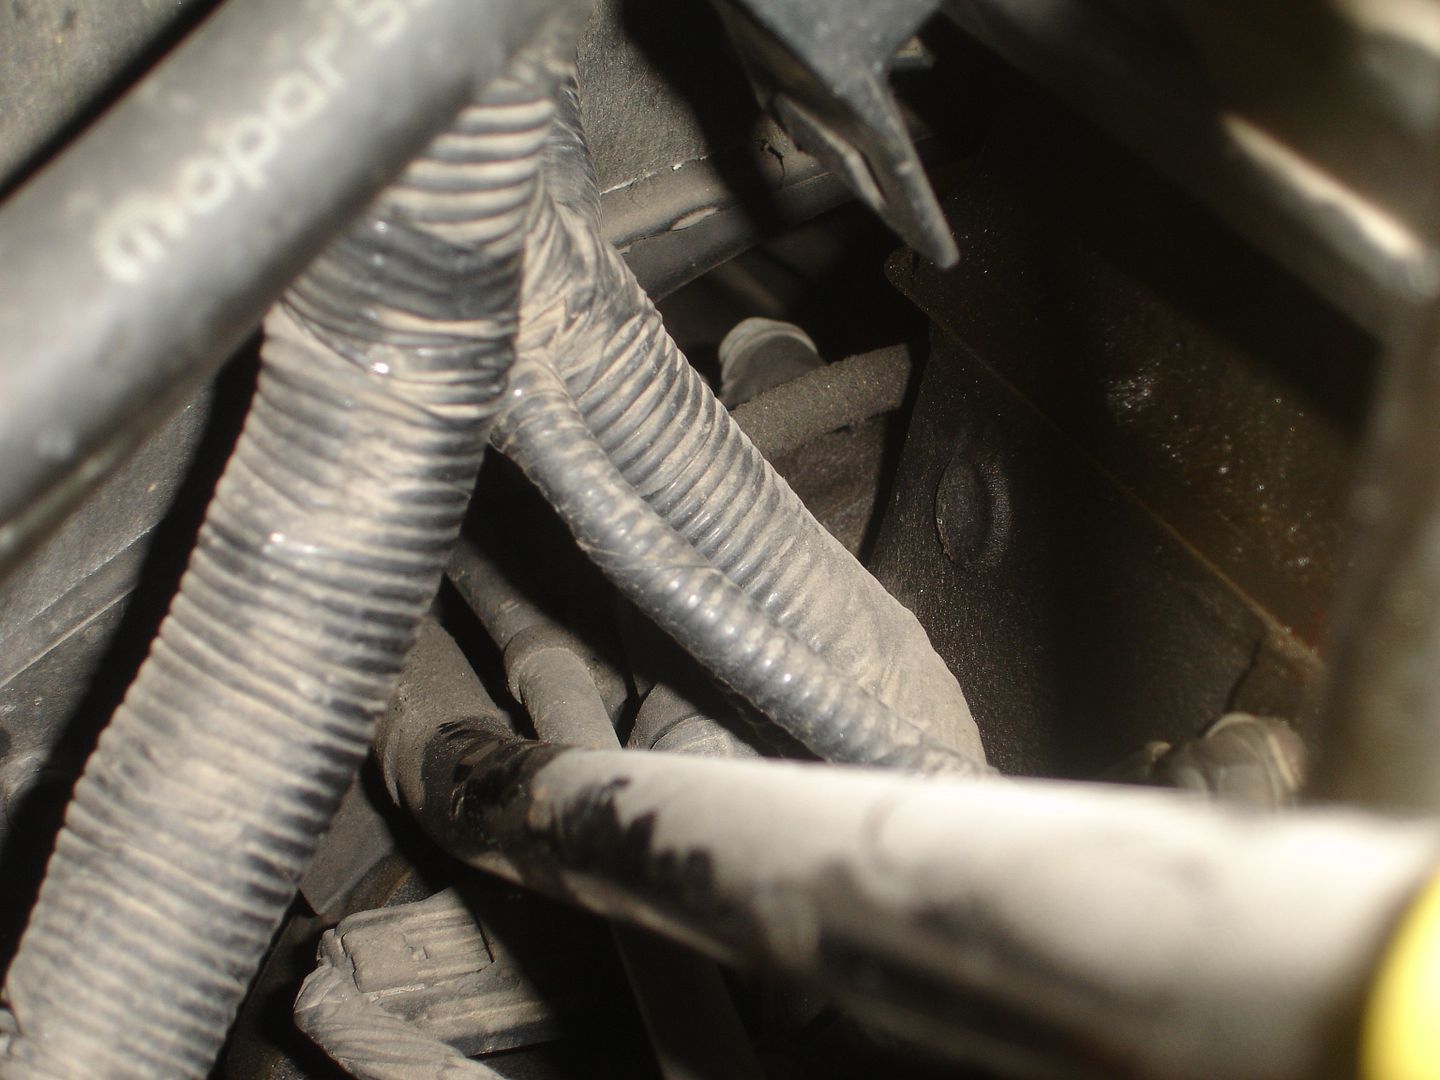
Here, you can see the wire to the CKS running behind the engine. For reference, it's the greasy looking 'fella.
![Image]()
Now, I've read many different ways to go about replacing this. Here are the top 4:
1. Drop the front drive shaft, remove the transmission cross member, and lower the transmission.
2. Cut a hole in the floor.
3. Remove the carpet and work through a little access hole.
4. Reach up from underneath, pop the old one out, stick the new one in, then grab a beer because you just finished the project in 15 minutes.
I hoped for #4.
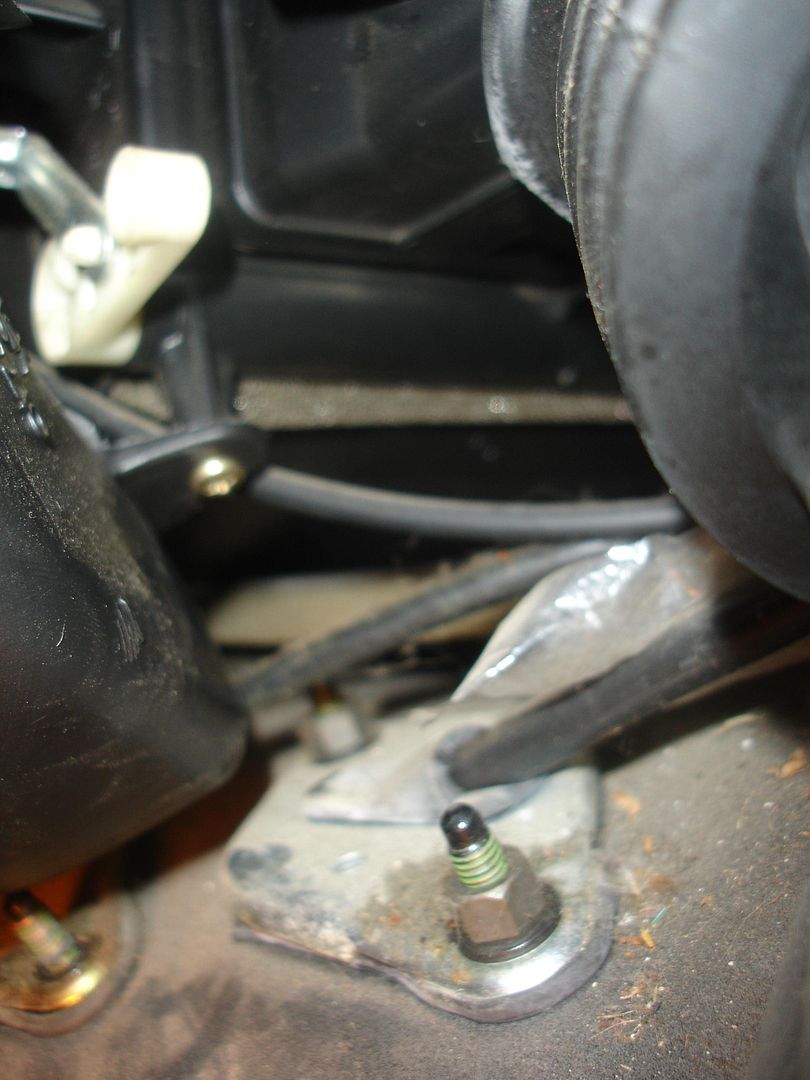
Per instructions from the magical people who say #4 is possible, I slid under from the driver side, feet first, and looked up by the transmission. Here's what you see.
![Image]()
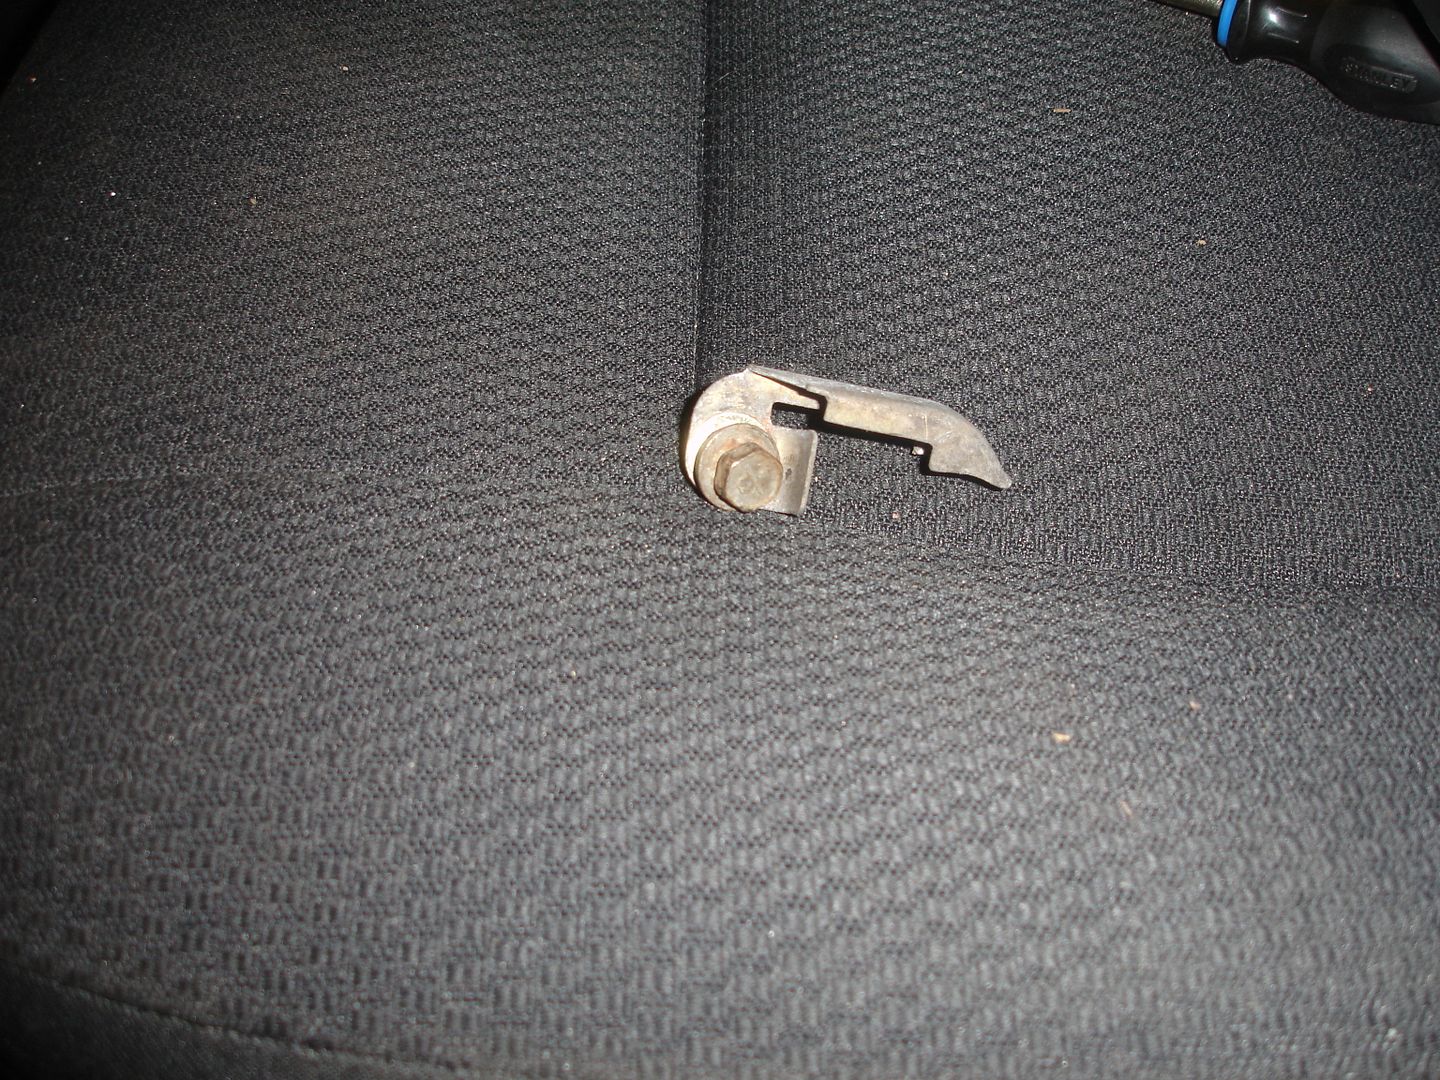
Let me describe what you're looking for in the above picture. If you look almost dead center of the picture directly above the thickest part of the shift rod, you'll 'kind of' see a bolt head and a tab. That's what were going for. To accomplish this project using the #4 method, reach up there with a long extension, remove the bolt, pop out the old sensor, drop in the new one, and tighten the bolt back down. Riiiiiiight...
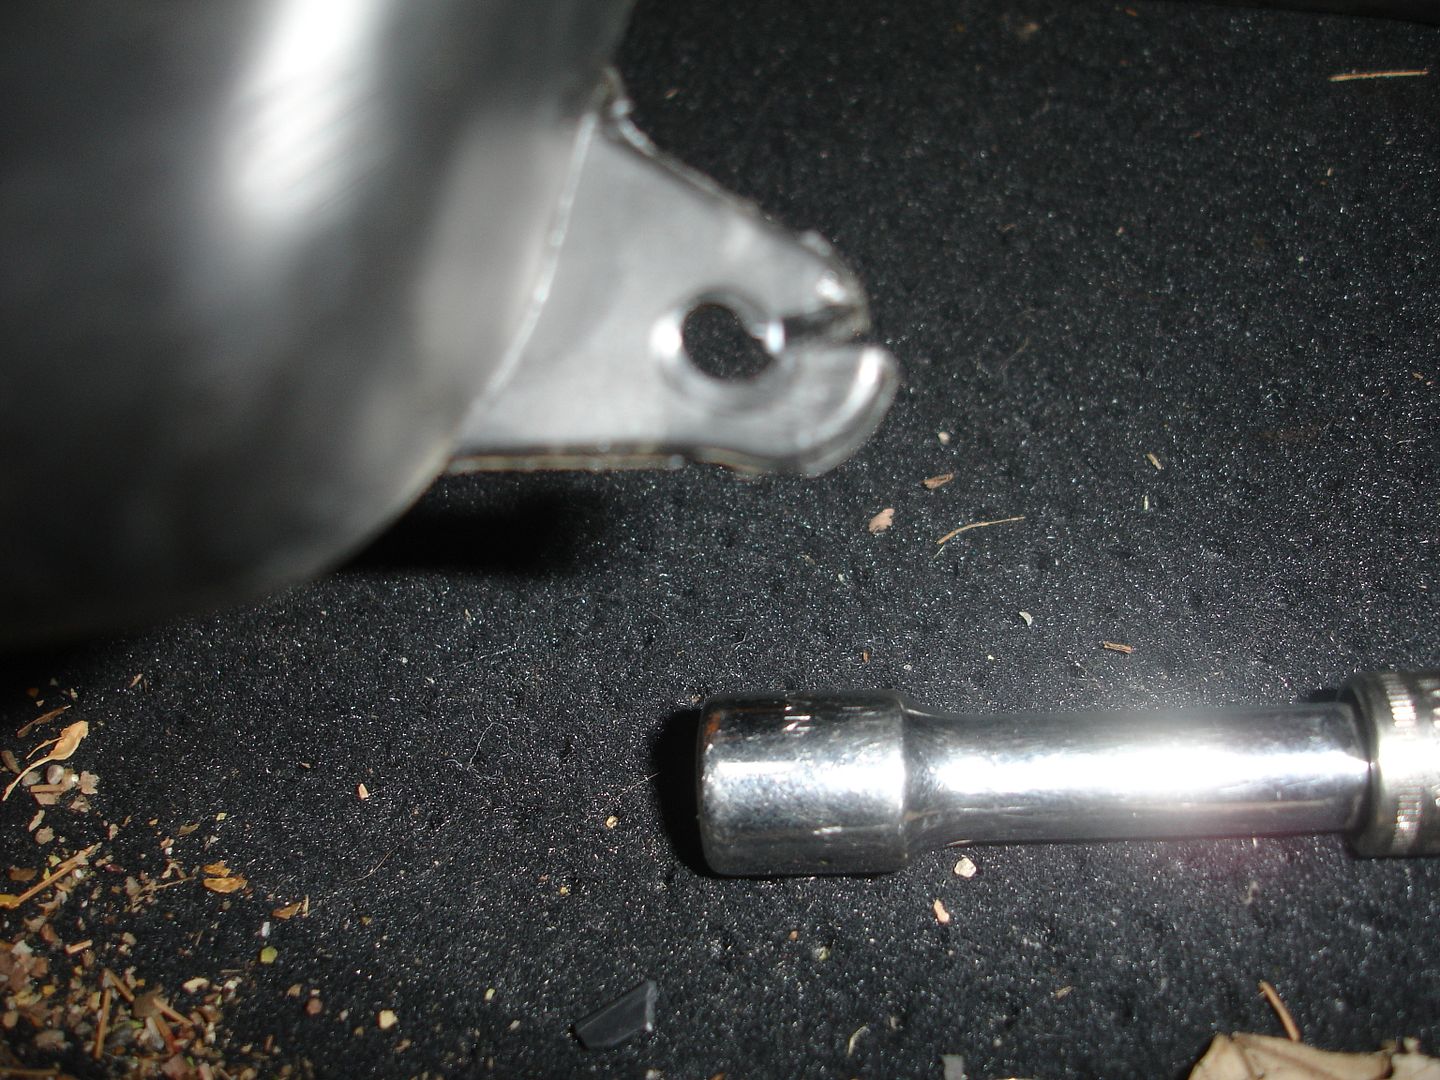
Here's a close up picture of the elusive CKS from below.
![Image]()
I stared at that thing for about 10 minutes, just thinking. IF I were able to get the bolt out, I don't foresee any possible way to remove the old sensor then drop the new one back in, let alone thread the bolt in properly to finish the job.
Time for a new method. I really didn't want to bother with #1 as I wasn't sure there would be room to work, even with the transmission lowered. #2 sounded a little absurd to me. For my next try, I decided for #3...
First off, disconnect the battery. We're working with electrical components here...
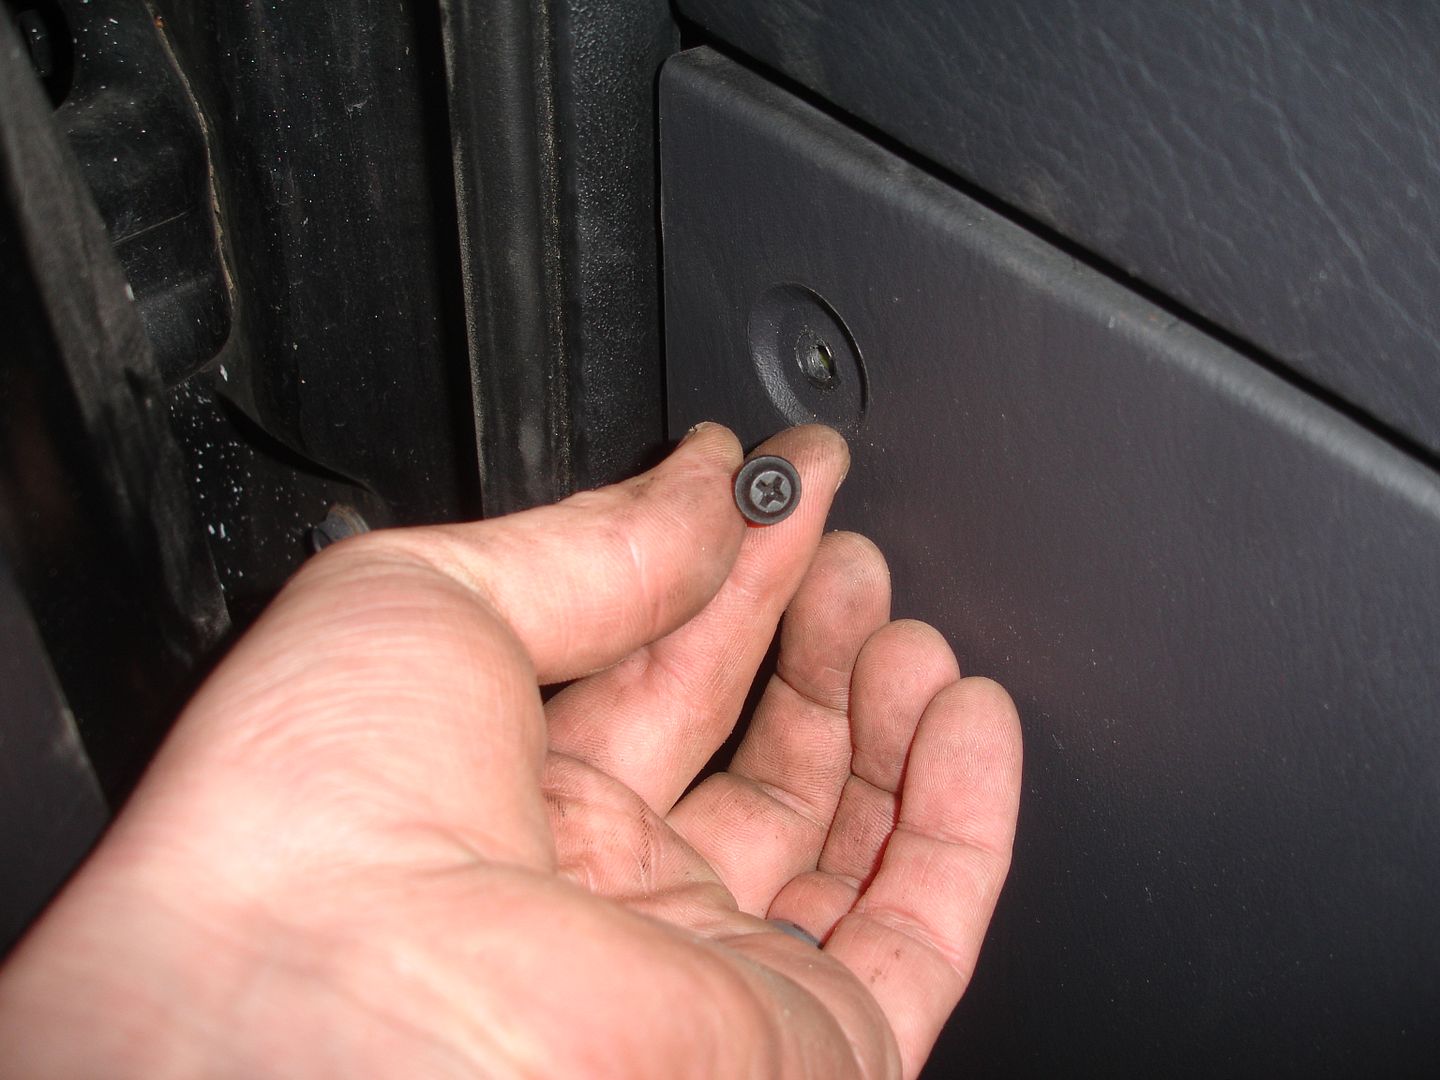
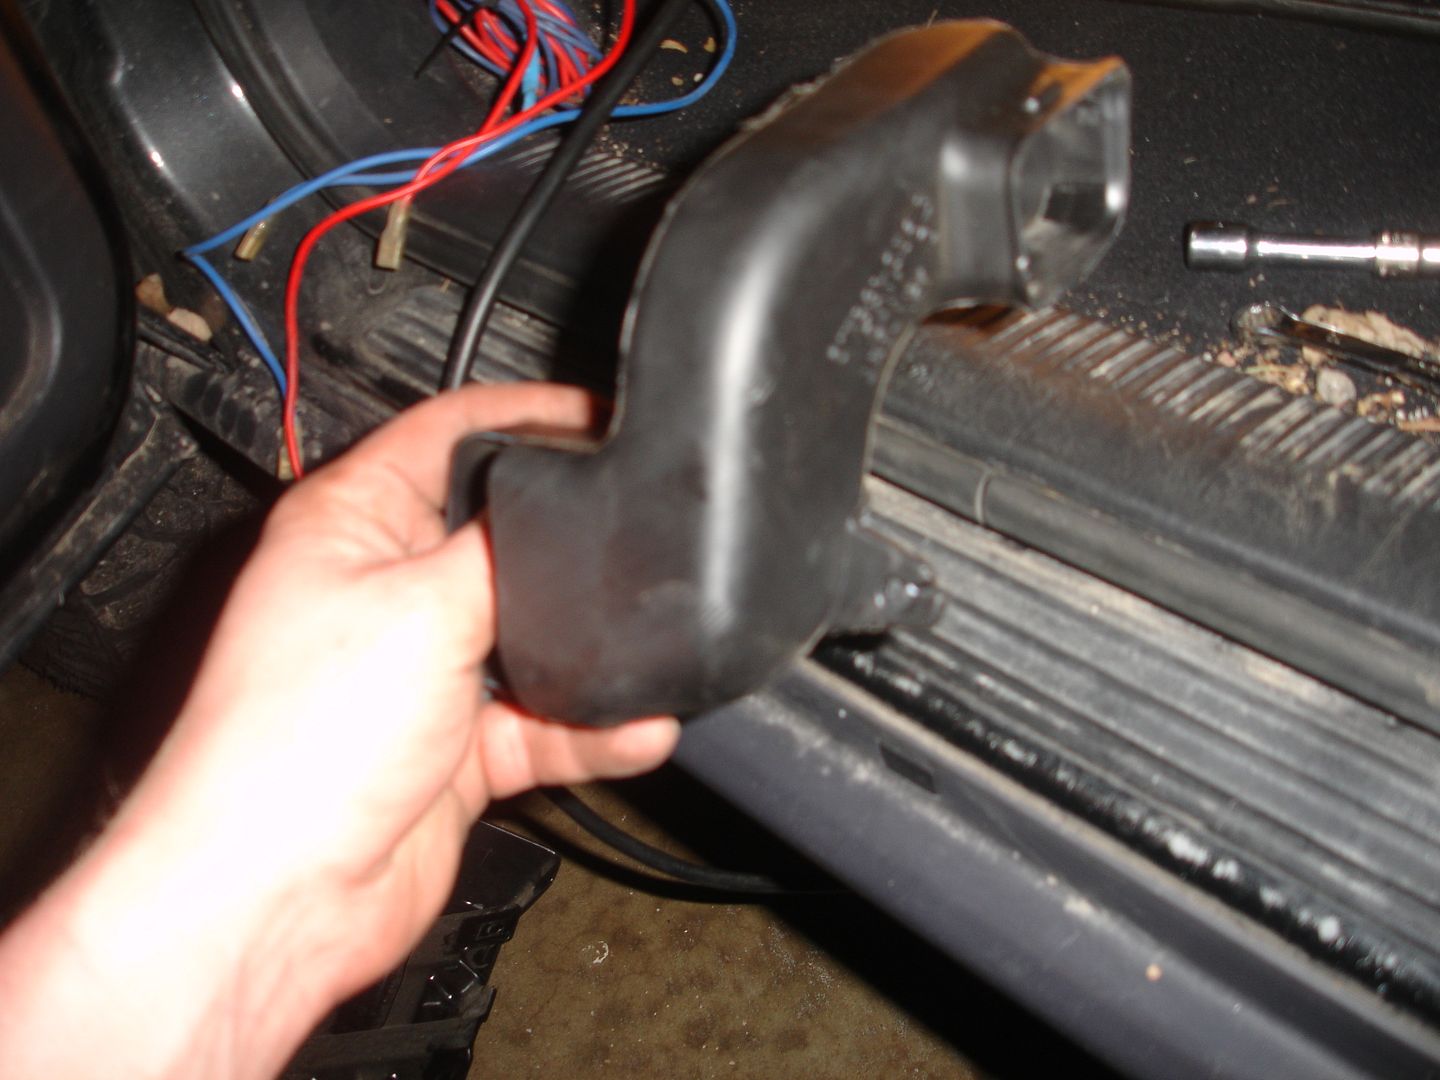
Remove the kick panel from the drivers side (2 screws).
![Image]()
![Image]()
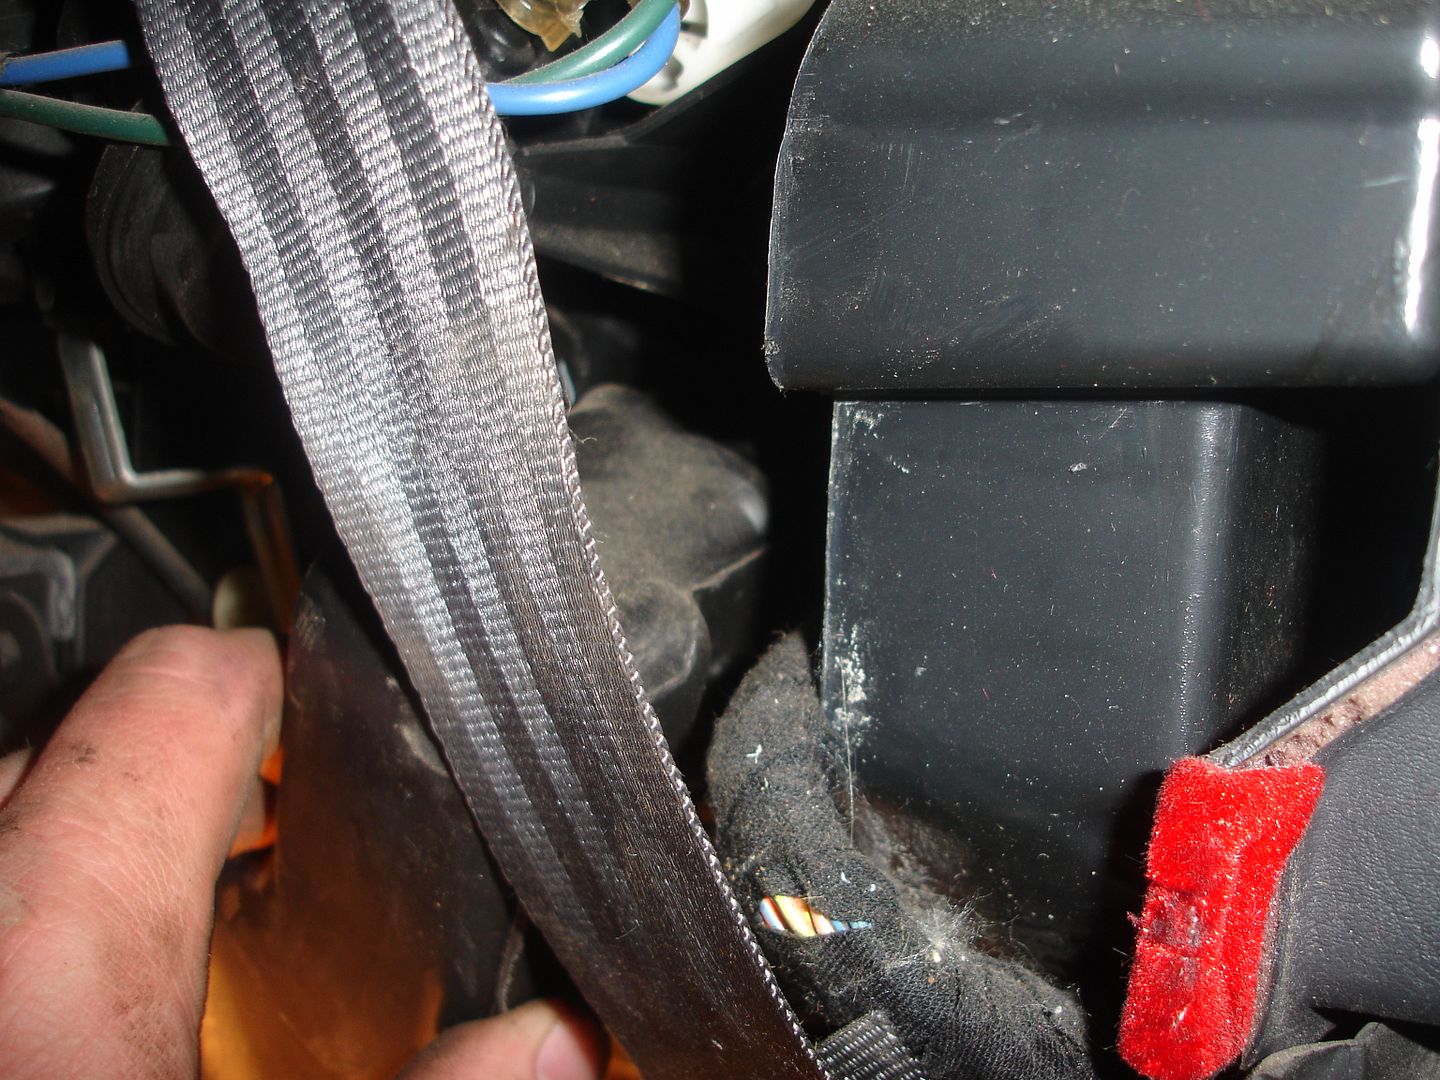
The following italicized steps may not be necessary. I figured since I was yanking things off, I may as well keep at it to make as much room as possible. What's a couple screws and bolts?
Remove the fuse panel cover (shown above) followed by the bolts holding on the upper panel.
![Image]()
Sorry - blurry...
![Image]()
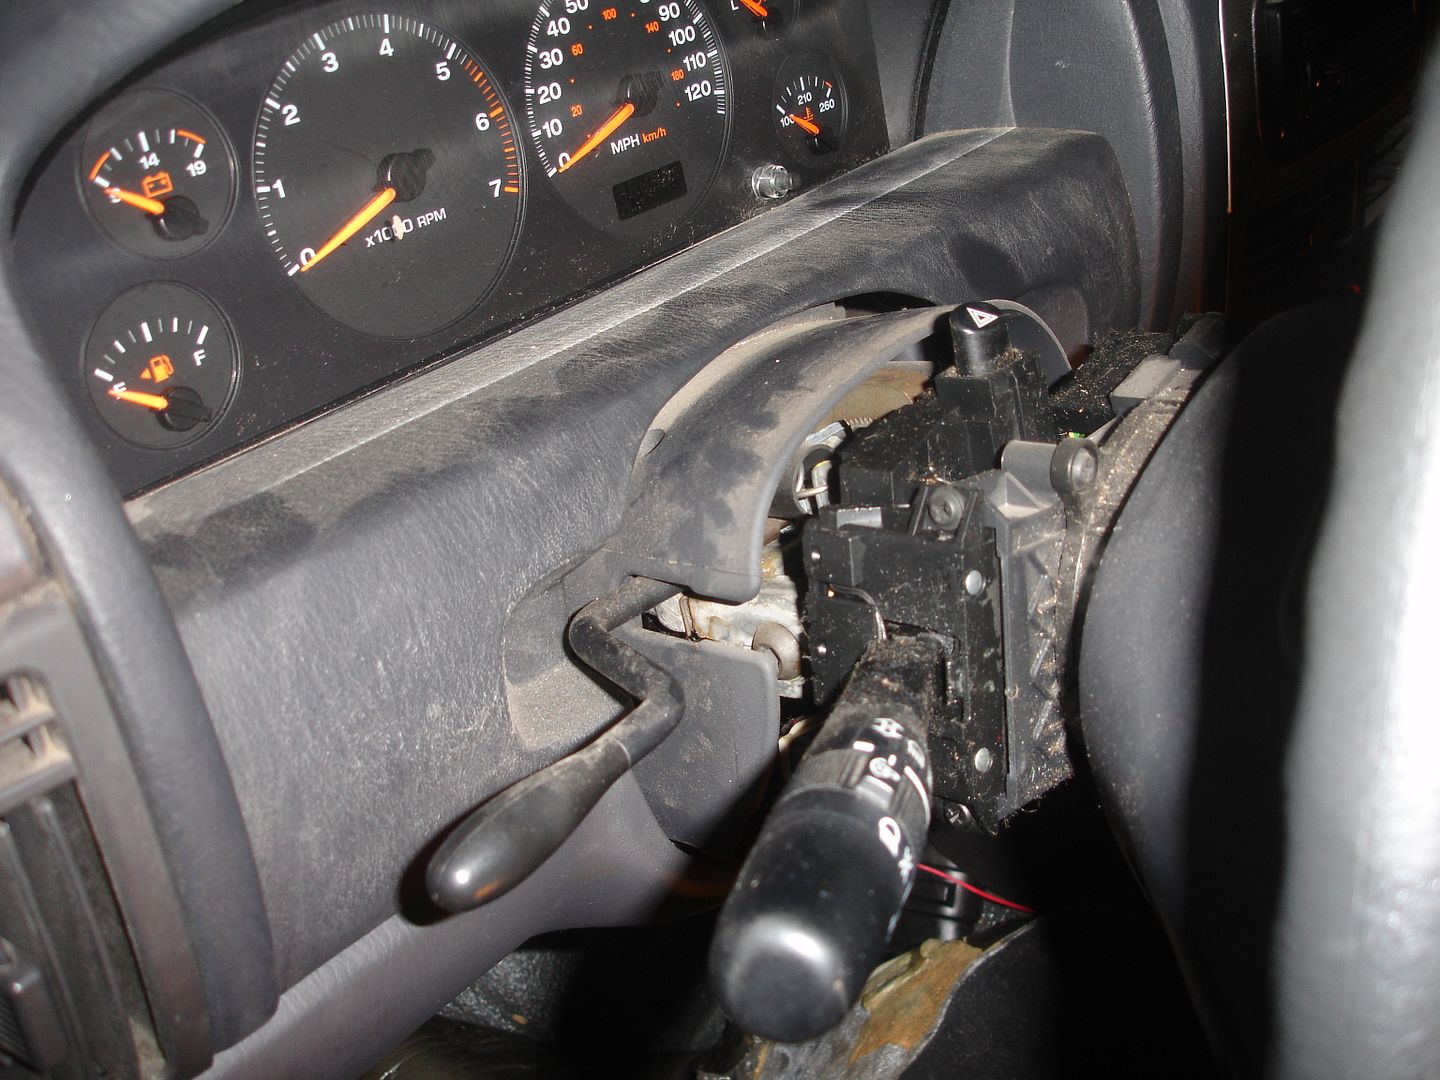
Pop off the cover around the steering wheel. I believe it is held on with 2 screws.
![Image]()
After removing the cover, remove the panel below the gauge cluster. With this removed, you'll find two hidden screws that will allow you to remove the upper kick panel.
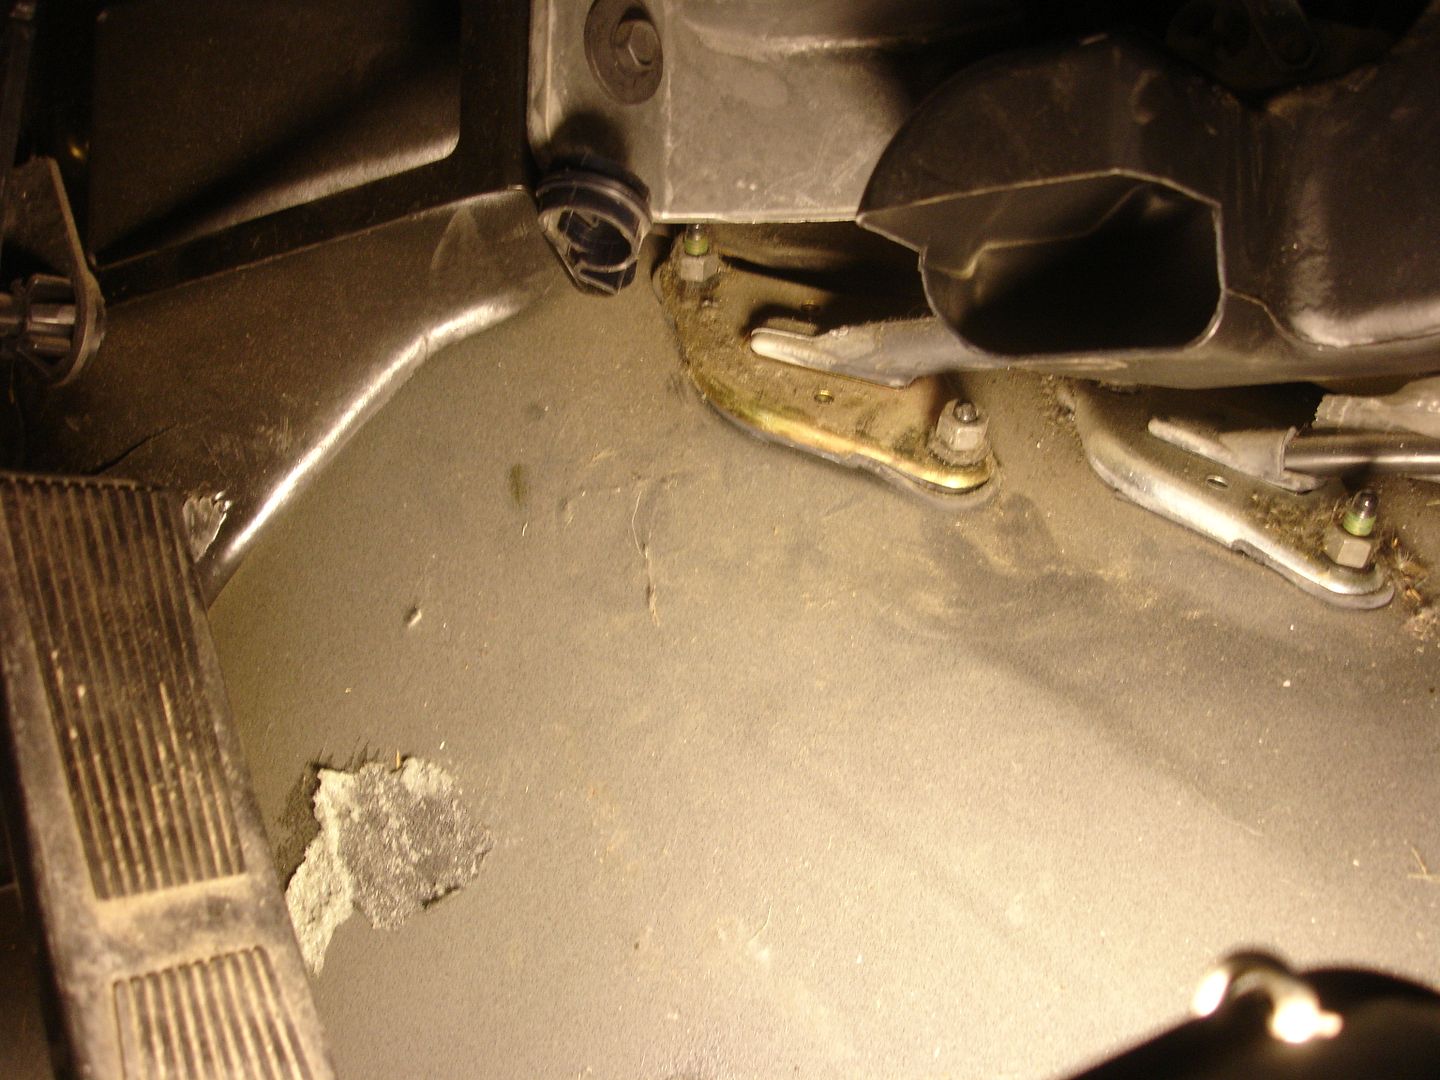
Now that there's some room to work, yank back the carpet. The area we want to access is directly to the right of the gas pedal. Unfortunately, the floor vent is in the way. This needs removed.
![Image]()
![Image]()
![Image]()
![Image]()
The following picture is blurry but I can describe what you're looking for. If you look towards the left, center of the picture, you'll see a screw that needs removed in order to pull off the floor vent. This screw is very hard to get to. Instead, I made a cut on the tab and slipped it off. This also makes installation much easier!
![Image]()
![Image]()
![Image]()
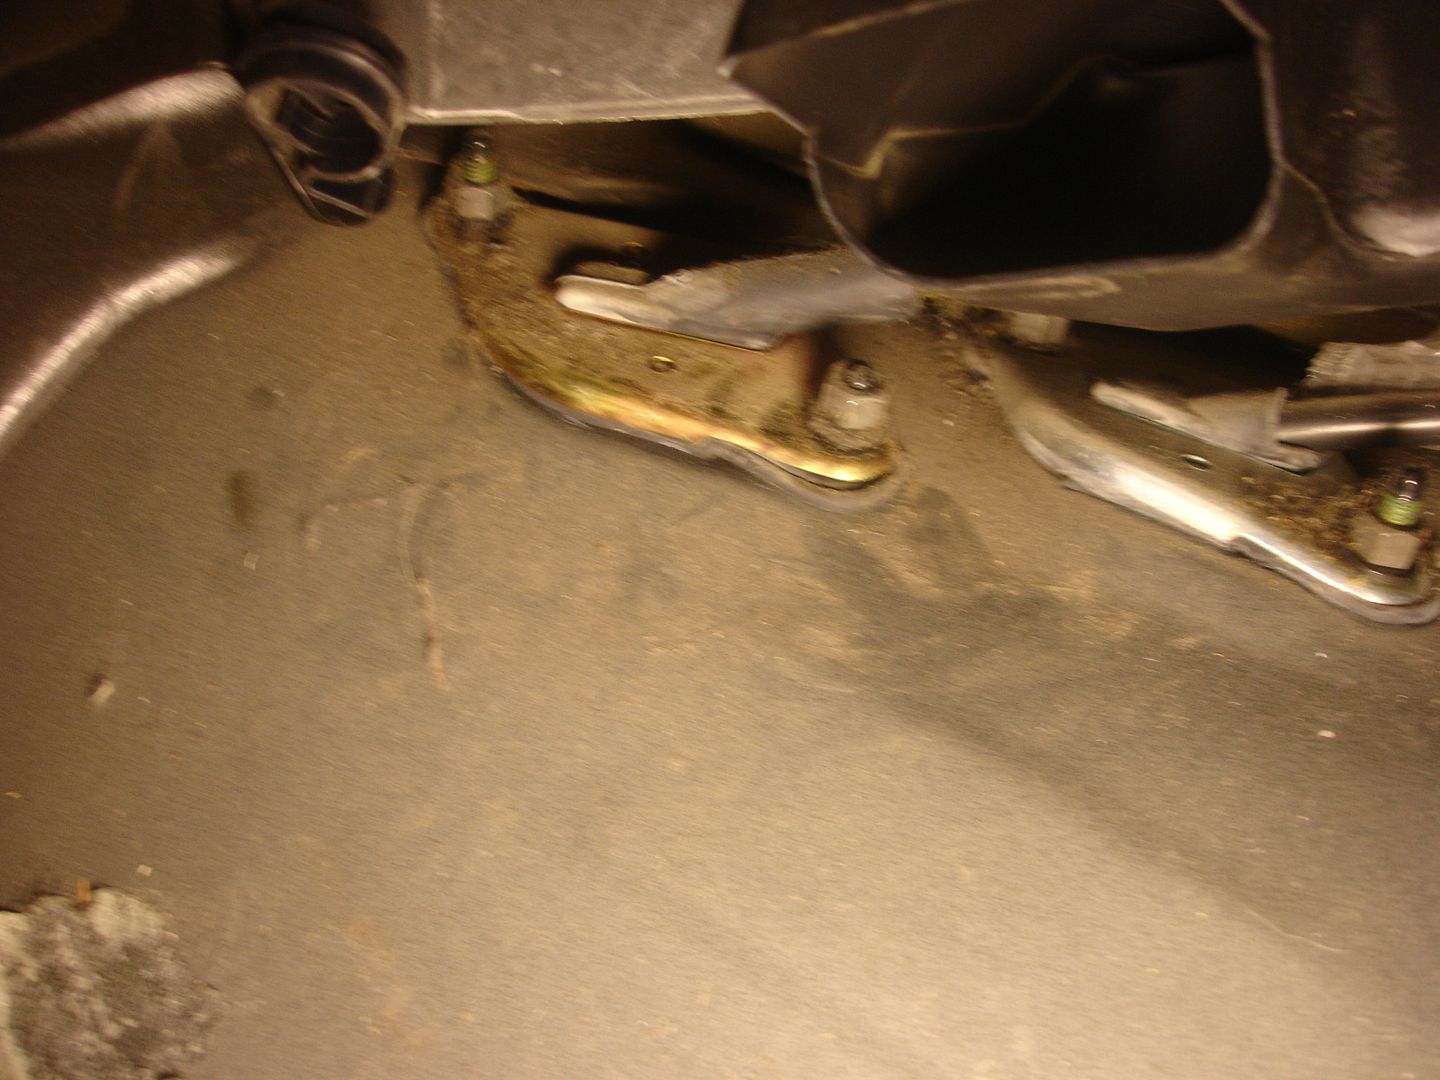
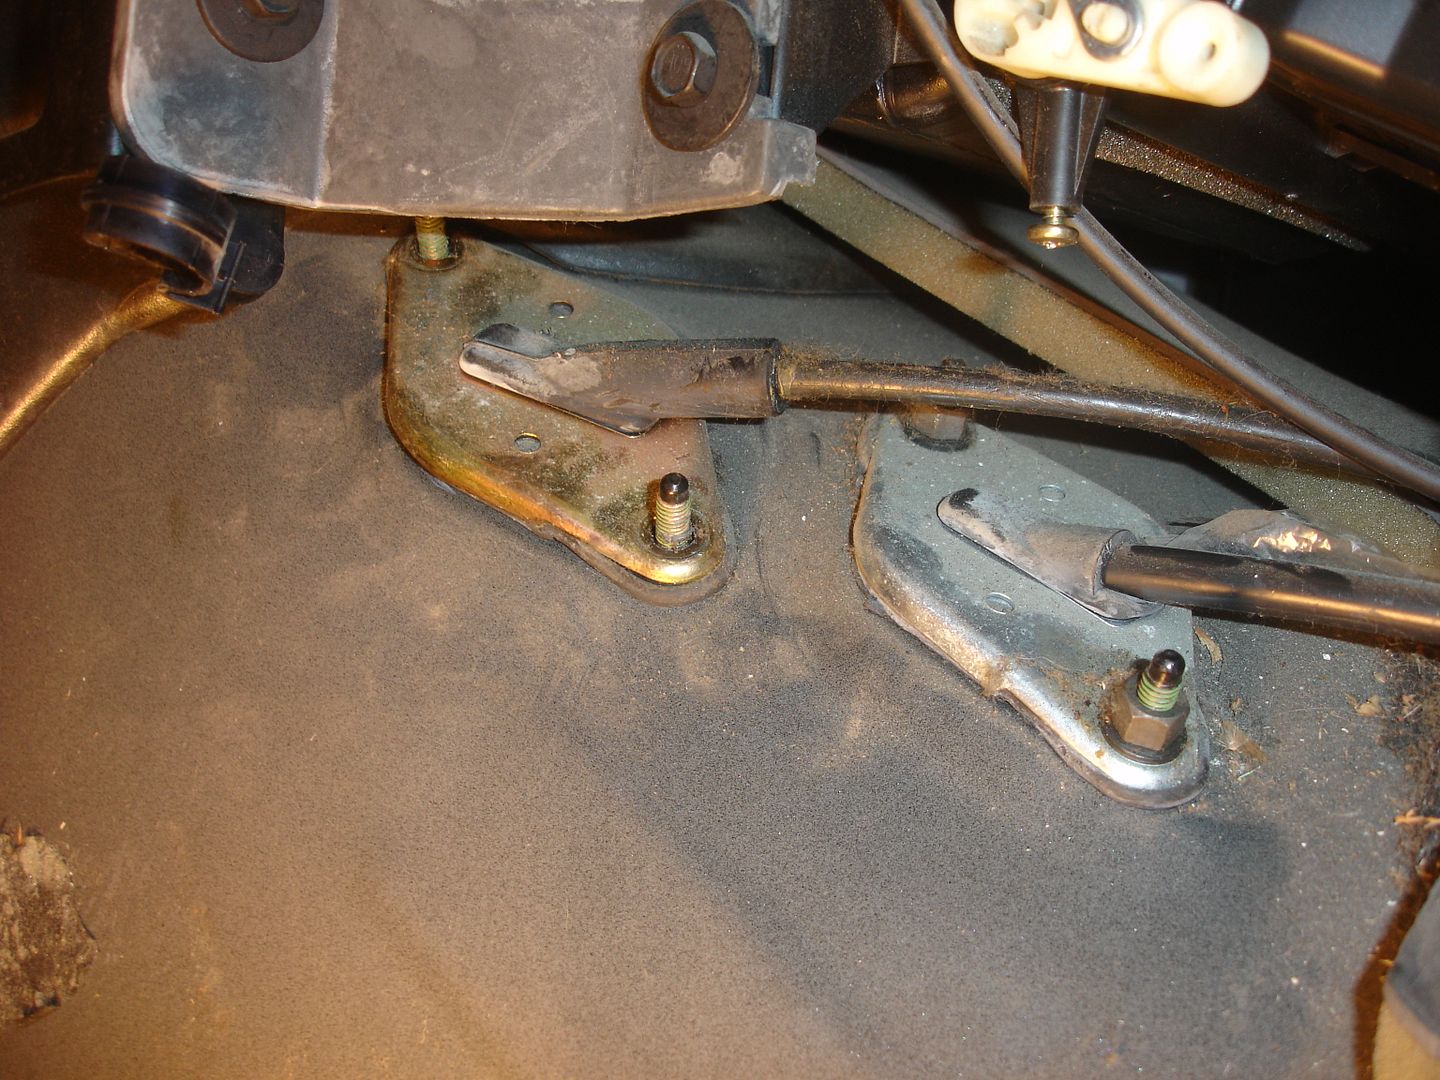
Now that the floor vent is out of the way, you can access the shifter cable cover (we want to work with the front one).
Remove the two bolts and slide the cover back.
![Image]()
![Image]()
Also, the above picture (top right), you can see the screw hanging down where I slipped the floor vent off.
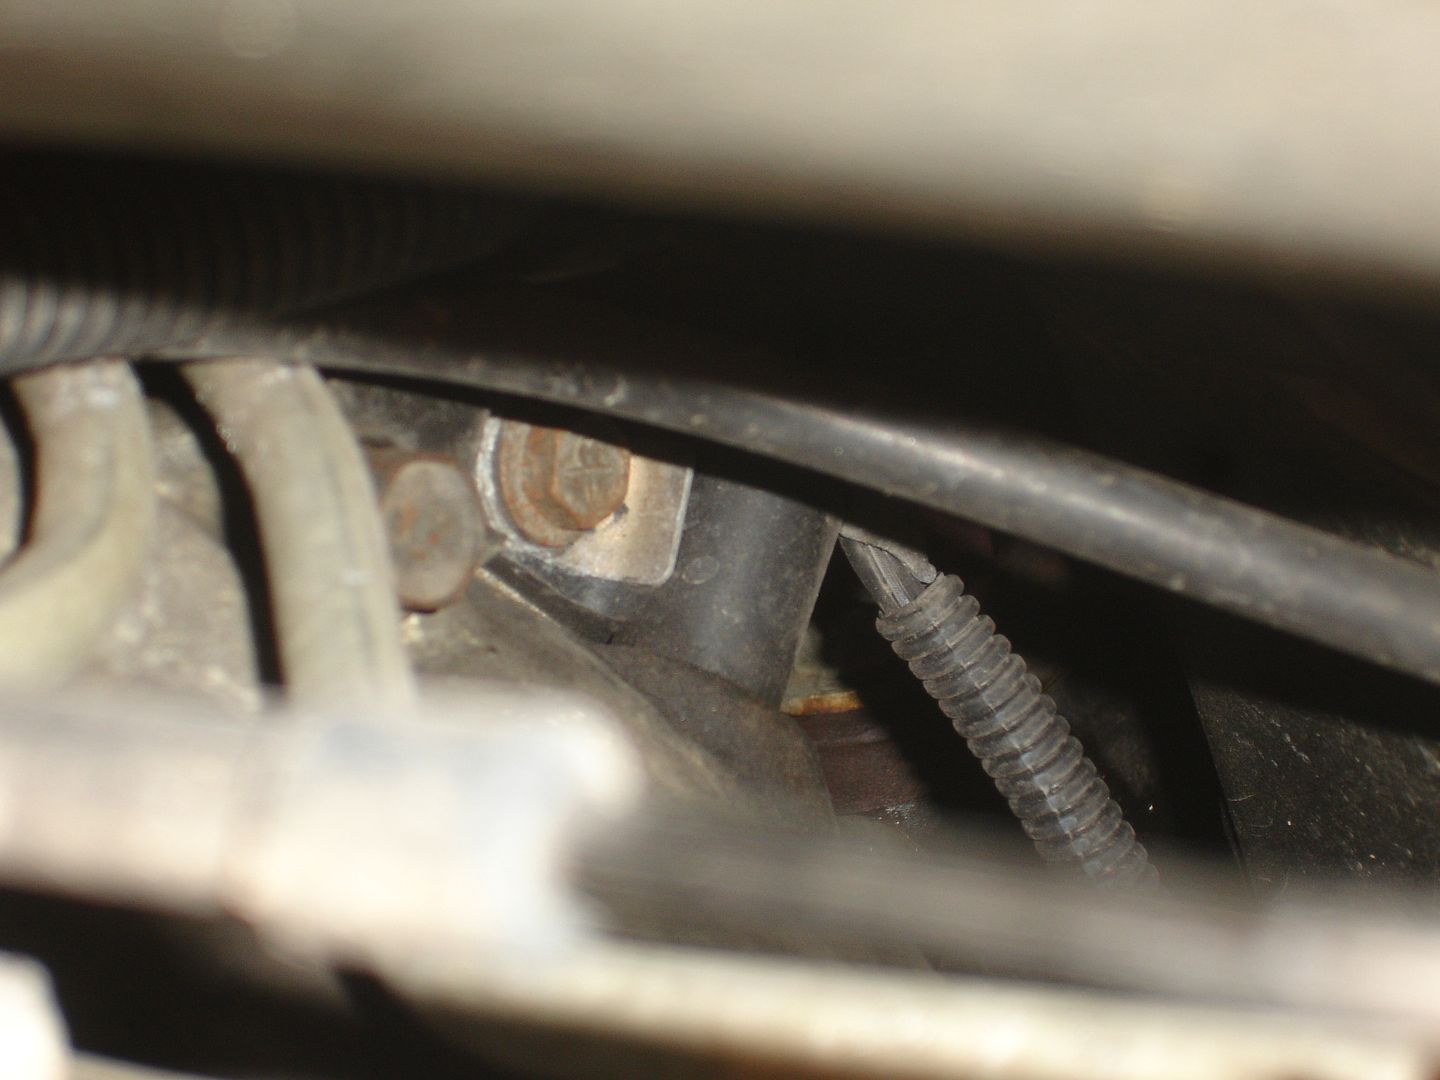
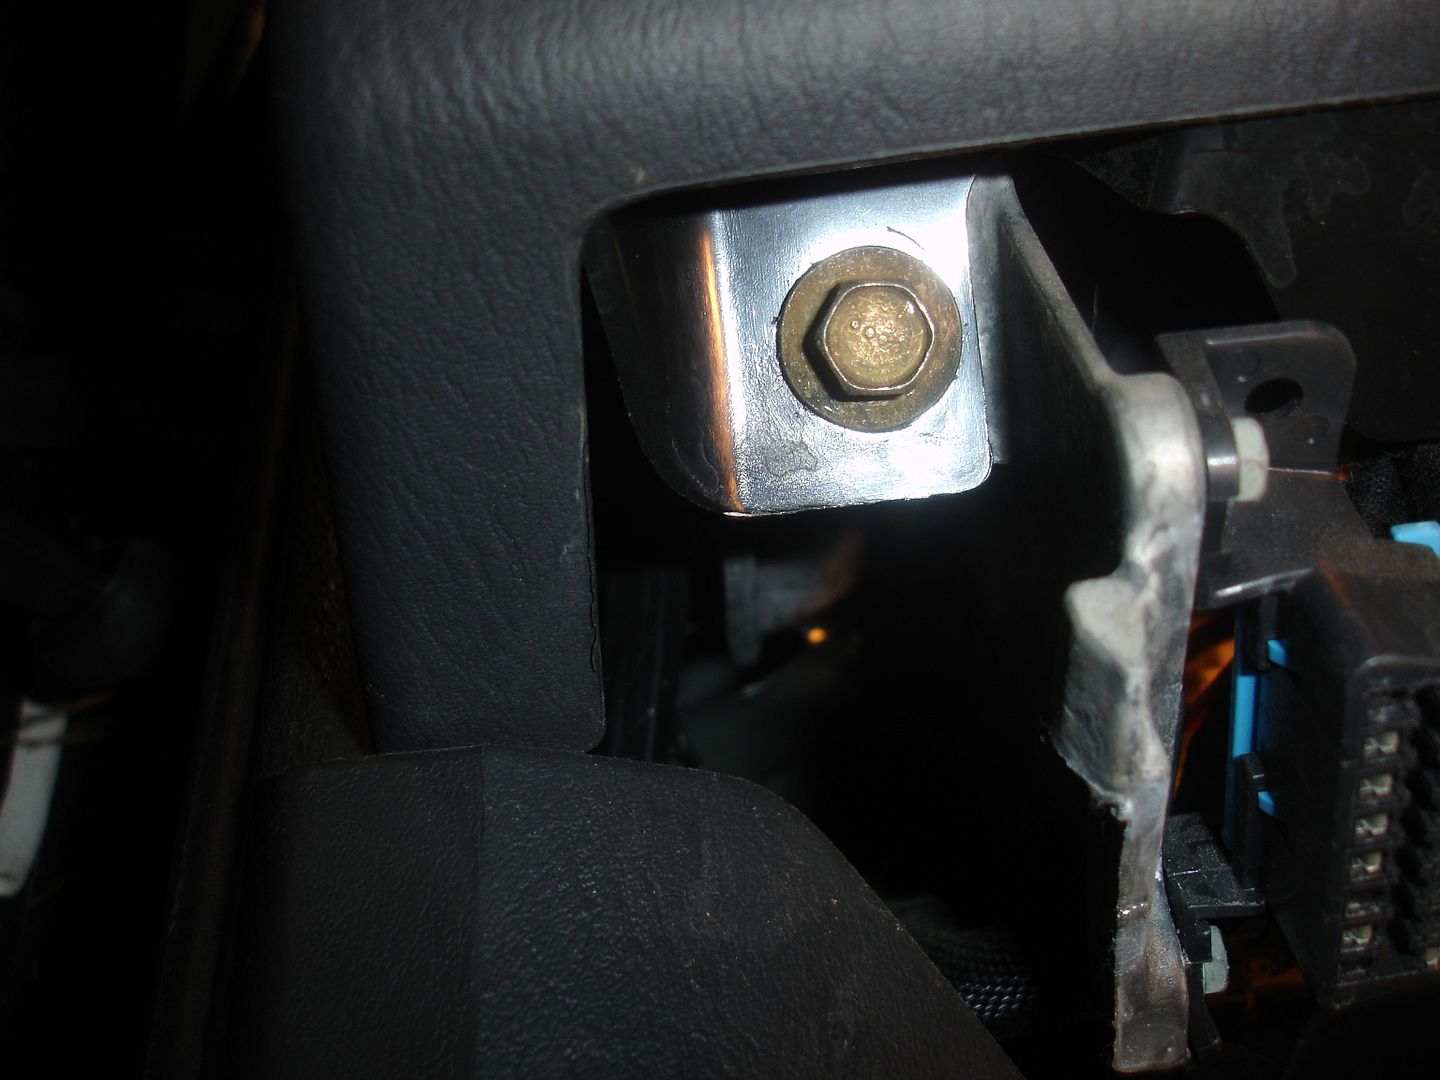
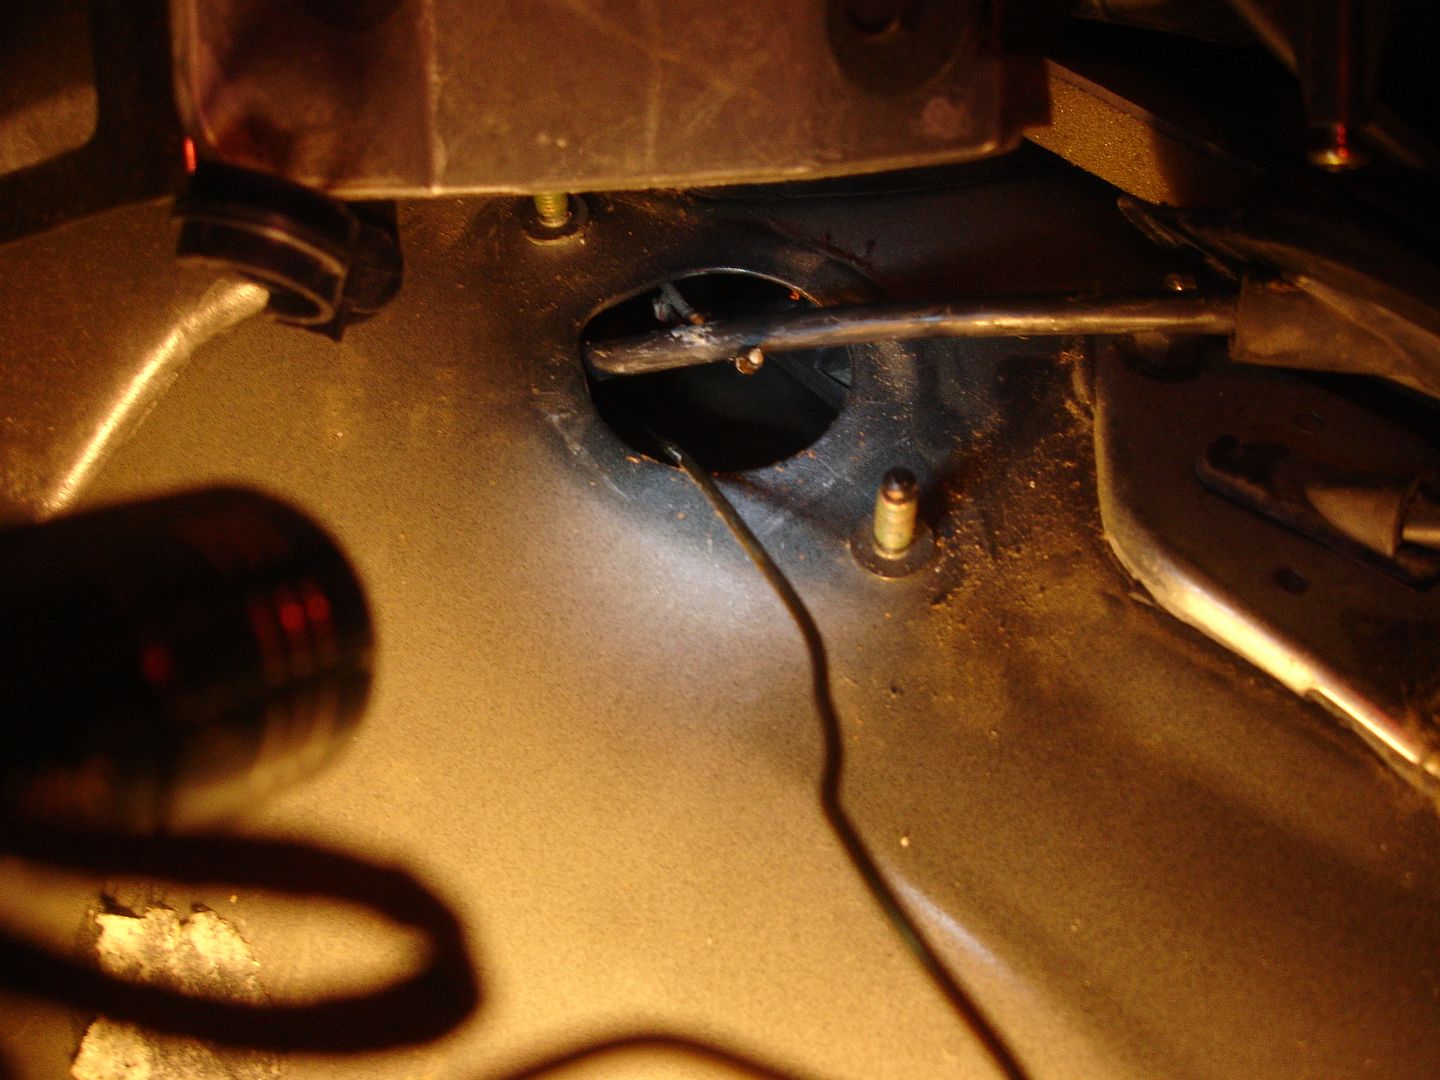
If you peak in the hole, you'll see the bolt to the CKS.
![Image]()
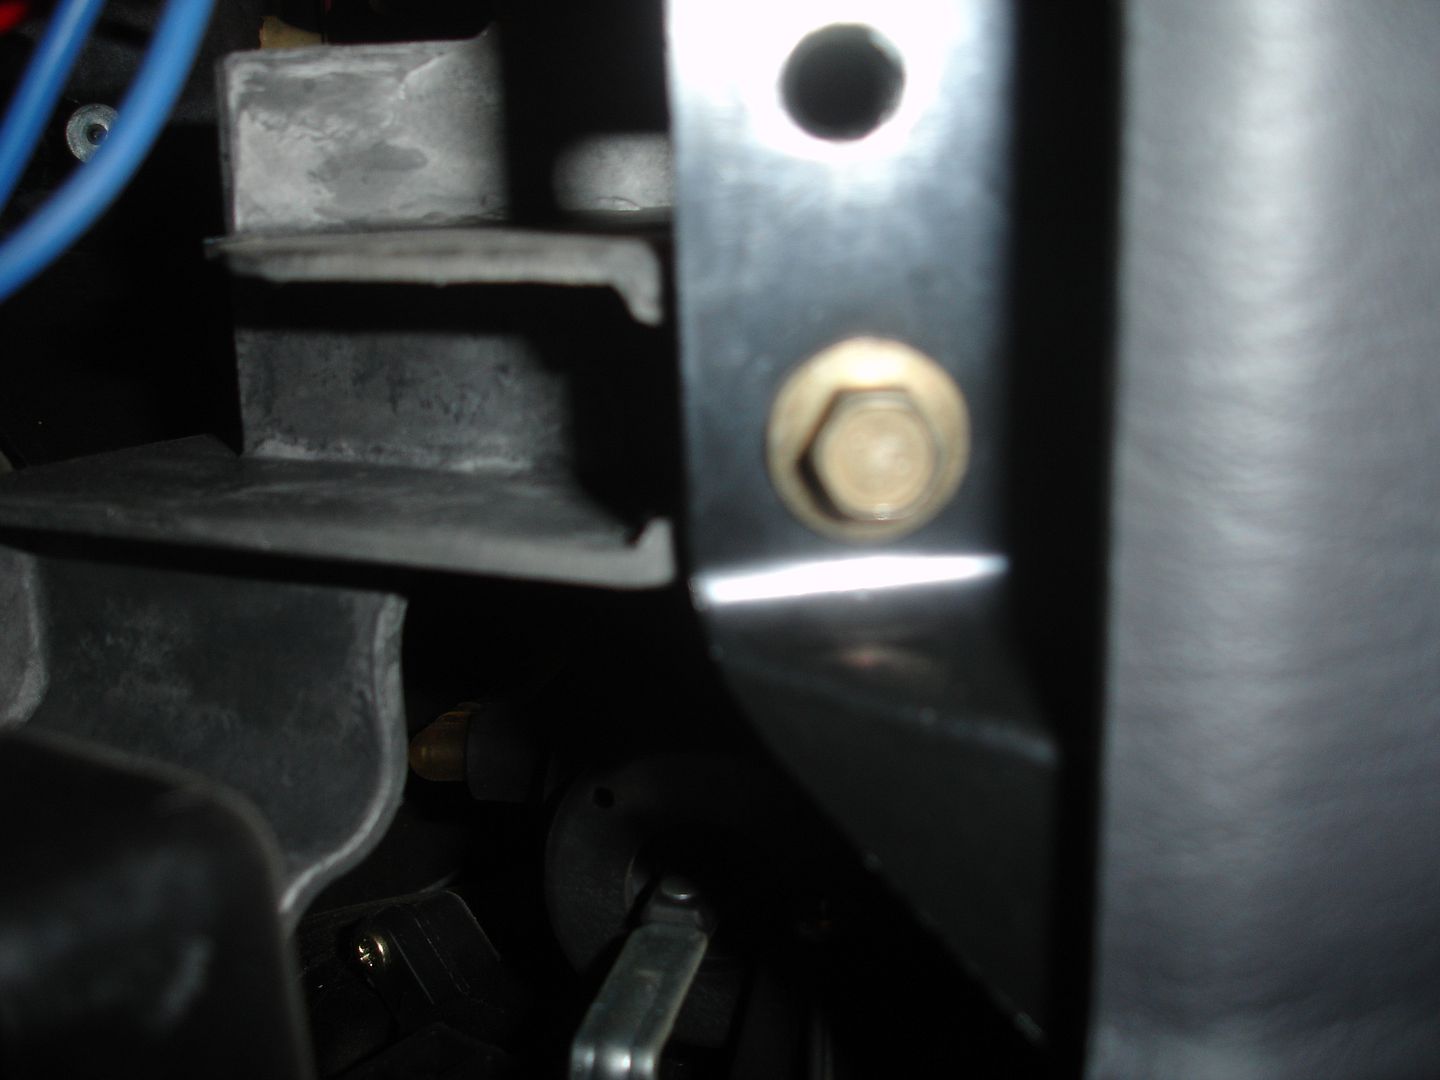
The best access to this is using a socket with a universal joint (swivel joint). If you poke it in the hole, you should easily be able to loosen the bolt and pull it out. Be sure to keep a good grip on the bolt/shield. You don't want to drop it, especially if the sensor is out (it can fall into the bell housing).
![Image]()
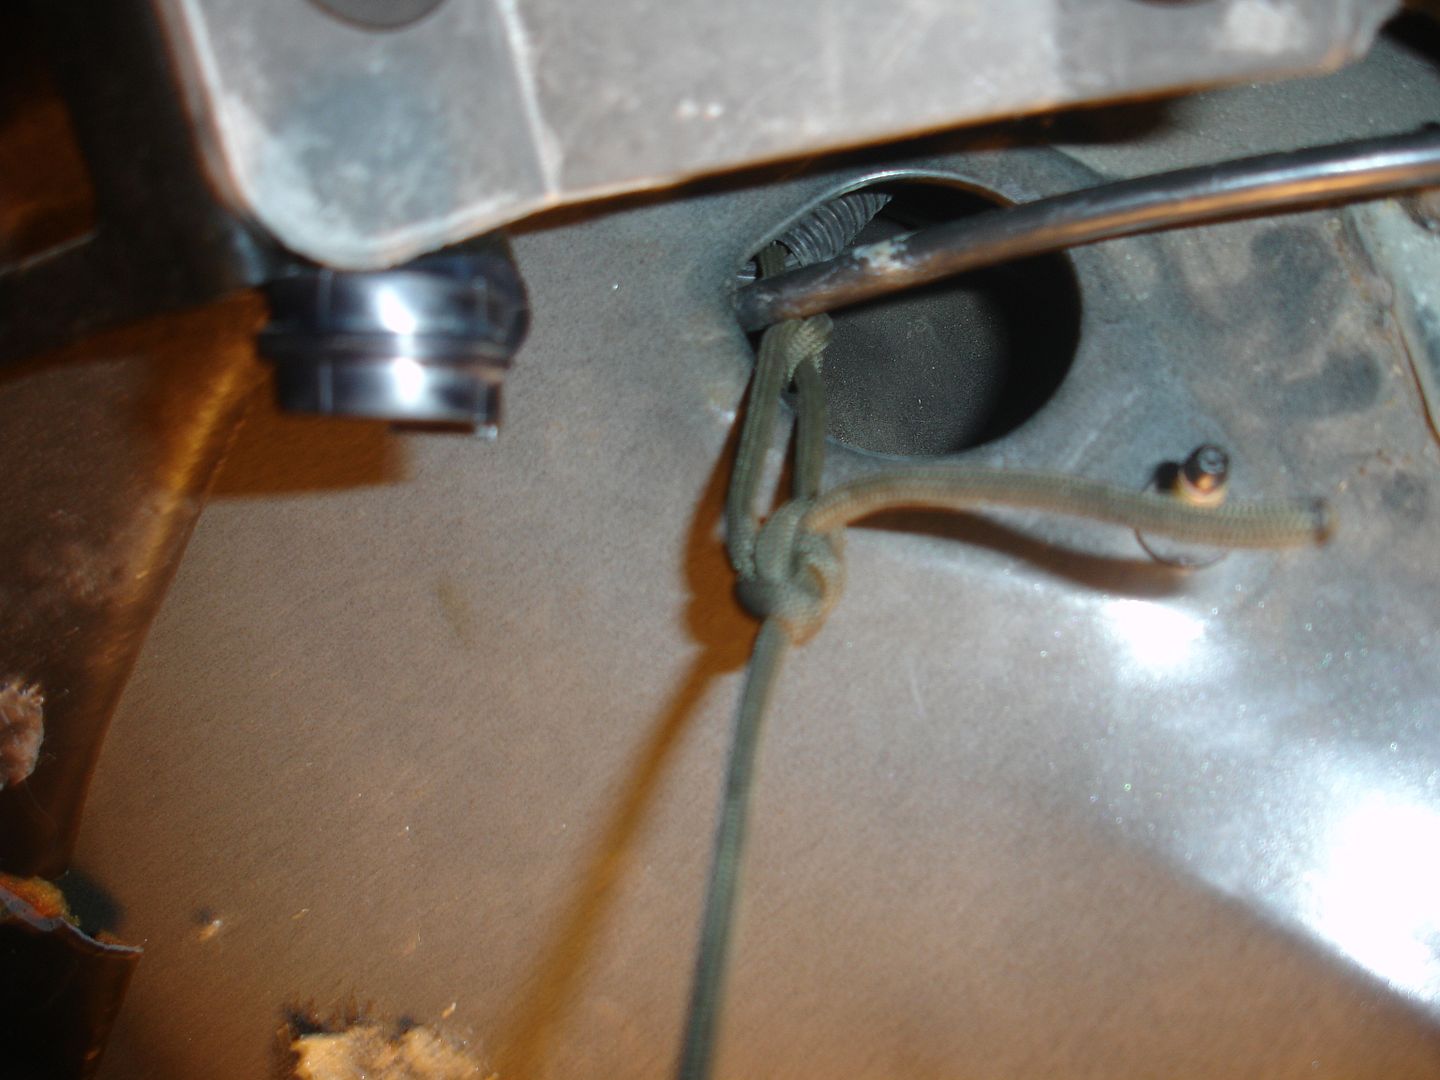
This next step is important and you'll thank yourself later for NOT skipping this step. Grab yourself a clothes hanger and some heavy twine, string, whatever. I used 550 cord. With a 'hook' fashioned into the clothes hanger, fish it into the hole, around the CKS wire, and then back through the hole. Tie the 550 cord to the clothes hanger and fish it back around and out of the hole. Tie it up tight.
![Image]()
![Image]()
Once the 550 cord is tied, gently lift the sensor out of its hole.
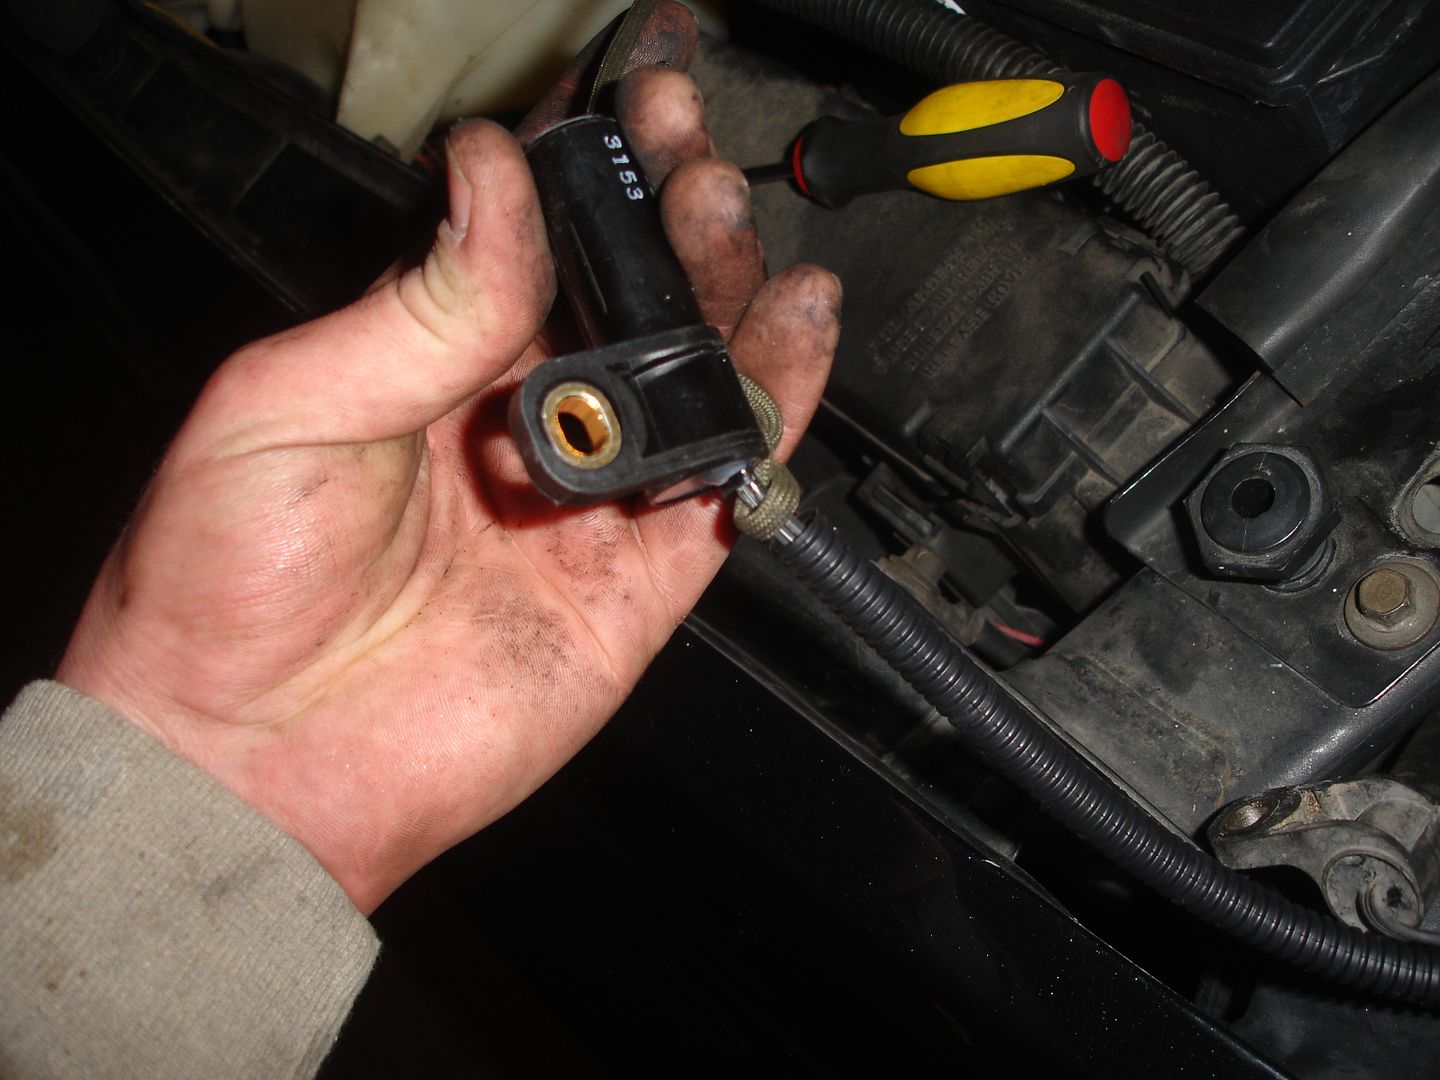
Back under the hood, pop off the push clip holding the sensor to the motor and gently pull the sensor up and out of its hiding spot.
![Image]()
Unplug the old sensor. Ta-daa! You're half way there!
:highfive:
The new sensor has a felt-like cover on the end. This is present so the depth does not need to be set. You simply (HA!) remove the old sensor, install the new sensor, and start it up. Once the vehicle is running, it'll rub off the felt.
For those wondering, here is the instruction sheet that comes with it. They sure make it sound easy!
From the top looking down on the passenger side, you'll see the sensor wires connected to the wiring harness. In this picture, it's the horizontal wire with the plug located directly behind the transmission dipstick tube.

Here, you can see the wire to the CKS running behind the engine. For reference, it's the greasy looking 'fella.
Now, I've read many different ways to go about replacing this. Here are the top 4:
1. Drop the front drive shaft, remove the transmission cross member, and lower the transmission.
2. Cut a hole in the floor.
3. Remove the carpet and work through a little access hole.
4. Reach up from underneath, pop the old one out, stick the new one in, then grab a beer because you just finished the project in 15 minutes.
I hoped for #4.
Per instructions from the magical people who say #4 is possible, I slid under from the driver side, feet first, and looked up by the transmission. Here's what you see.
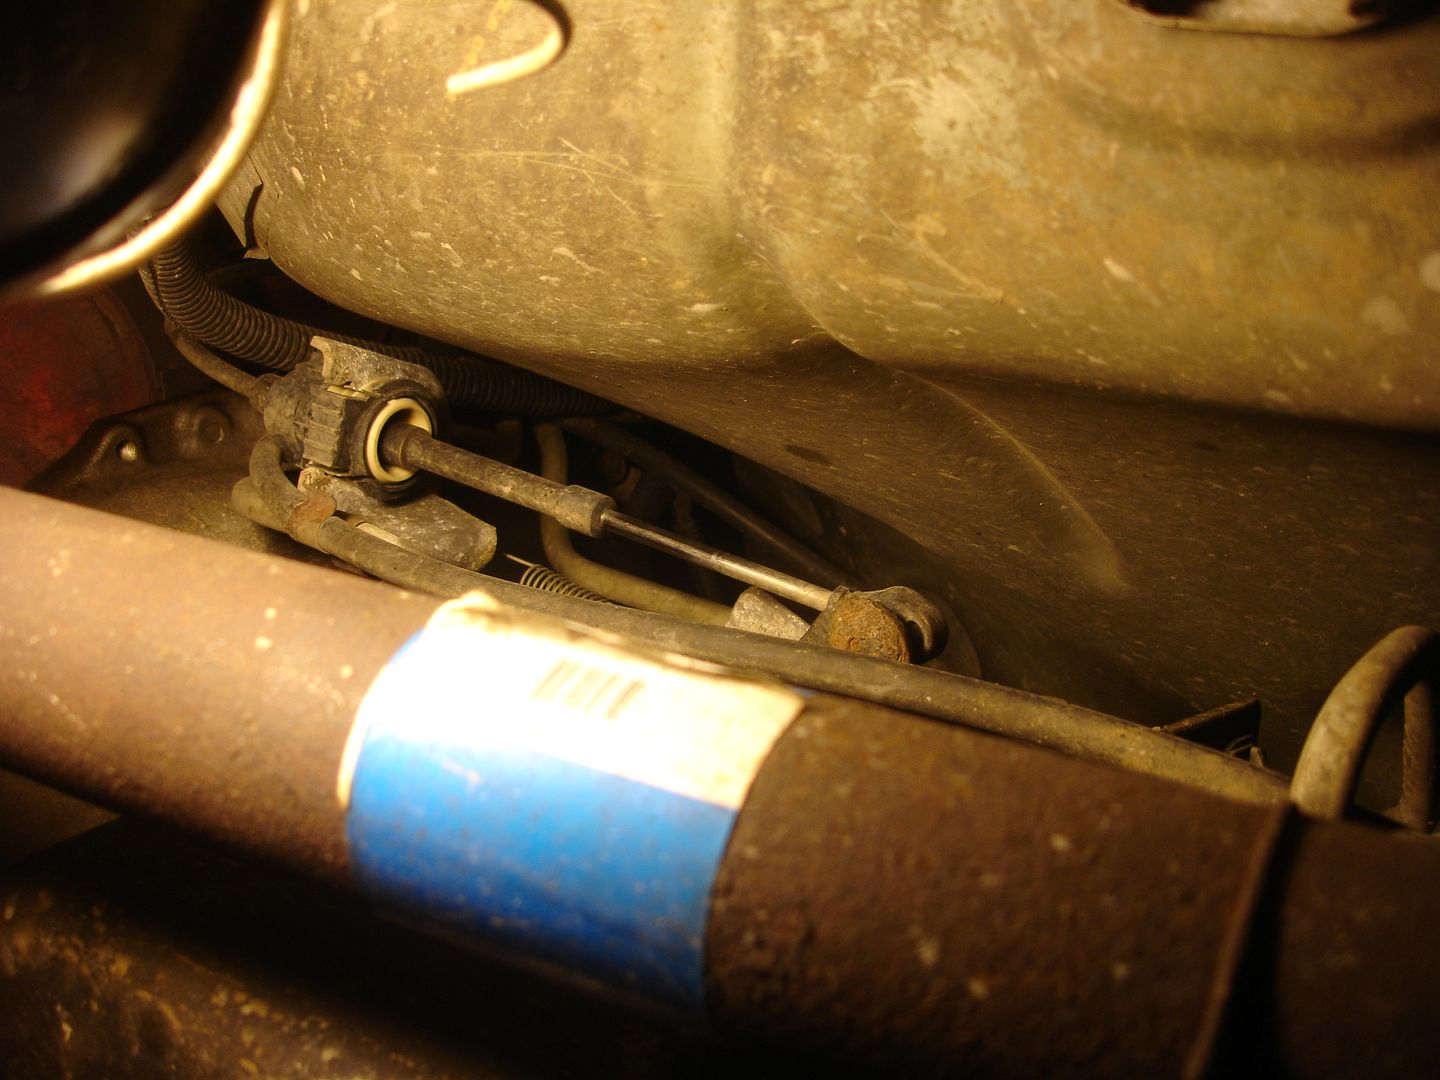
Let me describe what you're looking for in the above picture. If you look almost dead center of the picture directly above the thickest part of the shift rod, you'll 'kind of' see a bolt head and a tab. That's what were going for. To accomplish this project using the #4 method, reach up there with a long extension, remove the bolt, pop out the old sensor, drop in the new one, and tighten the bolt back down. Riiiiiiight...
Here's a close up picture of the elusive CKS from below.
I stared at that thing for about 10 minutes, just thinking. IF I were able to get the bolt out, I don't foresee any possible way to remove the old sensor then drop the new one back in, let alone thread the bolt in properly to finish the job.
Time for a new method. I really didn't want to bother with #1 as I wasn't sure there would be room to work, even with the transmission lowered. #2 sounded a little absurd to me. For my next try, I decided for #3...
First off, disconnect the battery. We're working with electrical components here...
Remove the kick panel from the drivers side (2 screws).

The following italicized steps may not be necessary. I figured since I was yanking things off, I may as well keep at it to make as much room as possible. What's a couple screws and bolts?
Remove the fuse panel cover (shown above) followed by the bolts holding on the upper panel.
Sorry - blurry...
Pop off the cover around the steering wheel. I believe it is held on with 2 screws.
After removing the cover, remove the panel below the gauge cluster. With this removed, you'll find two hidden screws that will allow you to remove the upper kick panel.
Now that there's some room to work, yank back the carpet. The area we want to access is directly to the right of the gas pedal. Unfortunately, the floor vent is in the way. This needs removed.
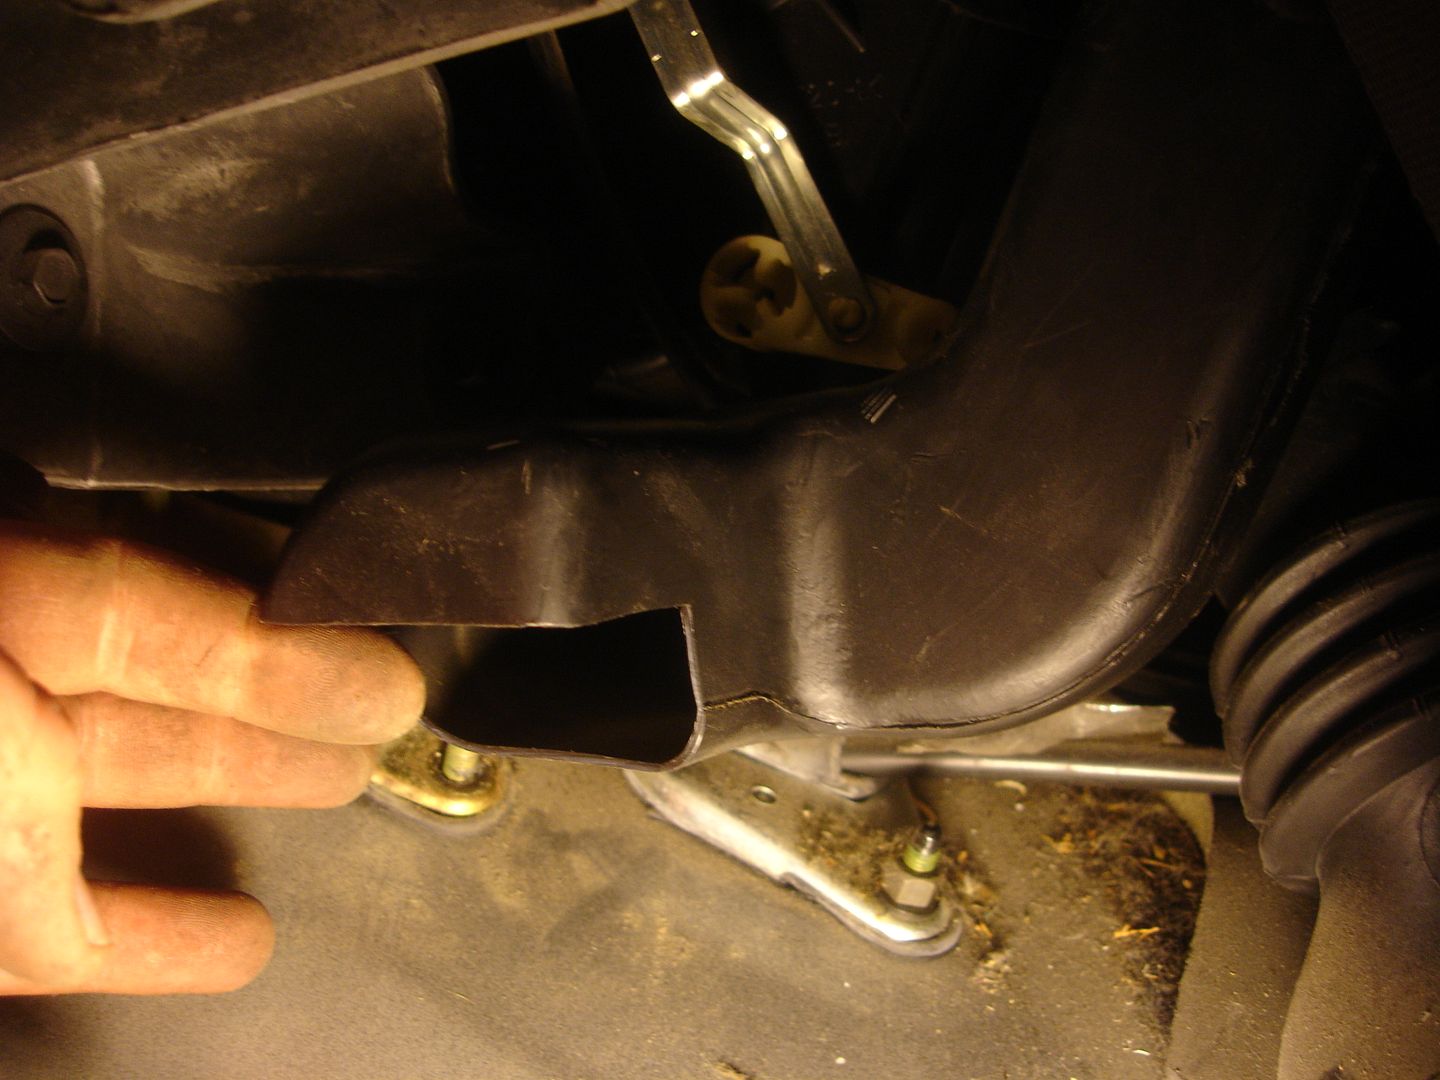
The following picture is blurry but I can describe what you're looking for. If you look towards the left, center of the picture, you'll see a screw that needs removed in order to pull off the floor vent. This screw is very hard to get to. Instead, I made a cut on the tab and slipped it off. This also makes installation much easier!
Now that the floor vent is out of the way, you can access the shifter cable cover (we want to work with the front one).
Remove the two bolts and slide the cover back.
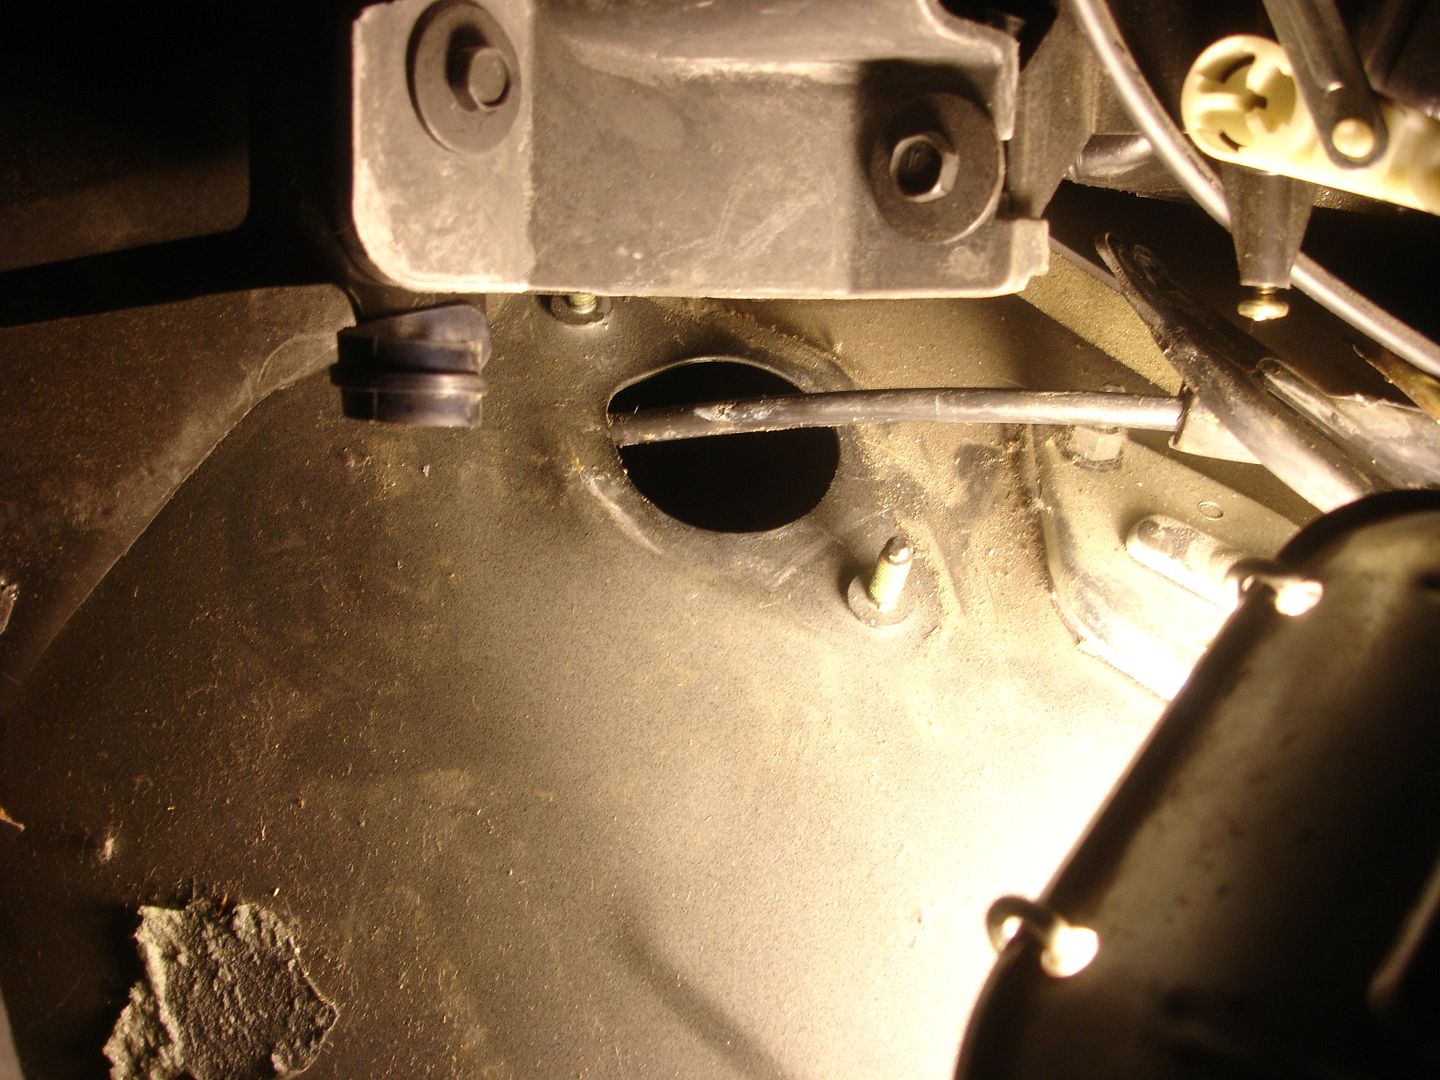
Also, the above picture (top right), you can see the screw hanging down where I slipped the floor vent off.
If you peak in the hole, you'll see the bolt to the CKS.
The best access to this is using a socket with a universal joint (swivel joint). If you poke it in the hole, you should easily be able to loosen the bolt and pull it out. Be sure to keep a good grip on the bolt/shield. You don't want to drop it, especially if the sensor is out (it can fall into the bell housing).
This next step is important and you'll thank yourself later for NOT skipping this step. Grab yourself a clothes hanger and some heavy twine, string, whatever. I used 550 cord. With a 'hook' fashioned into the clothes hanger, fish it into the hole, around the CKS wire, and then back through the hole. Tie the 550 cord to the clothes hanger and fish it back around and out of the hole. Tie it up tight.
Once the 550 cord is tied, gently lift the sensor out of its hole.
Back under the hood, pop off the push clip holding the sensor to the motor and gently pull the sensor up and out of its hiding spot.

Unplug the old sensor. Ta-daa! You're half way there!
:highfive:


")


