Jeep Enthusiast Forums banner

Poison Spyder Build TJ

1 reading
266K views 1.1K replies 101 participants last post by  RedTheRebel  
#1 ·
So Im posting this as a Poison Spyder Customs Jeep Build Off sort of thing. Recently won the set of their BRAND NEW DeFender Flares. In doing so I also purchased rear crusher corners with the 3" DeFeneder flares on them, BFH front bumper, Rock Knockers w/ Sliders... Along the way there were many other add ons but we shall start when it began. If any Questions on install feel free to ask away.

I'll Try and add pros and cons in as well, also a walk through of the jeep build as an entire.!

But first lets start with the DeFenders install!

Having Smittybuilt Flatties already on the vehicle there was no extra cutting required. I realized in doing this that the SB Flatties make you cut 2-3" EXTRA inches of your inner fender well out just to fit them in. Where the sleek design of the DeFenders keeps the cutting to a minimal. :2thumbsup:

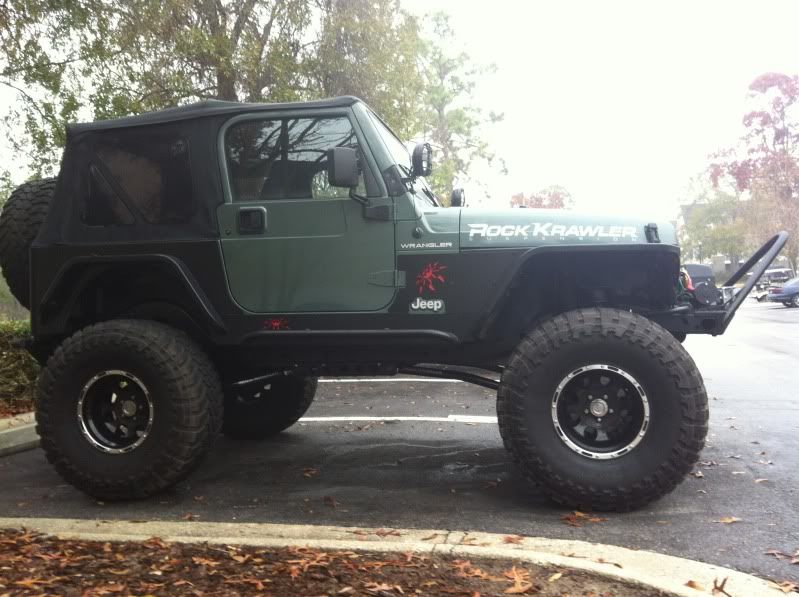
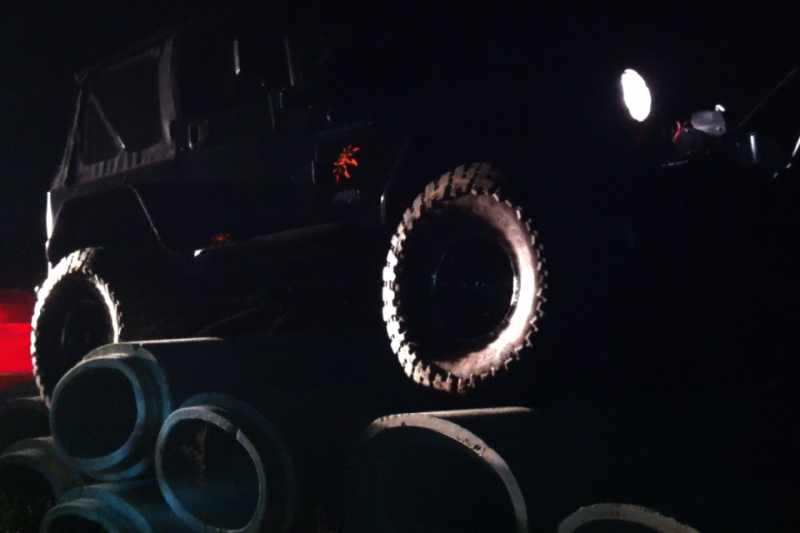
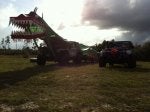
Picture 1 is the basic Phase 1 of this build. starting with a 6" procomp short arm lift 37x14.5x15 toyos SB XRC front bumper, SB tube steps, SB rear swing carrier, and SB flatties. from here only magic will happen!

1st step of the install is removal, like i said already having flatties removal was a breeze. step 2 removing the fender supports on both the passenger and driver side was confusing at first but after some thought made sense. the only things removed was the battery,2 inner fender brackets, and 1 vacuum hose connected to the inner fender and the hood latched; Thats it!

after removal of some dirt mud sand dust and all other entities not supposed to be in the jeep it was time for install.. I DEFINITELY recommend loosening the front body mount for easy adjustment as well as the supports going to the front nose to the fire wall. just makes the fine tuning and adjustment so0o0o much easier. James Kha and I found out the hard way haha.

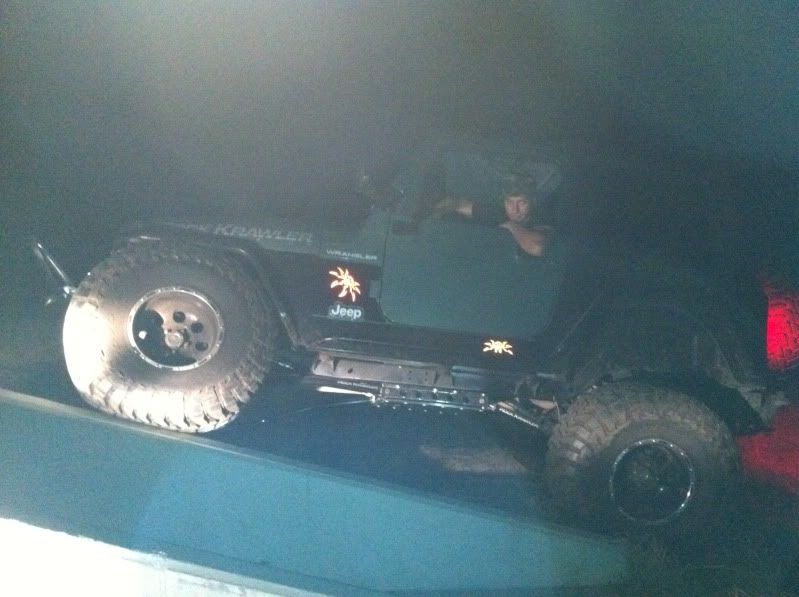
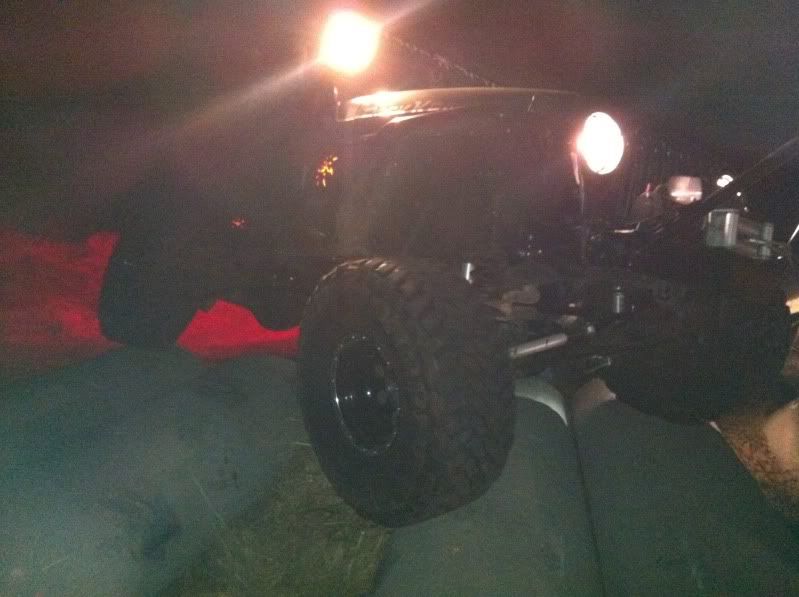
In a few pictures you can see how the DeFenders ADD 3" of wheel well to the rear portion on the tires, which is great when wheeling and stuffing tires!

Install of the battery trey bracket was a snap, using all the preexisting hardware. the fenders fit like gloves against the fire wall and the top of the 'whats left of' fender. i do recommend having another person around to help fa-ness the front and rear fender at the same time to get the perfect fit you will be looking for. putting the hood latch in the front to hold in place you can use this as a line up for mock up. then the 4 firewall bolts then you can bolt up with EASE having the cut out in the side panel.

once all the bolts are in it was time to tighten up and align all the body lines together. All in all it was an easy process in swapping out flares. total time with 3 Guys (THANKS TO KHA AND JAMES!) was just about 2 hrs. 1 hr off and cleaning and another hours on and fa-ness. 1-10 on the install on difficulty (10 hard) a 4.5? maybe 3?.. was not bad at all, but like i said before i did already have my fenders cut from the SB flatties. (used a cut off wheel with air tool):thumbsup:
 

Attachments

#2 ·
In these you can see just how much MORE i had to cut to fit the SB fenders. OUCH:fear:

sorry for foggy pictures!
 

Attachments

#4 ·
Like I said for that started the whole turnover in this build. from here you will see all the other great applications and modifications from Poison Spyder Customs.

PROS:

Extra wheel well clearance!
No edge rubs on tires when fullly stuffed!
Light weight (Aluminum!!)
Ease to install!
Great customer service at the PSC compound!
Lined up PERFECT with Rock Knockers
Did I mention extra wheel well clearance!?!?

CONS:

I powder coated all my hardware, in doing so the counter sunk bolts didn't sit completely flush in the countersunk holes
In powder coating these I stripped out 1 stainless steel bolt head on the flat surface where the hood covers
I didn't have these a year ago! haha
 
#7 ·
Yes, that was a picture of the install of the SB Flatties, if you look closer at the fenders you can see that i didn't have the latches connected for the hood to bold down to. the Smitty built Flatties didn't have those holes "pre drilled" i had to drill from the underneath to make sure they lined up! :confused:

on the Poison Spyder DeFenders the hood latch holes ARE provided which means no drilling on the DeFenders is necessary :2thumbsup:
 
#9 ·
could be an optical delusion yes, or as the say "the angles".. :) The DeFenders do have rolled edged from the top to side panel which will give it more of a shadow. All curves no points. Could have come up a tad in the rear maybe, but i'll let it ride:2thumbsup:
 
#12 ·
Poison Spyder Customs just came out with there new DeFender Flares for the TJ/LJ they selected 5 Jeeps from around the US to receive there flares for free from submitted application forms, in constellation I posted this thread on the install to aid/help/inform others on them. Pretty sweet! Love the company.
 
#13 ·
Once the DeFenders were installed it was onto the Crusher Corners and Rock Knockers. everything lined up great with one another! which is great when buying piece by piece. in installing the Crusher Corners i also did away with the square tail lights and went to the 24 LED tail lights, and moved my tag to the spare tire rack. Had SB tube side armor and hacked them off! welded :Frown: but nothing a torch grinder mini disks and paint gun cant fix!
 

Attachments

#14 ·
Fl sucks... there are no rocks, hills, or clay... we have to make our own down here haha.
 

Attachments

#15 ·
FYI use a 4.5 hole saw for the LED lights. A fine jig saw does not work like a dream. at all. ever. it was a task in a half.. just wanted to add that in there. because I don't wish that upon anyone!
 
#16 ·
So I haven't had much time for any add ons to the Jeep but there is a definite HUGE drive train upgrade incoming with new suspension. Just a reminder: This is my daily driver, so for the most part I have no 2nd option for a vehical to use durring down time. Also an Engineering student at UNF so time is short bethween school and work.
I just ordered a 5.5 X Factor Long Arm kit from Rock Krawler Suspension. There customer service was awesome! Jeremy is the bomb. Been looking into axles and think I've decided on a 60 front with a 14 bolt rear end. 1 tons may seem like much now, but I'm planing for the future. if I go 40's I'd want to be ready rather then getting 44's and have to swap all over again.

Axles front and rear have 4.88 gears and a new Detroit in rear. (personal friend seen with my own eyes). With the Rock Krawler kit old perches are cut off while new rear cross members are wended on. I feel it would be a 1000 times easier to do the axle swap with suspension swap (short arm to long arm) in 1 shot..

any thoughts?
 
#17 ·
Not so much a build but was in the parade down here in FL figured it was in the spirit of the holidays haha i had to!
 

Attachments

#18 ·
Jeeps been feeling sluggish lately, figured id giver her some new candy parts for the motor with a new TPS and IAC. purrs like a kitten. also finally put the vinyls behind the Poison Spyder Rock Knockers today

and yes its dirty in there
 

Attachments

#19 ·
Previously posted was a question about the gap on the pass side fender. it was erking me (my OCD) but its fixed now. just wanted to say thanks for noticing. its always nice to get 2nd opinions and another eye on some things.. wish I checked, double checked, and rechecked the 1st time tho. :confused:

also had some silver in the diff fluid. tore down the front end to inspect, everything came out ok. I'm led to believe its just from the install of the new locker and some wear form me beating the piss out of it. so i changed the shafts anyways lol

1st one is of the before shot of the gap.. I ended moving it up about 1/4 of an inch. has a curved lip to it so still looks low but I SWEAR its right with the body line!

and the last is a Detroit Tru Trac locker:2thumbsup:
 

Attachments

#21 ·
Just got in my new lift from Jeremy at Rock Krawler and Pure Performance. GREAT Customer service. The Guys there are awesome. 5.5 X Factor Long Arm Suspension lift!

Now time for the hard part.. School just started (BOOOO) and I want this on now! Might have to do in stages? Skid pan and lowers 1st then the new axles with all gussets so I can measure, tac, final weld, powder coat, then INSTALL!
 

Attachments

#23 ·
2003X said:
Sweet Jeep, Love the Toyo's. Best tire IMO for street and offroad. Guta re-size them pics those, they are huge!!! I will be following your build.
Thanks yeah I love the toyos, just got new rims and tires they are 42" kevlars... Not staying with the 42", just for the axles swap I'm doing the lug patters fit. Going right back to the 37x14.5x17 toyo mt oc

And I know about the pics lol "wrangler forum" automatically does it. "jeep forum" doesn't :-/
 
#24 ·
So I have 2 days off in a row and decided to start on the Rock Krawler Suspension (5.5 Long Arm). I'm doing it "bolt on style" rather then welding it. I figure who knows what new toys this TJ might get and wending and plasma cutting aren't in my future.. least for the cross skid pan ha!

Started with the upper and lower mount brackets which are also the skid pan brackets. 3 pieces, about 175lb all together. Definitely bringing the High center of gravity down when its all complete.

While taking everythign appart I ran into some issues.. Leaking T-case and tranny seals, wasted trans mount, and spun pocket nuts from OE cross pan bolts. :( Could be worse right?
 

Attachments

#25 ·
I guess I'm gonna call this STAGE 2 on the EC PSC TJ.. Suspension and Drive train :cheers2:

After all the seals and little mishaps were done popping up I brought out the torches to start the dismount of the lower arms to make way for the new Long Arm System fro Rock Krawler. I know these are the same stock axles I'm adding the Long Arms to but id rather do it in stages then 1 massive project when I get the new axles in a few weeks. Just rather not get overwhelmed with school work and the TJ..

Also a few snap shots of the skid plate and trackbar mounted.. I need to craw on something to get a better shot but you can see what a difference the Rock Krawler Skid does compared to OE.

after reviewing all these pictures.. do I repaint the whole frame? I kinda want to.. idk

Image


Image


Image


Image


Image


Image
 
#27 ·
Yeah I was thinking a semi-gloss, just so when looking at all the pretty new components and upgrades... You don't see a undesirable frame. May tape it up and spray, but I gotta clean up where I torched frame and fill in the "too far" spots haha
 
#28 ·
woo hoo, my resizing pictures worked!

Well the Lift turned into a huge success! the 5.5 X Factor Long Arm Suspension from Rock Krawler looks great skying the 37's but not so sure how its gonna react to the 42's next month when i do the axle swap. everything went together like butter!

Every single old control arm I took off the bushings were completely SHOT! When I took off the front uppers both pressed in bushing fell out when the arm was removed, haha. I deff got my money out of that Procomp SA but nothing compared to the LA Kit now installed. each arm is an approx 40-50lb. vs. a 6lb SA.. Rock Krawler is awesome product. Had a lil rough time aligning the lower arms in the front but other then that it was a breeze. Would definitely help a friend on install if they got one. GO GET ONE!

The ride is a complete 180 difference then the SA. Smooth, less vertical forces on the Jeep means I don't feel every bump in the road. It rides like a cadi. I couldn't believe the difference. Also running Rancho 9000XL adjustable shocks (If wondering) and I couldn't be happier with the set up.

Looking to go AntiRock on the front and rear swaybars tho. Its a tremendous difference, a lil more body roll, but makes up in performance.

The TJ needs a bath but not that dirty. Also had to say goodbye to my hood Spyder

Image

Image

Image

Image

Image

Image

Image

Image

Image
 
#30 ·
So I put 50 miles on the jeep just driving it around and i am loving the quality of the ride. its just fanaminal. The Long Arm from Rock Krawler is just awesome. Couldn't be happier with it. http://www.rockkrawler.com/index.php?r_intro=no

Ordering all the gussets for new axles tomorrow morning, should be exciting. March is a busy month and I have to make sure it is 100% complete for it. I know I previously mentioned about going with 1ton 60 and 70's but looking into shaving down for a DD and all the work to put into them and being just a college student at UNF and working still full time, the time and funds aren't there for all that. War Tires is setting me up with a 44 and 8.8 rear end with 4.88 Motive Gear and lockers front and rear. With rims, and tires. Can't really complain. Goose is awesome at War Tires, great customer service as well.
 
#31 ·
So I put in my order for all new front axle truss and bracketry work for the new axles. T & T Customs were great at working with me on exactly what i needed. I definitely recommend them if your looking for axle parts, trusses or brackets!
http://www.tntcustoms.com/axleanddrivetrain.aspx

Took the Jeep out for a midnight run to test out the Long Arm. It worked GREAT. SMOOTH ride!

Image

Image

Image

Image