

2005 Jeep Tj, d30 - d35c, I-6, 6spd manual.
My rig has 119.5k miles on it. The overwhelming majority are hwy miles, but, it's seen its fair share of off road miles, too. Recently, while doing a grease job under it I noticed the front pinion seal was starting to leak. Well, at 119.5k that old seal deserved to be retired so I set forth to set it free...
Let me correct that. I've never done this procedure and so I sought out the help of someone who had, Bill M; 87YjBill. I took the following pictures and asked a boatload of stupid questions as Bill patiently responded, and allowed me to take photo's at each step. Thanks a million Bill! Here we go...
![Image]()
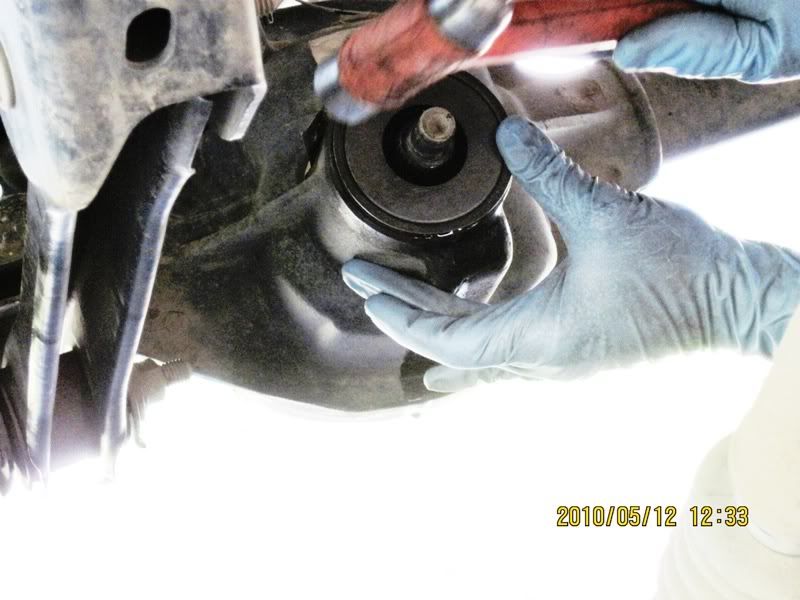
Removing the yoke strap bolts to drop the axle end of the front drive shaft. NOTE; That impact wrench is 950lbs.
![Image]()
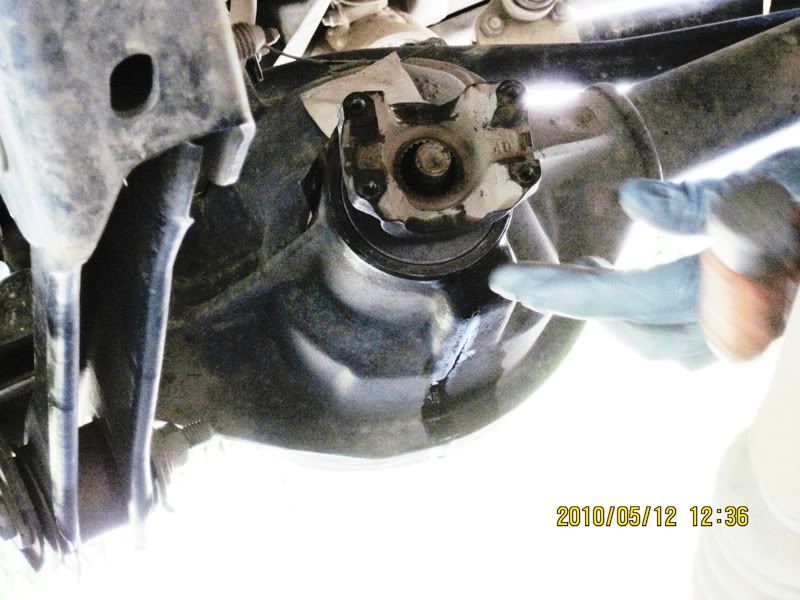
Dropped the axle end of the front drive shaft.
![Image]()
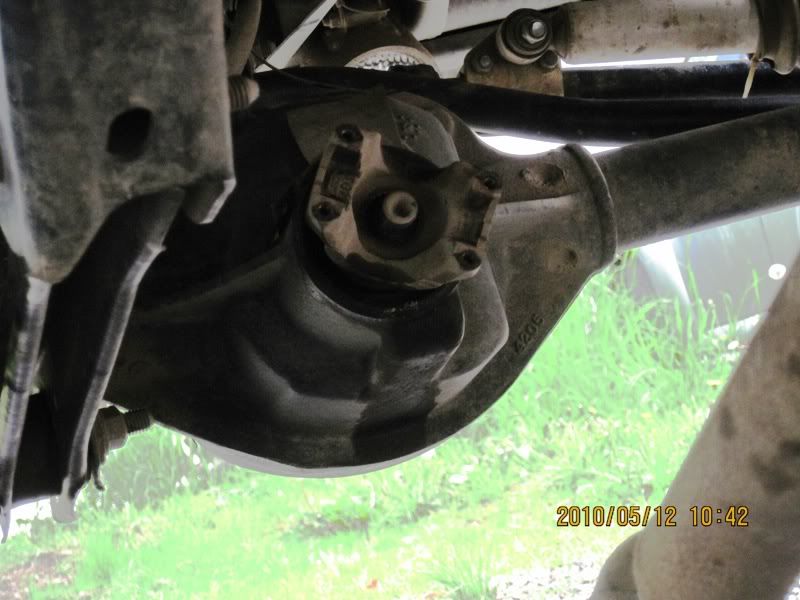
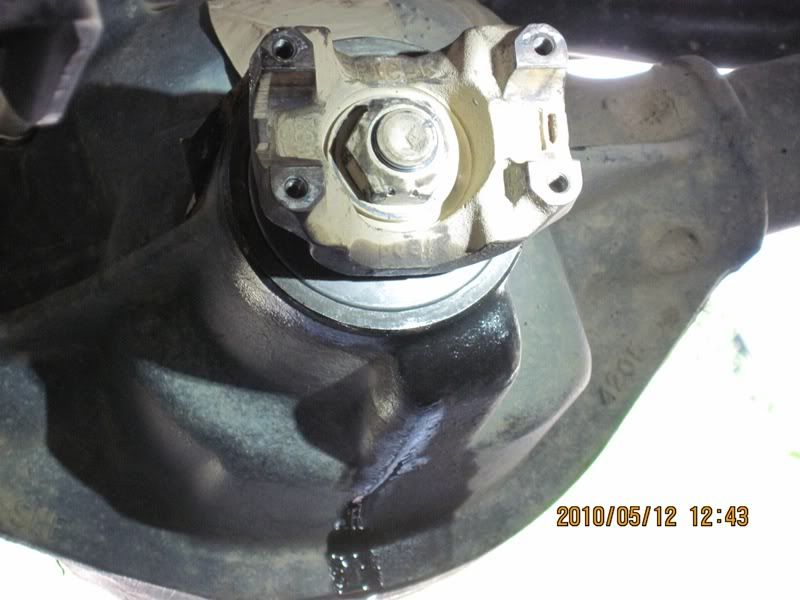
With a punch, Bill marked the relationship between the pinion shaft and the pinion nut so that at reassembly it could go back together exactly the same way, so as to not change the pre-load.
![Image]()
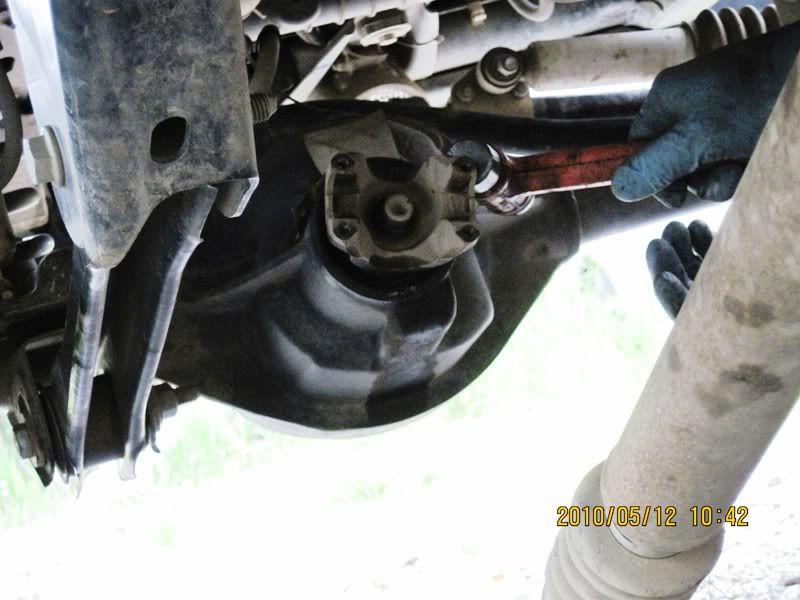
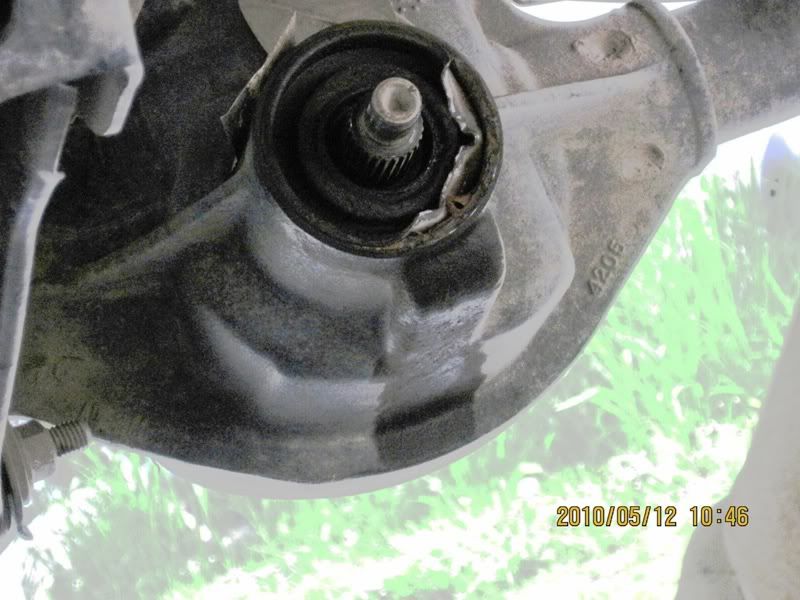
Pinion nut removed with a good impact gun. Sorry, I forgot to note the socket size...for that matter, I didn't document any of the tools/sockets etc. I was to busy asking stupid questions and trying to get enough light to shoot the pics......
![Image]()
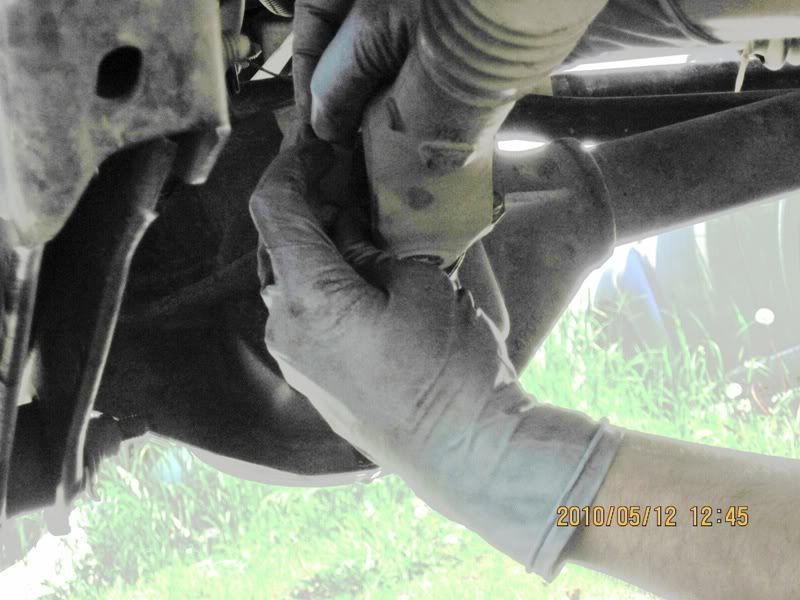
Removing the yoke required a few strategically placed blows...
![Image]()
The leaky seal.
![Image]()
Bill starts with a chisel to peel back an edge of the seal.
![Image]()
Here's the seal partly "peeled" back.
![Image]()
Next he gets a "Seal Puller" and prys the old seal the rest of the way out. With a little work, it comes out. I should mention that while doing this, Bill whacked the bejeebers out of his funny bone on the passenger LCA bolt...that was probably worth $10.00...")
![Image]()
Now he cleans up the yoke with a wire brush. At this point we run to NAPA to pick up the new seal he ordered the day before. While we were gone, we grabbed some lunch. Couple of huge Wally Burgers/Buckley, WA with fries and rings...
![Image]()
Here's the new pinion seal...hope you can read the part number...NAPA 15525
![Image]()
Carefully tapping in the new seal to seat it.
![Image]()
Time to put it all back together! Installing the yoke...
![Image]()
The pinion nut re-installation. Bill uses an impact gun to get it as close to lining up as possible. Removes the gun/socket and checks to see how close it is. He goes through this a few times before he gets it EXACTLY where it was when we started...
![Image]()
All that was left was to install the drive shaft and go for a test drive!
My rig has 119.5k miles on it. The overwhelming majority are hwy miles, but, it's seen its fair share of off road miles, too. Recently, while doing a grease job under it I noticed the front pinion seal was starting to leak. Well, at 119.5k that old seal deserved to be retired so I set forth to set it free...
Let me correct that. I've never done this procedure and so I sought out the help of someone who had, Bill M; 87YjBill. I took the following pictures and asked a boatload of stupid questions as Bill patiently responded, and allowed me to take photo's at each step. Thanks a million Bill! Here we go...
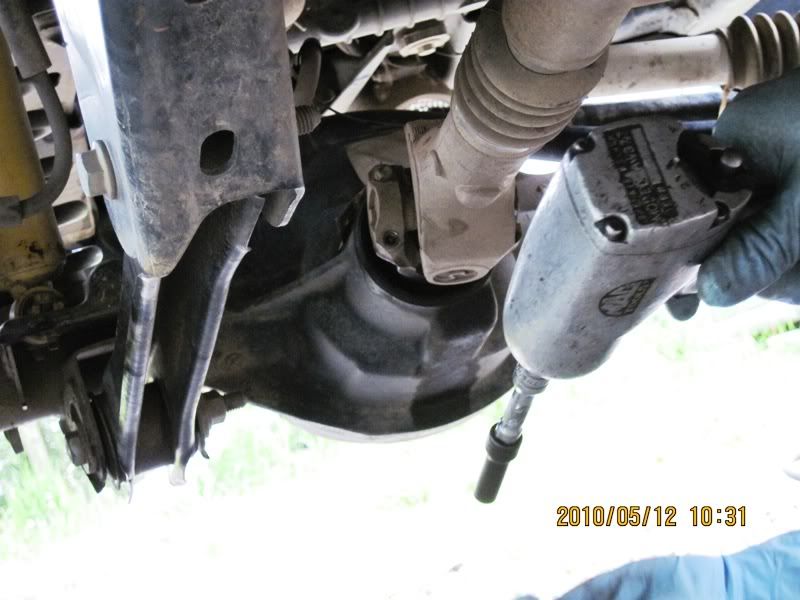
Removing the yoke strap bolts to drop the axle end of the front drive shaft. NOTE; That impact wrench is 950lbs.
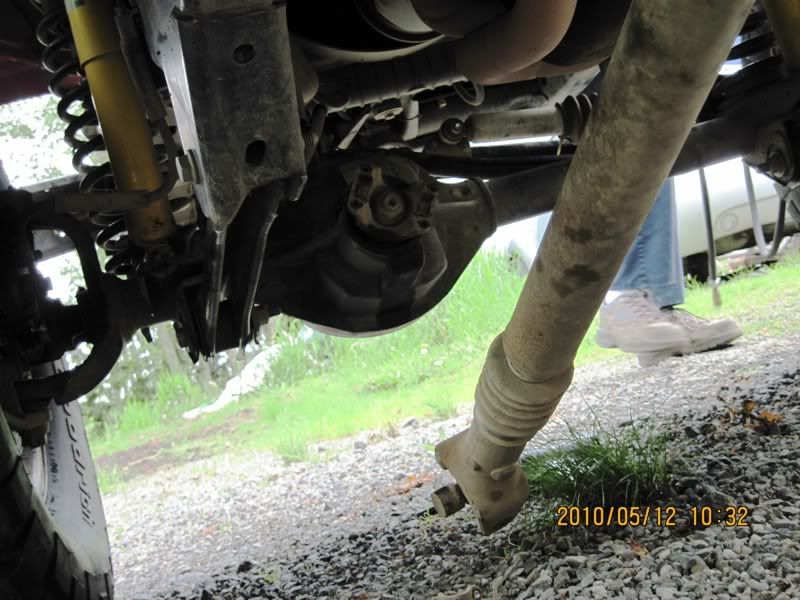
Dropped the axle end of the front drive shaft.

With a punch, Bill marked the relationship between the pinion shaft and the pinion nut so that at reassembly it could go back together exactly the same way, so as to not change the pre-load.
Pinion nut removed with a good impact gun. Sorry, I forgot to note the socket size...for that matter, I didn't document any of the tools/sockets etc. I was to busy asking stupid questions and trying to get enough light to shoot the pics......
Removing the yoke required a few strategically placed blows...

The leaky seal.

Bill starts with a chisel to peel back an edge of the seal.
Here's the seal partly "peeled" back.
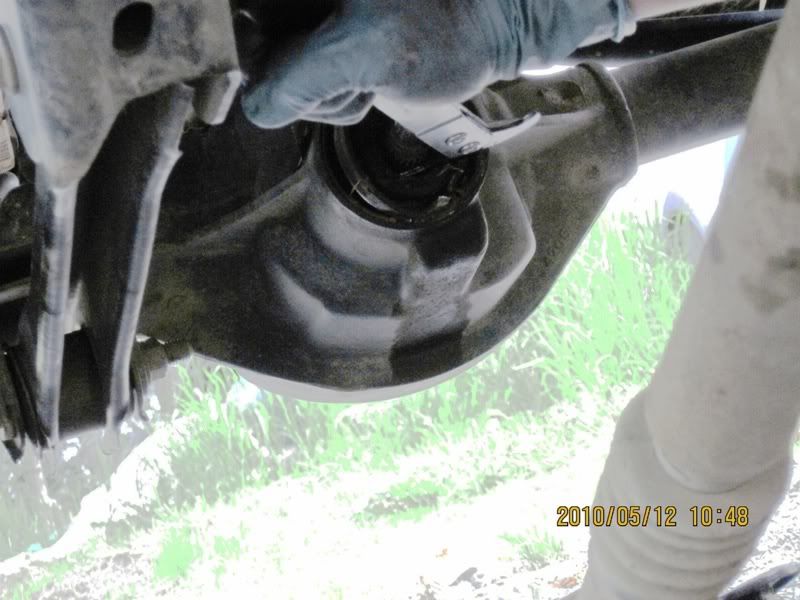
Next he gets a "Seal Puller" and prys the old seal the rest of the way out. With a little work, it comes out. I should mention that while doing this, Bill whacked the bejeebers out of his funny bone on the passenger LCA bolt...that was probably worth $10.00...
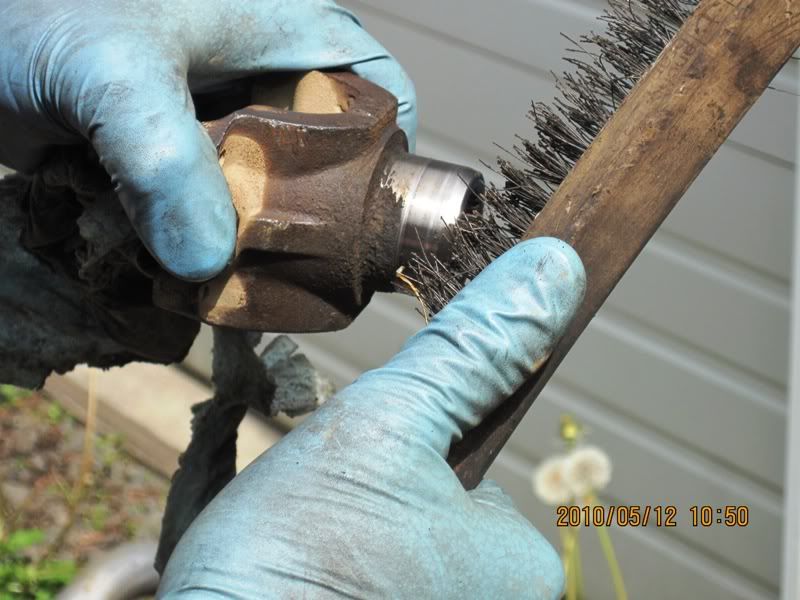
Now he cleans up the yoke with a wire brush. At this point we run to NAPA to pick up the new seal he ordered the day before. While we were gone, we grabbed some lunch. Couple of huge Wally Burgers/Buckley, WA with fries and rings...
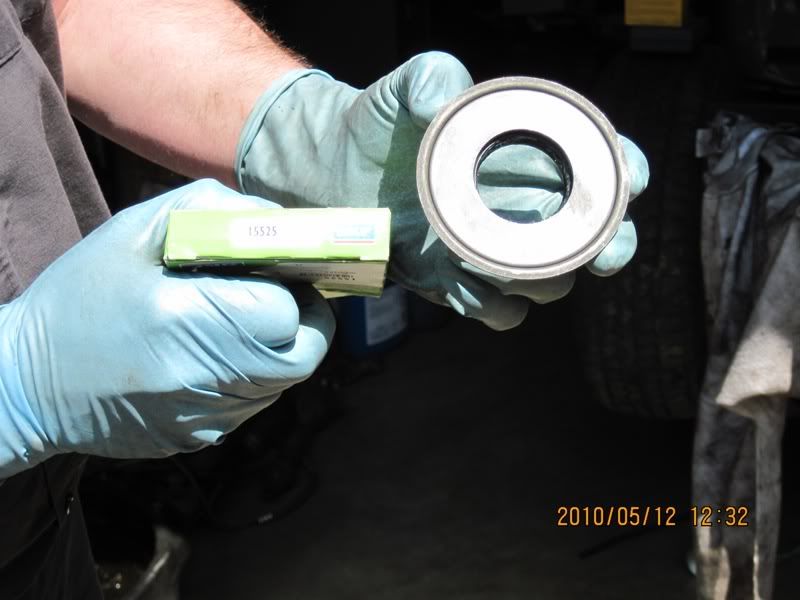
Here's the new pinion seal...hope you can read the part number...NAPA 15525
Carefully tapping in the new seal to seat it.
Time to put it all back together! Installing the yoke...
The pinion nut re-installation. Bill uses an impact gun to get it as close to lining up as possible. Removes the gun/socket and checks to see how close it is. He goes through this a few times before he gets it EXACTLY where it was when we started...
All that was left was to install the drive shaft and go for a test drive!
It went very smooth. No surprises. The cost of the pinion seal from NAPA was $7.70. Bills labor was $50.00. While we were under there we decided it was a good time to drill that top hole in the rear track bar relocation bracket and cinch it up. And...while we were poking around under there Bill noticed my passenger side M.O.R.E. 1" Bombproof (Rubber) motor mount never got completely bolted up/cinched. Seems when I installed them two years ago I forgot to finish bolting it up...what can I say? A rookie mistake! But, now it got caught and corrected! Oh, add another $30 to the bill for my screw-ups...
Thanks Bill, I'm sure you couldn't have done it without me...


