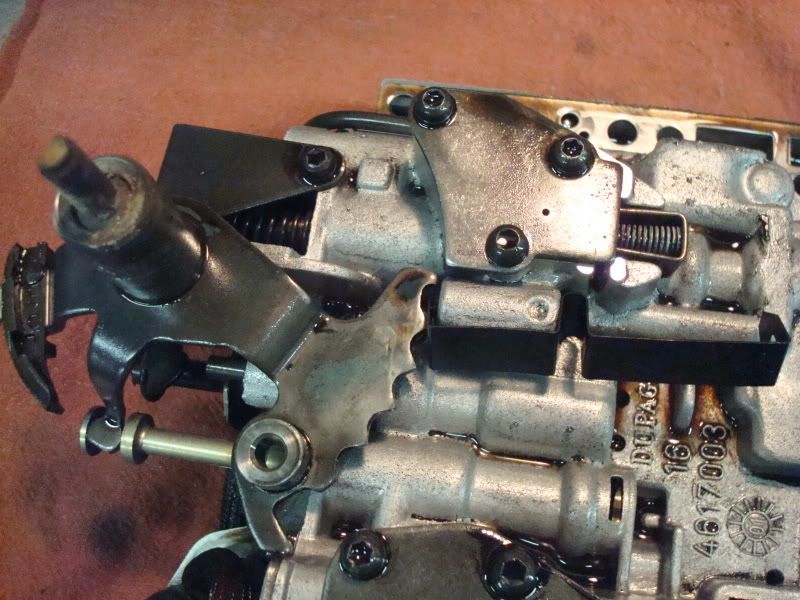
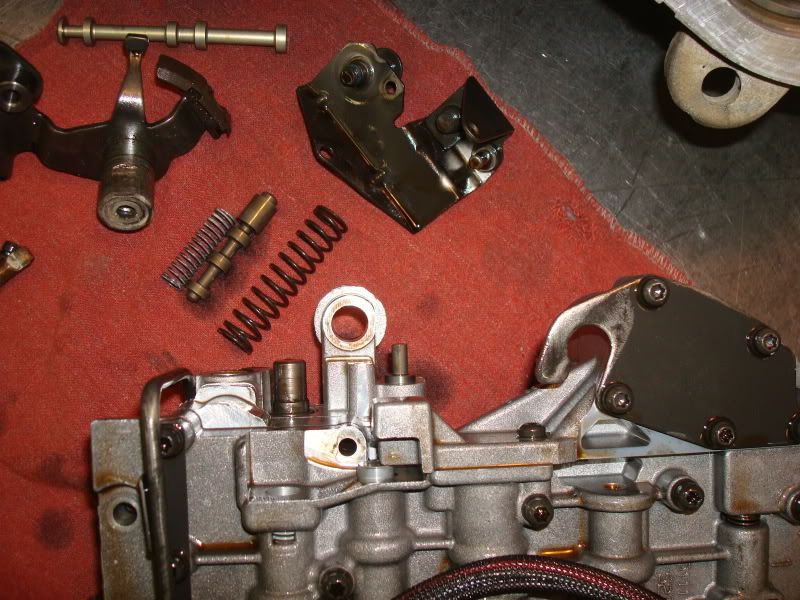
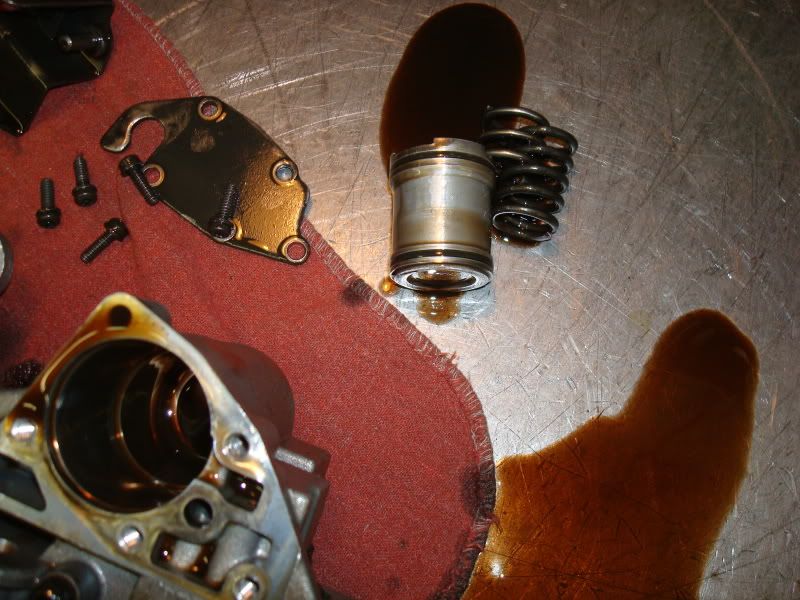
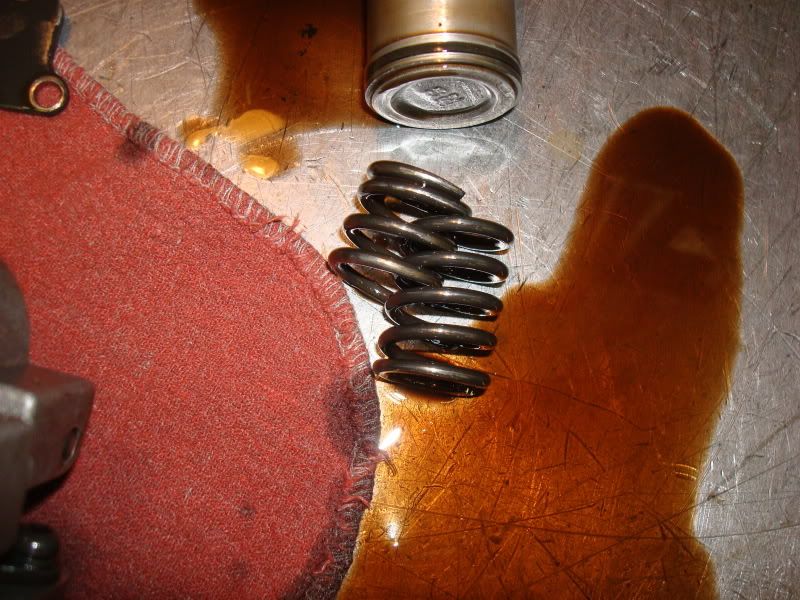
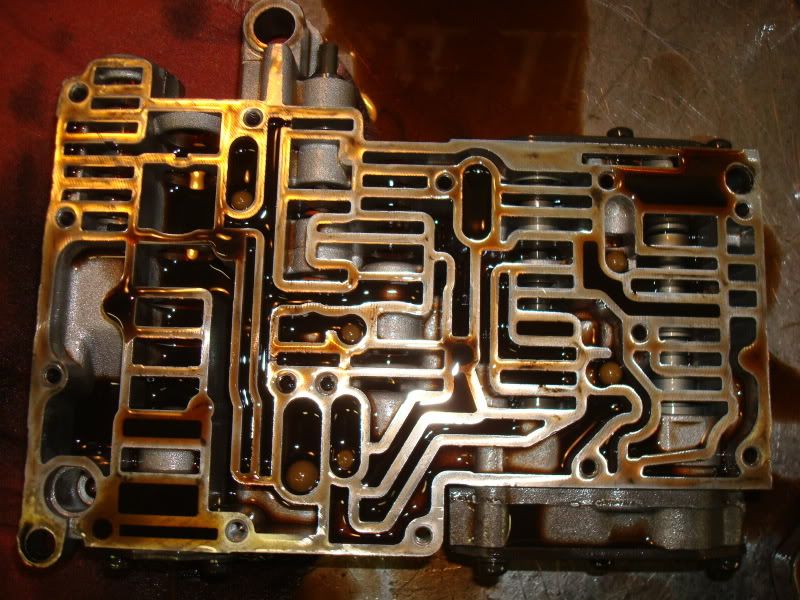
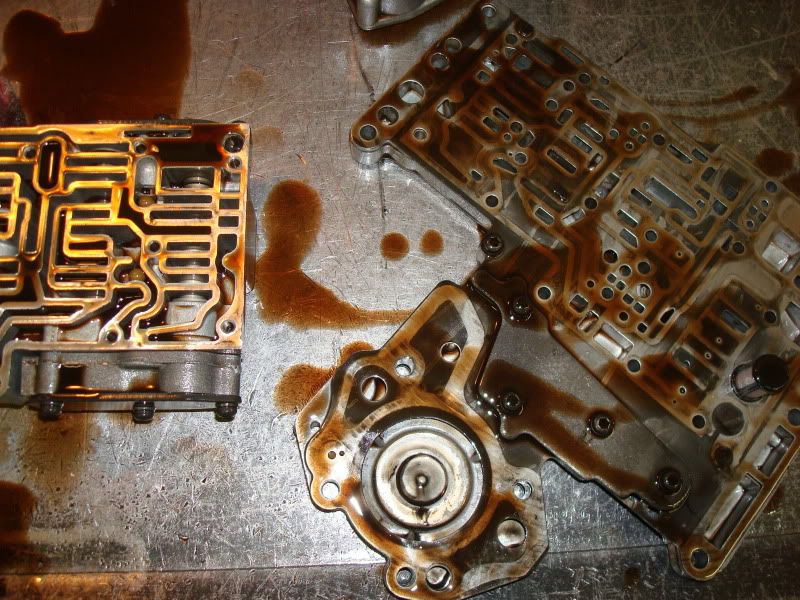
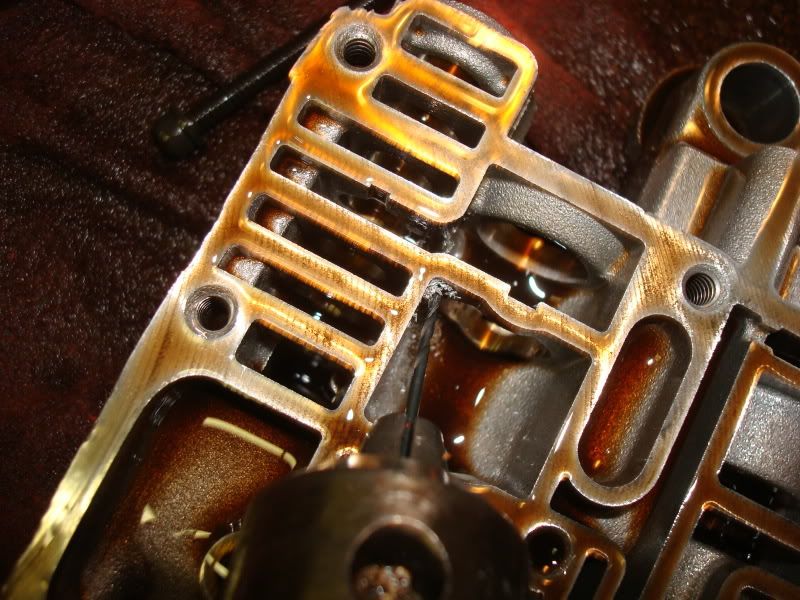
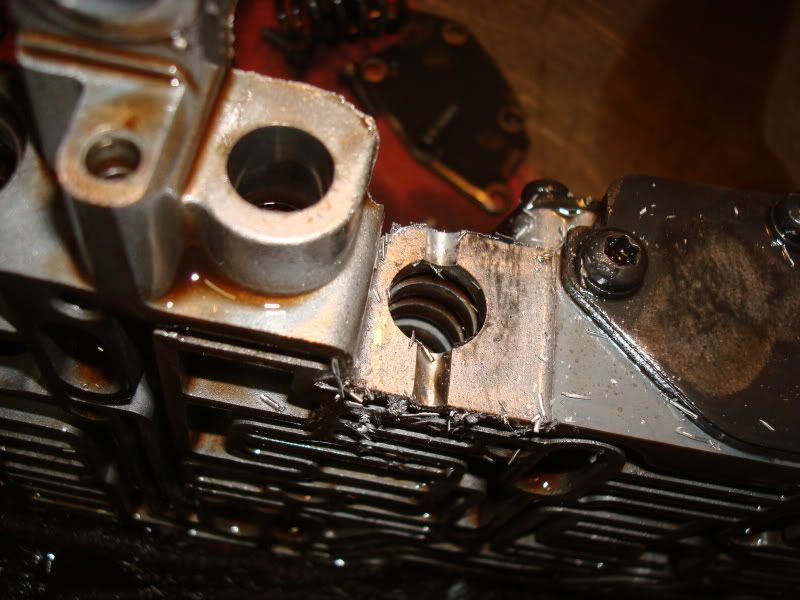
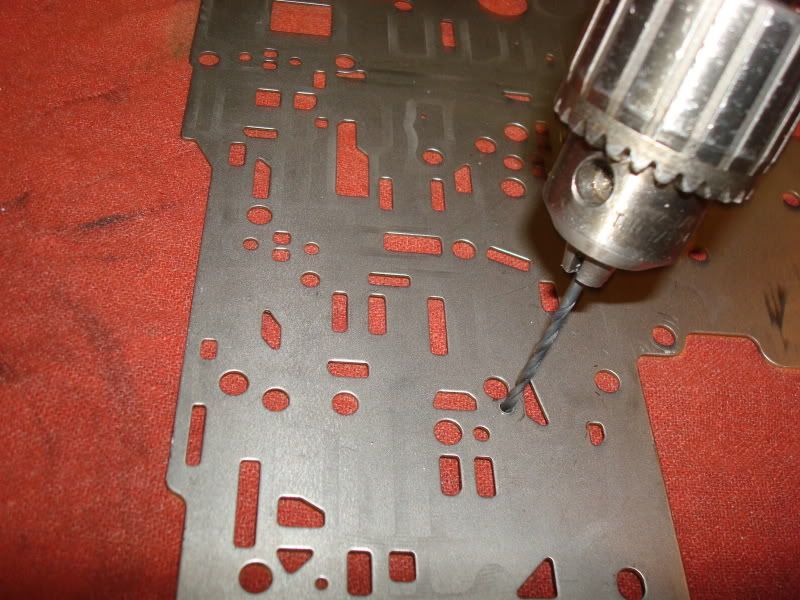
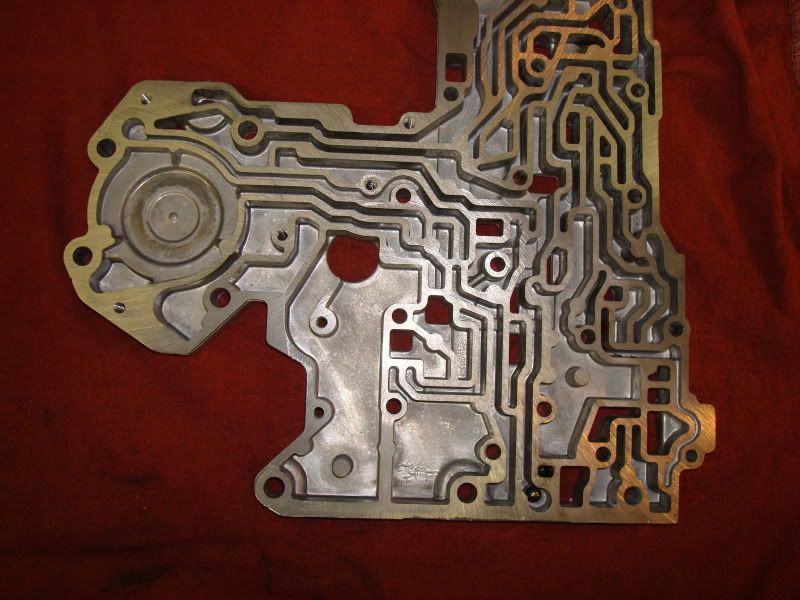
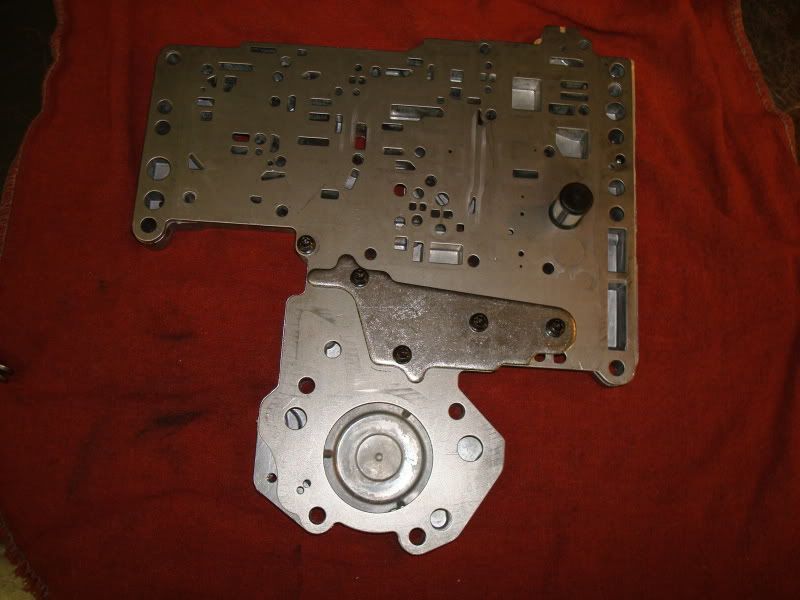
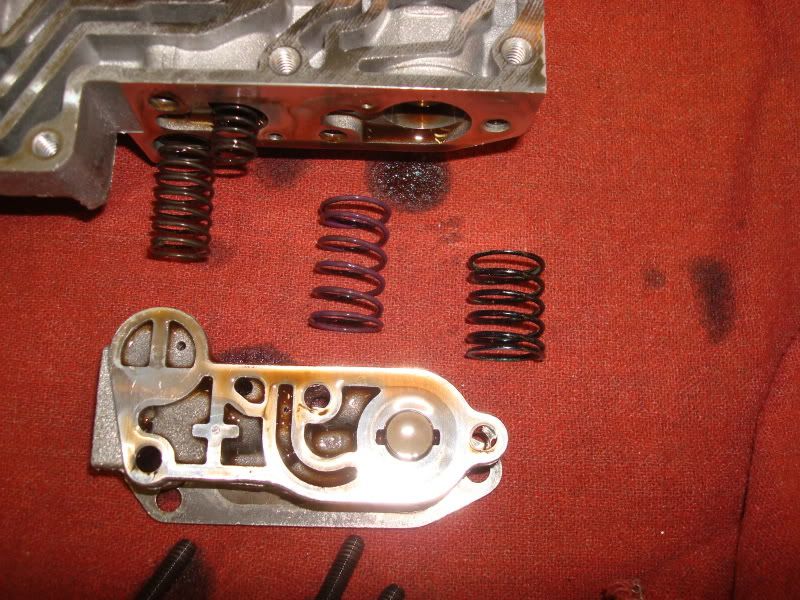
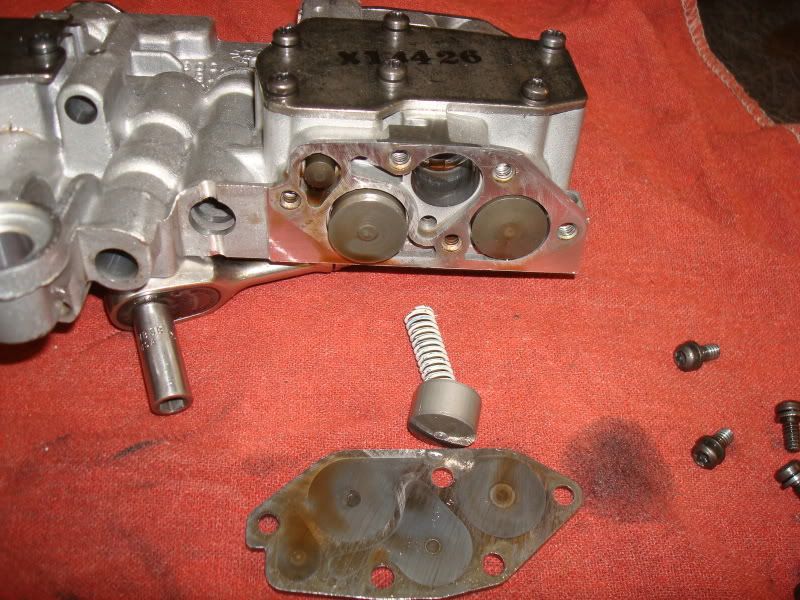
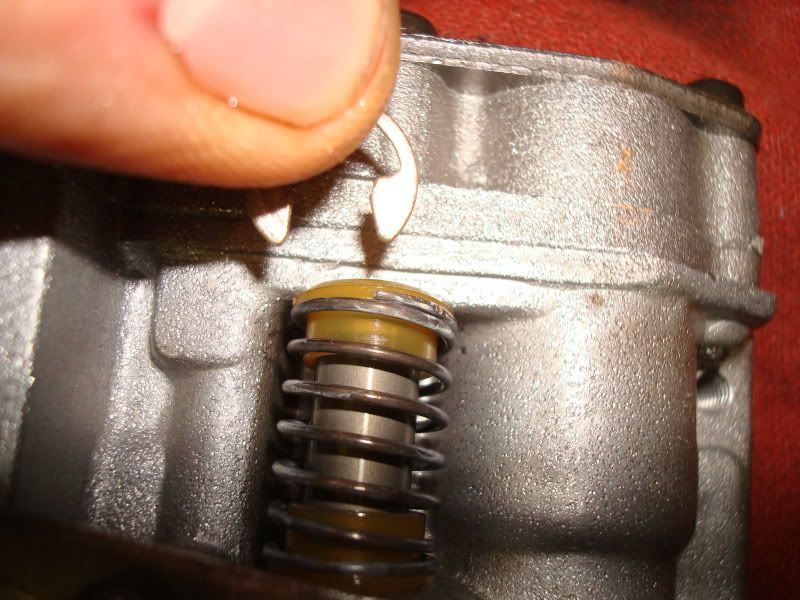
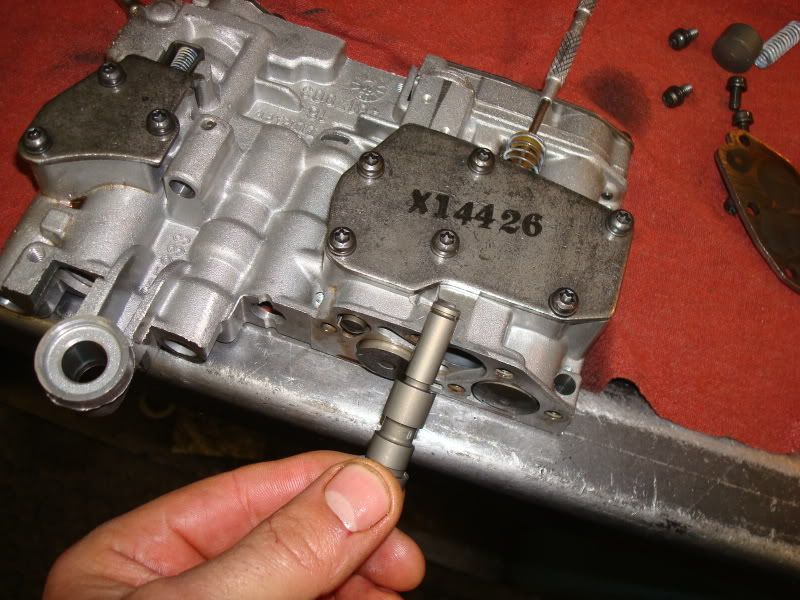
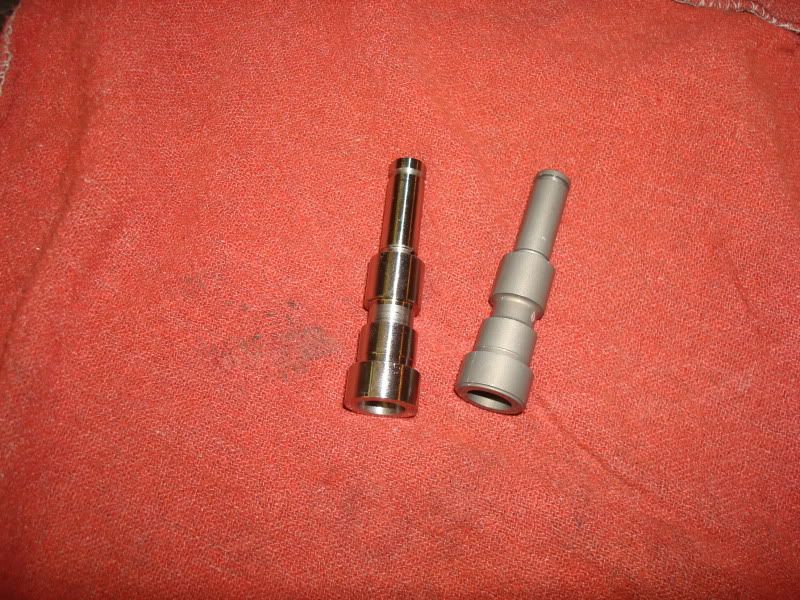
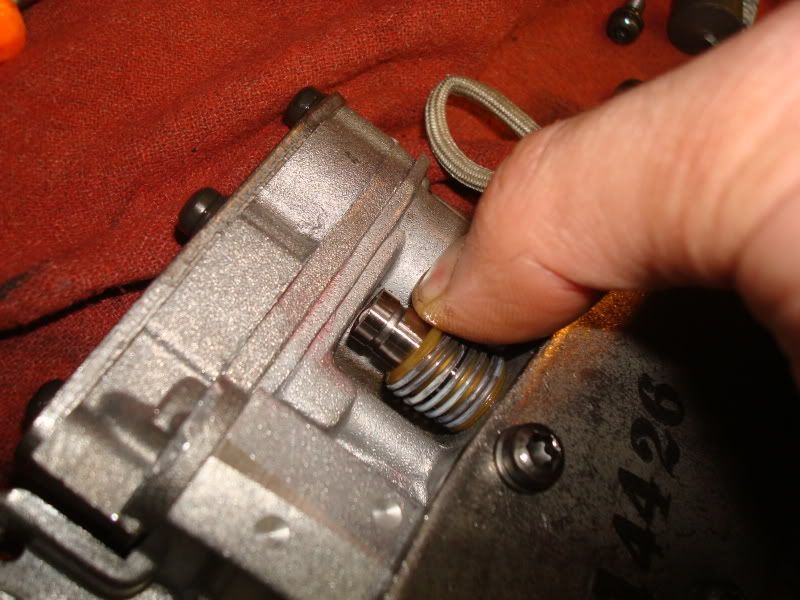
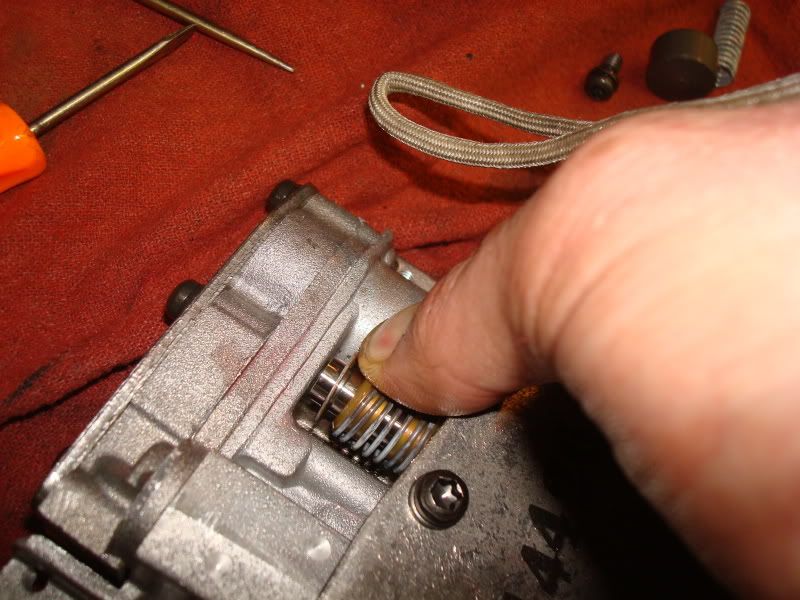
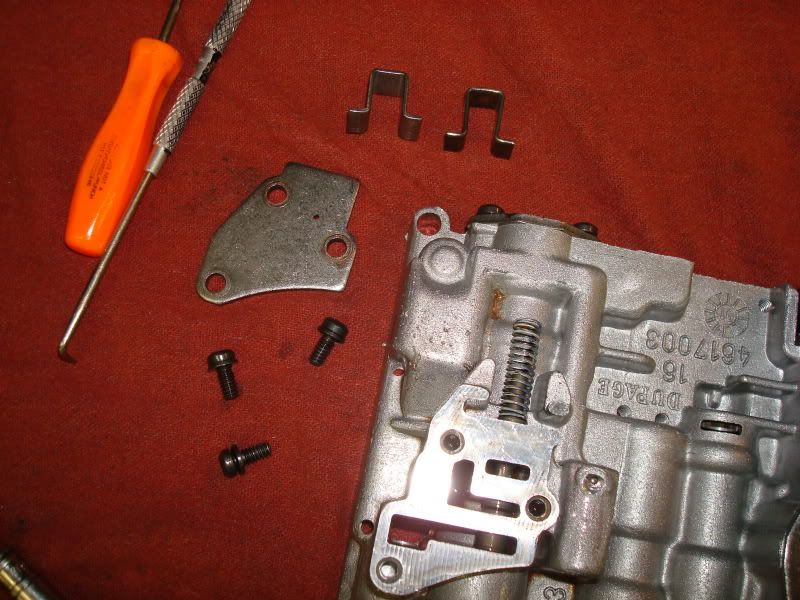
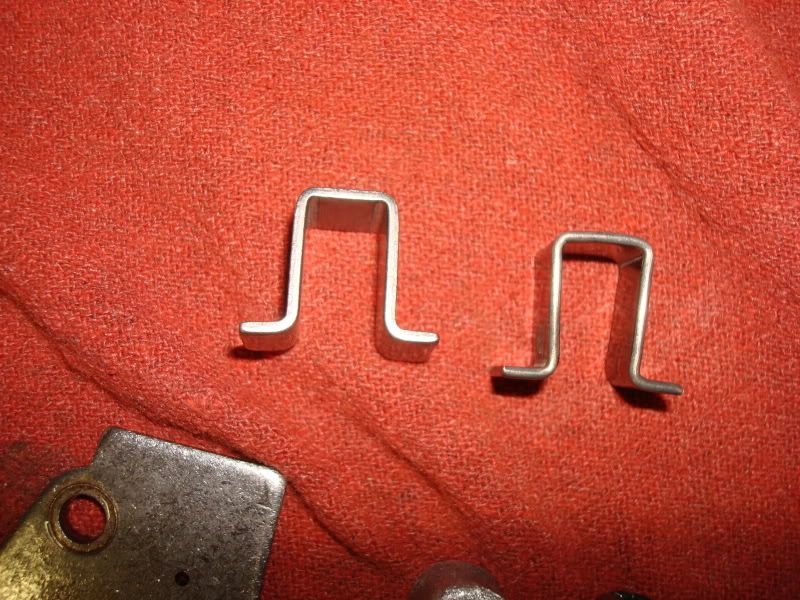
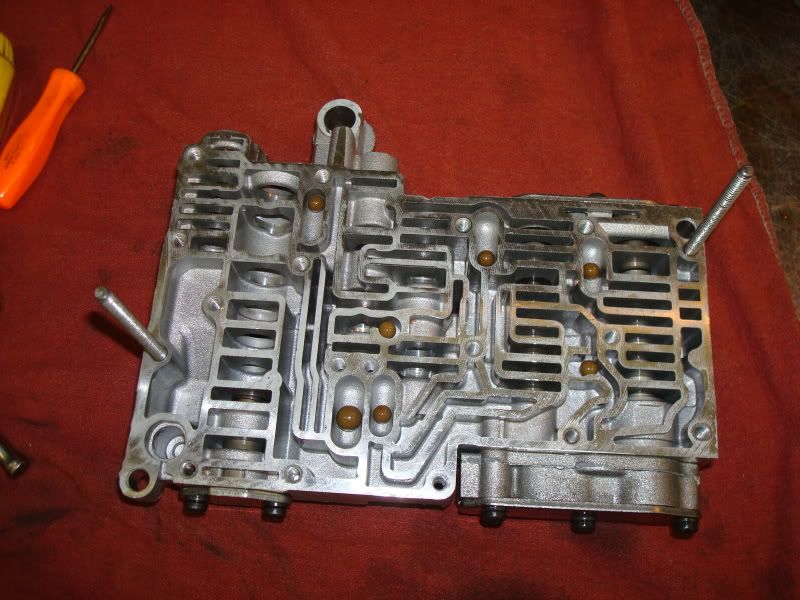
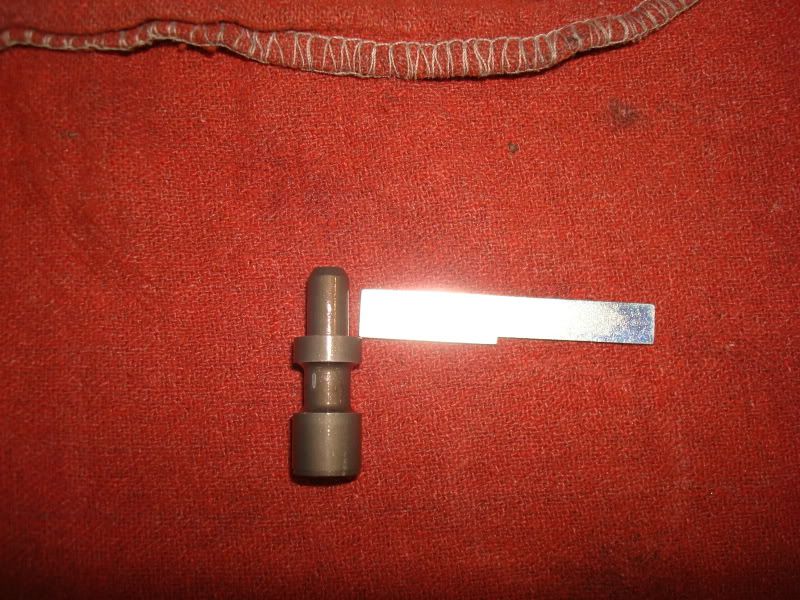
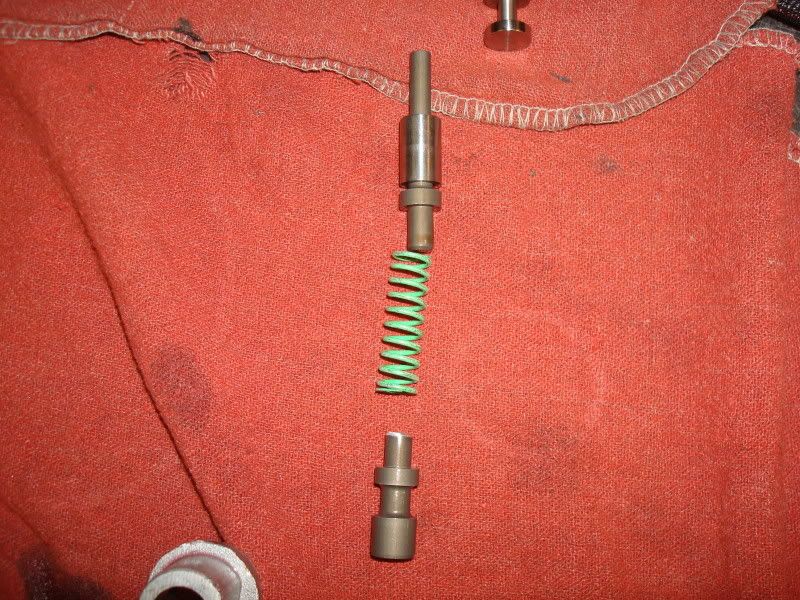
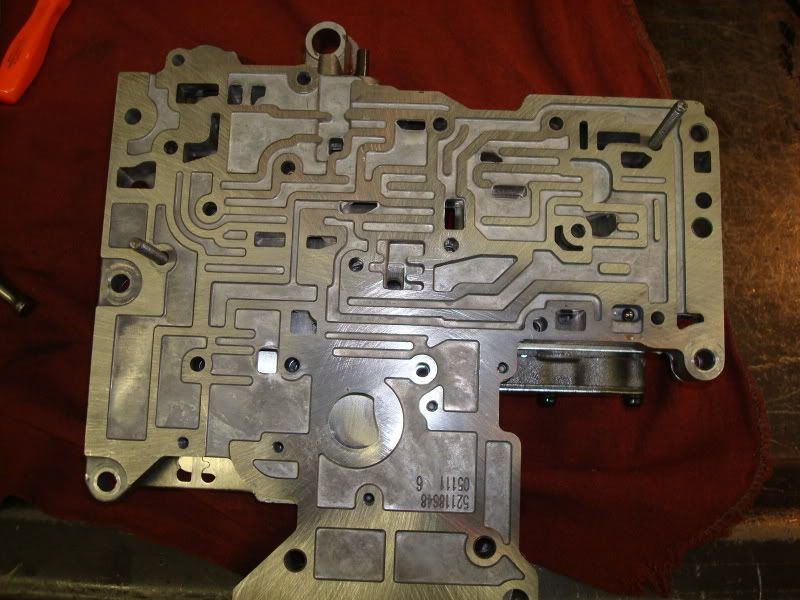
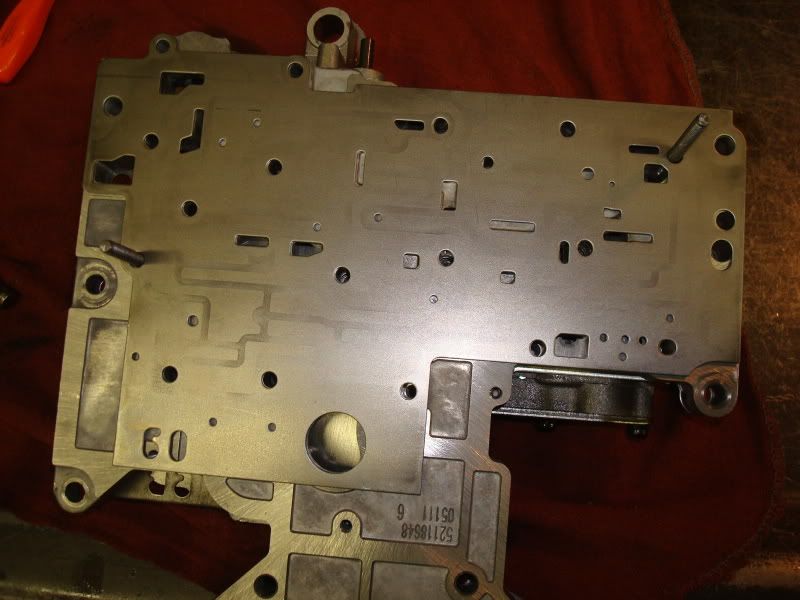
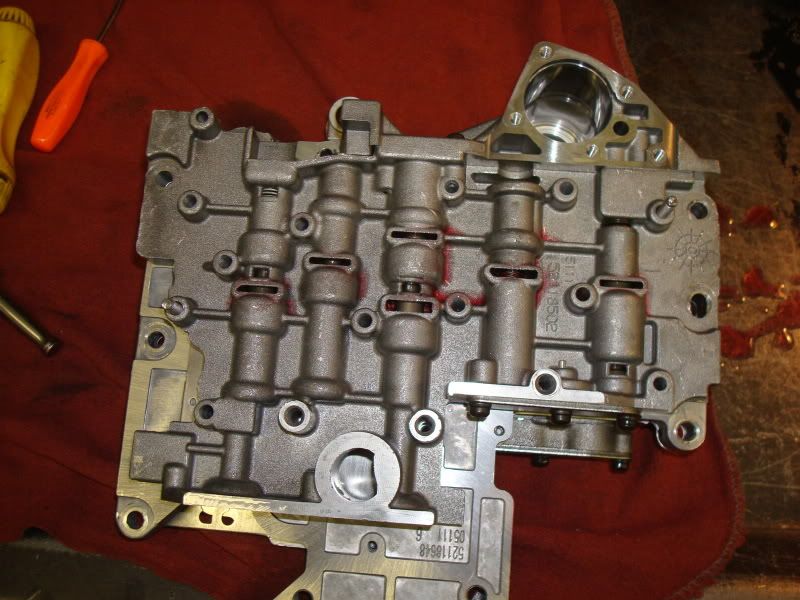
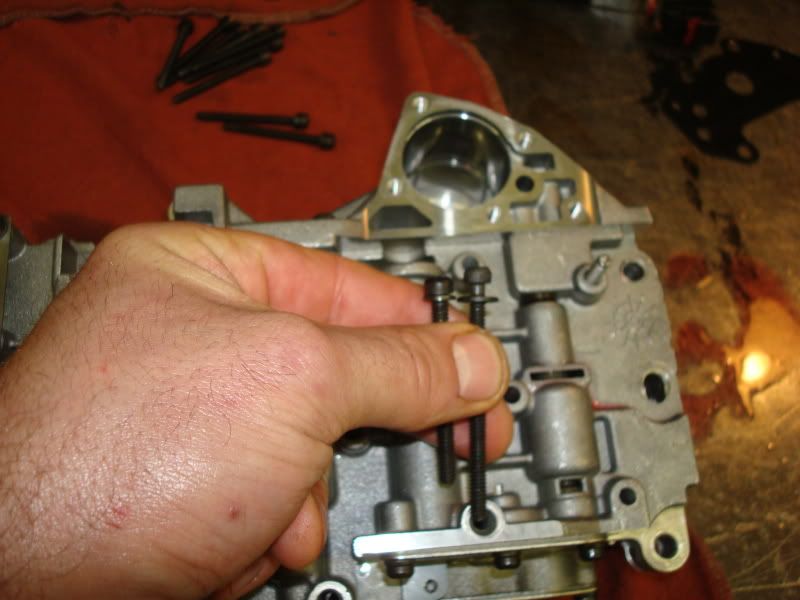
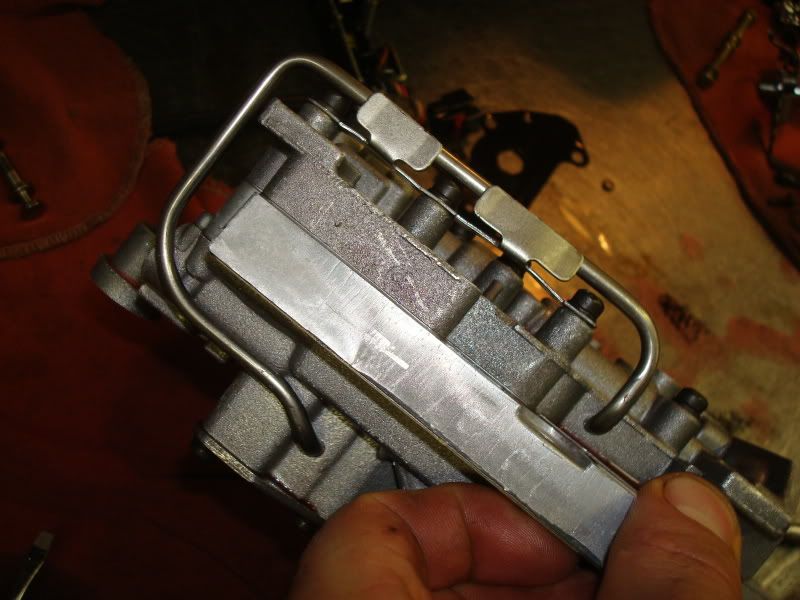
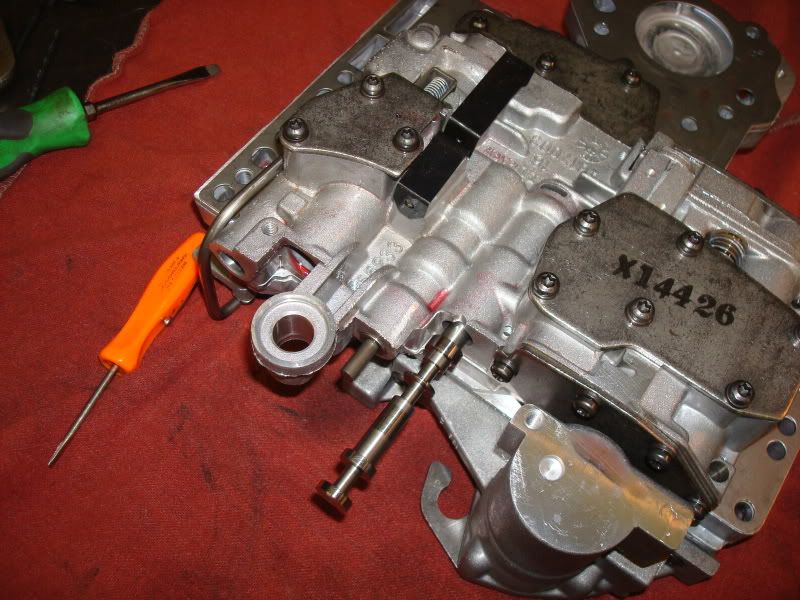
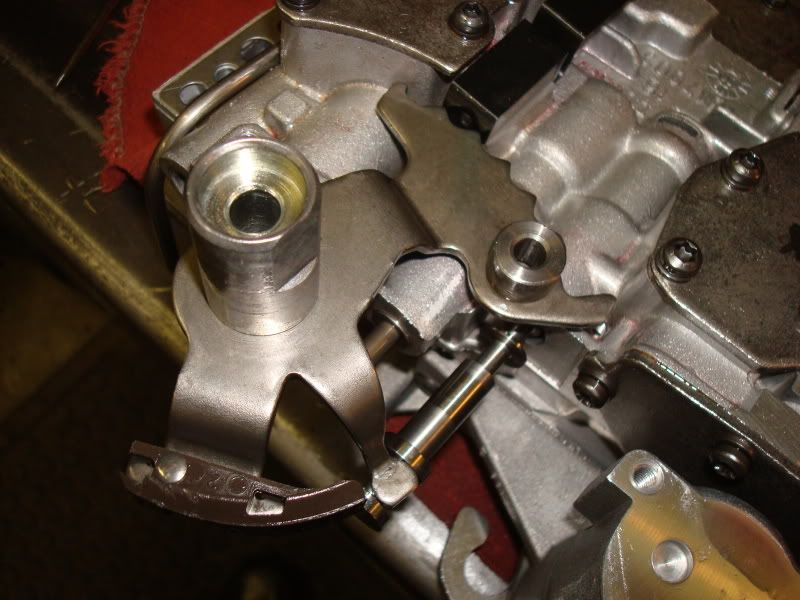
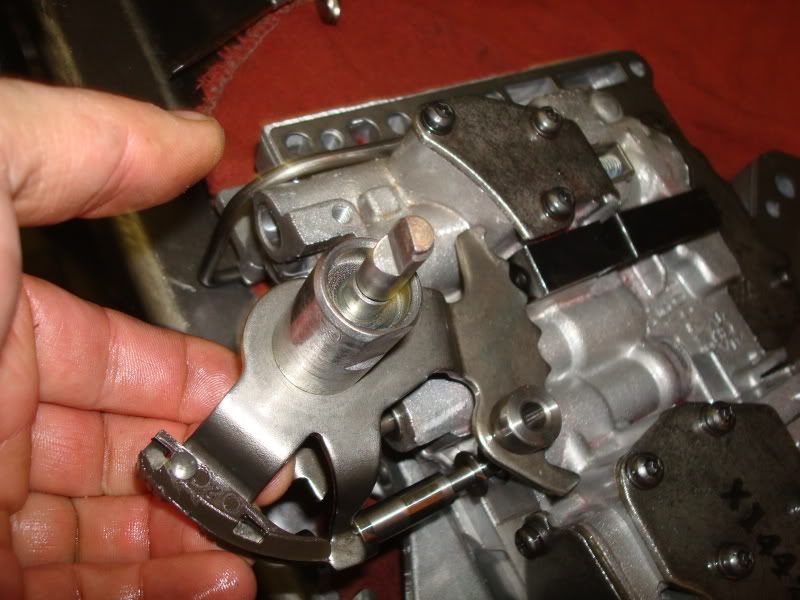
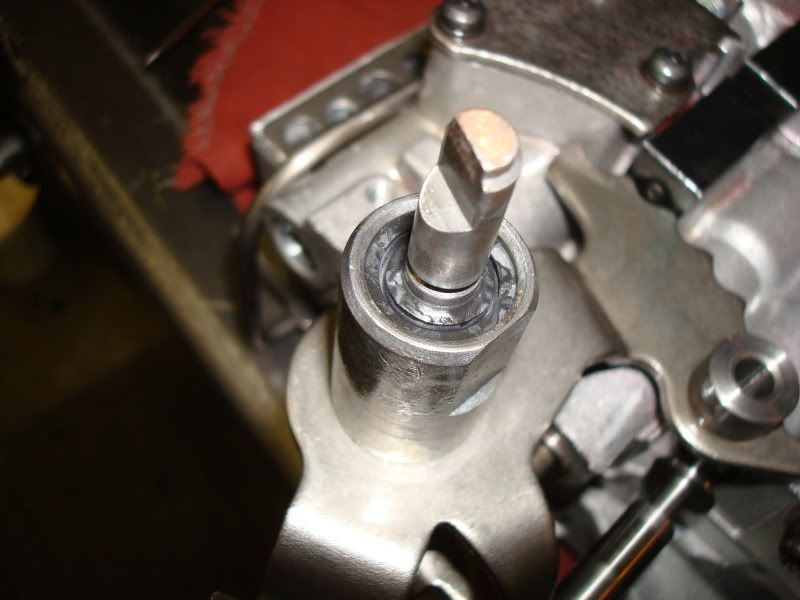
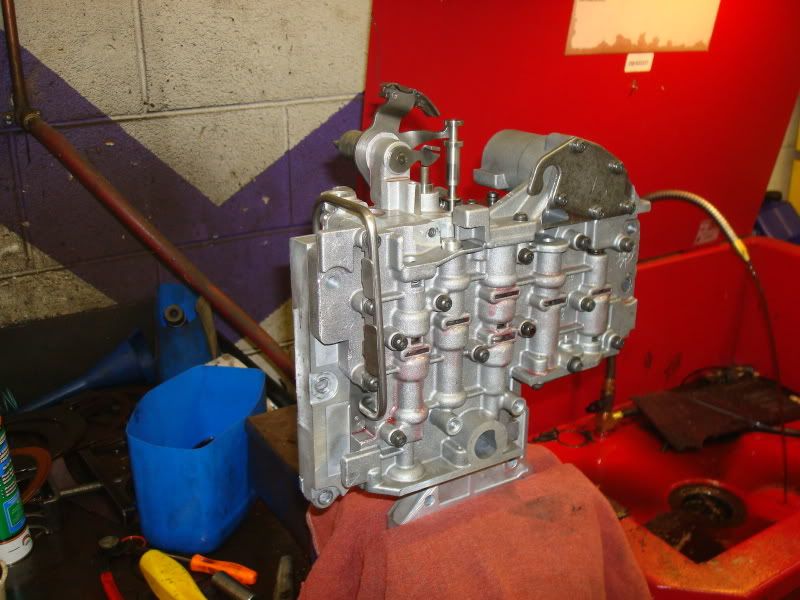
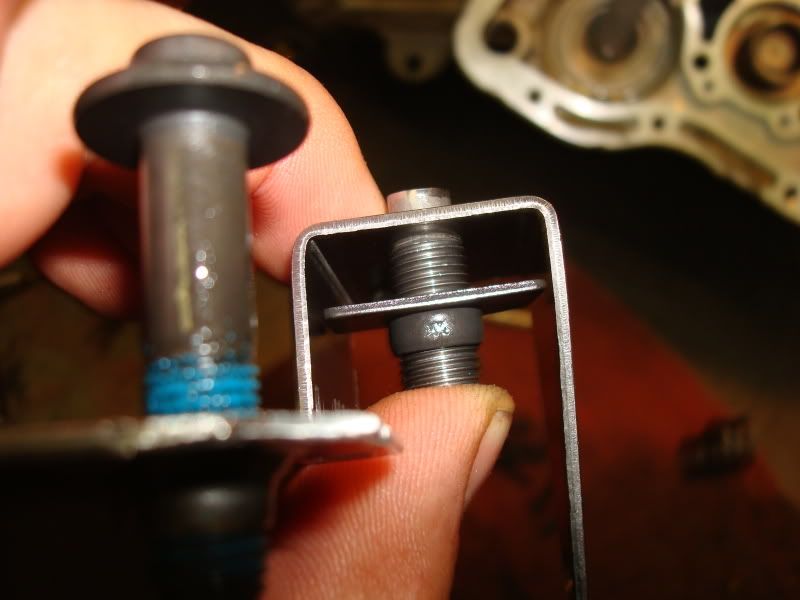
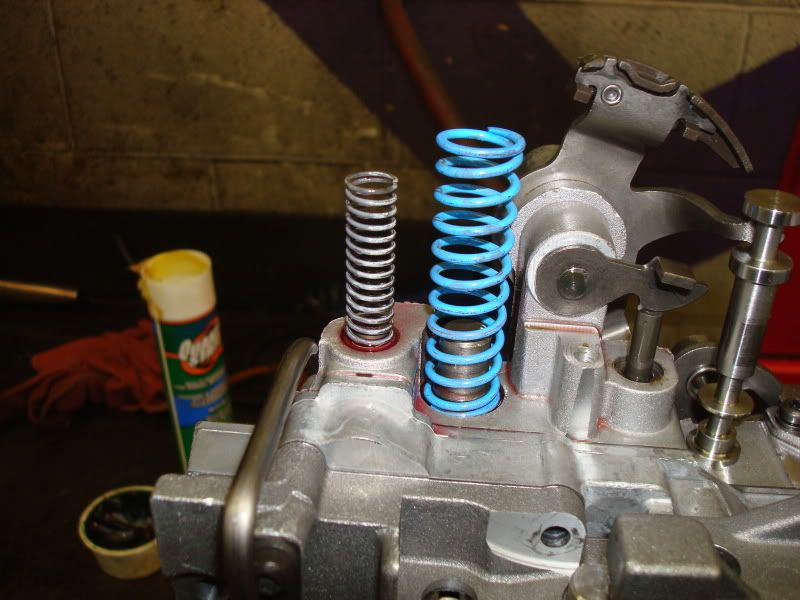
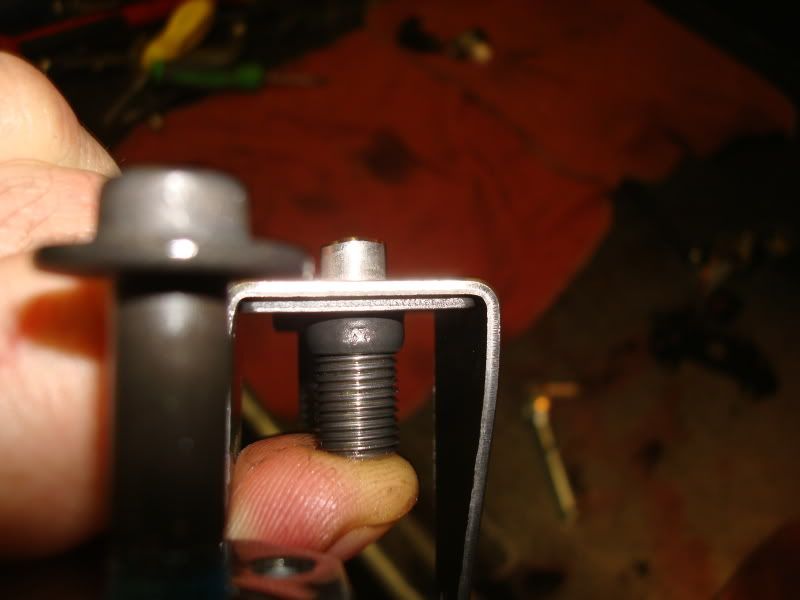
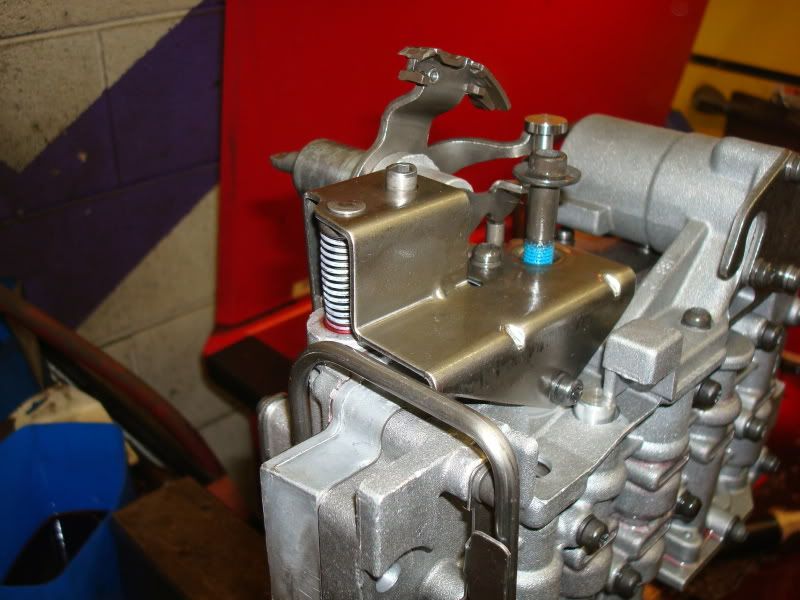
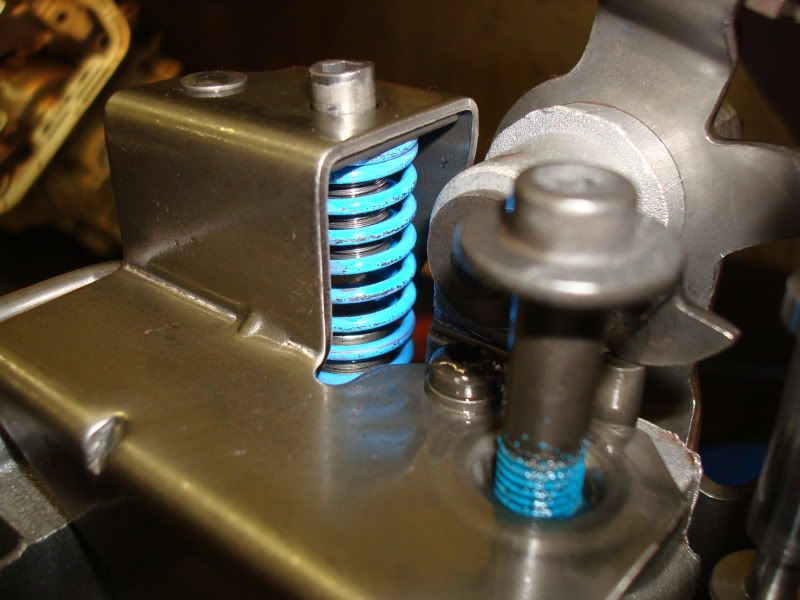
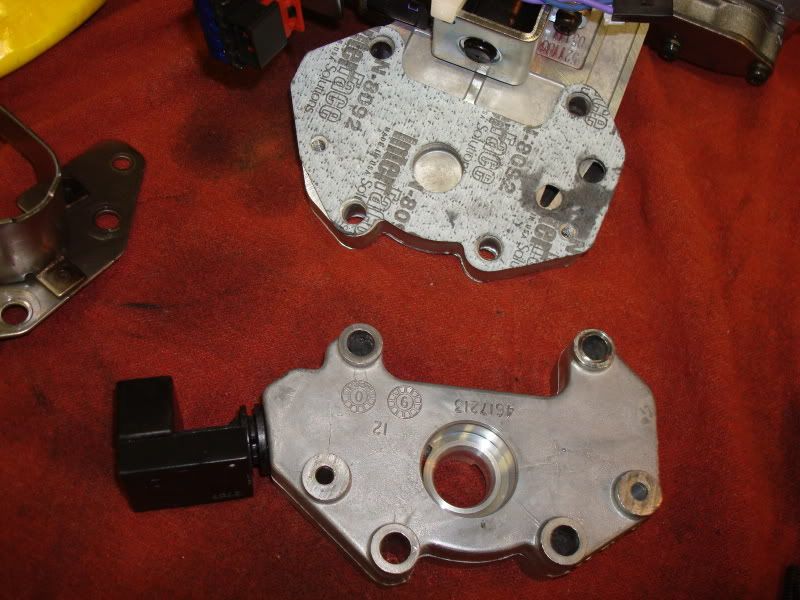
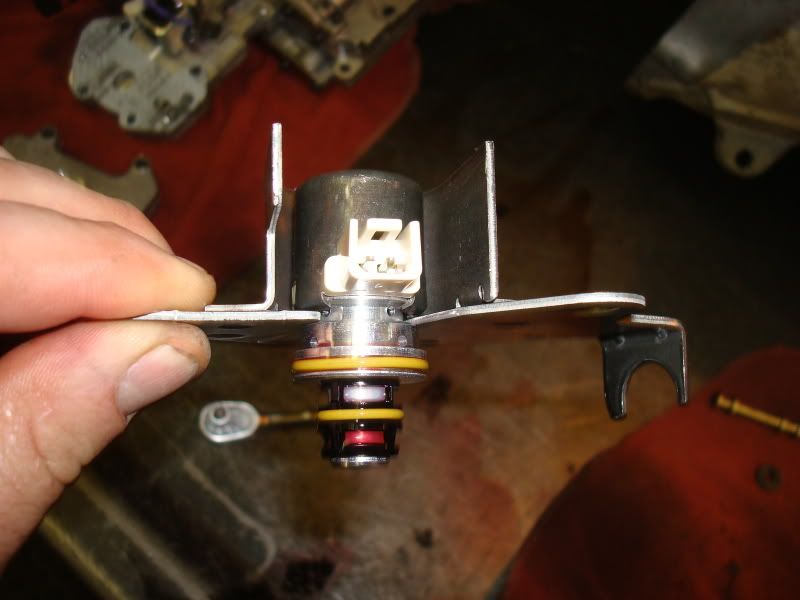
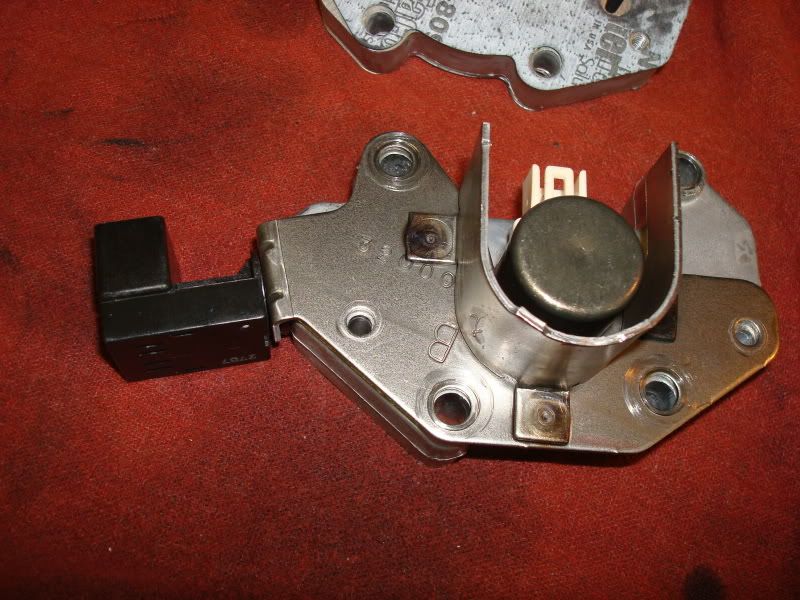
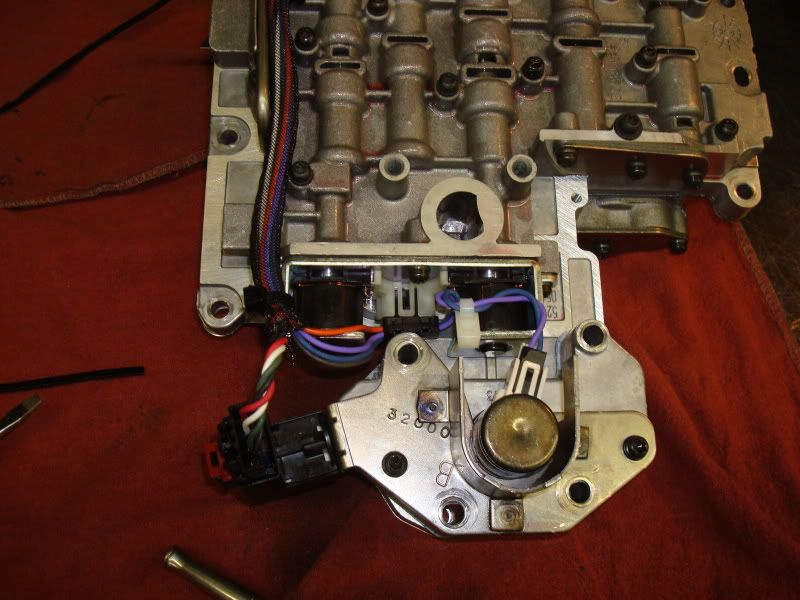
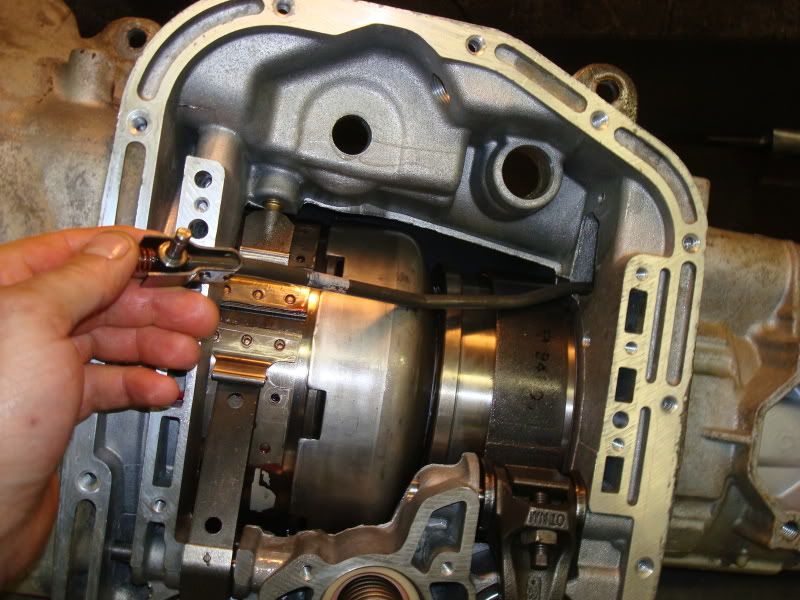
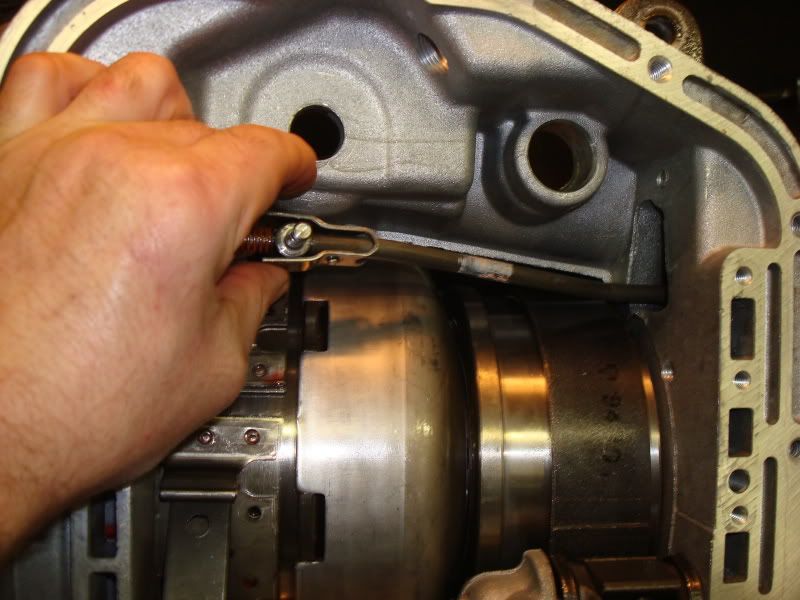
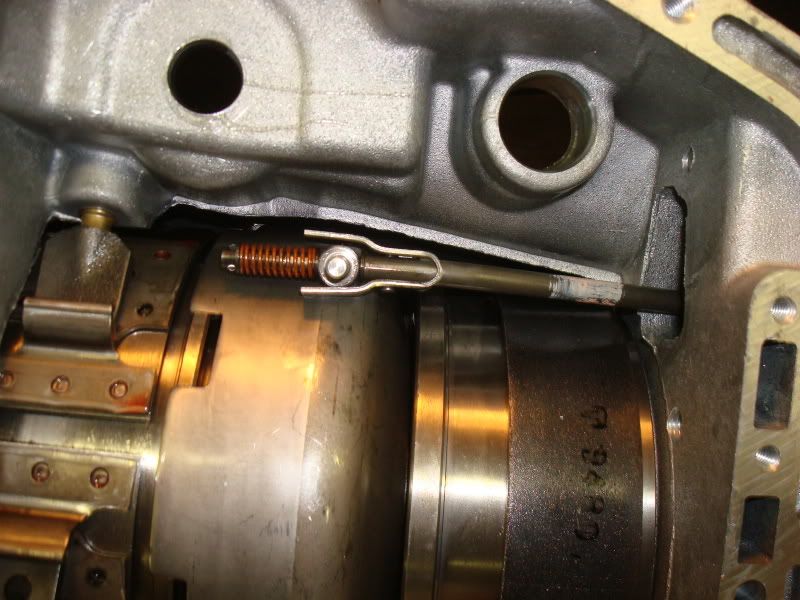
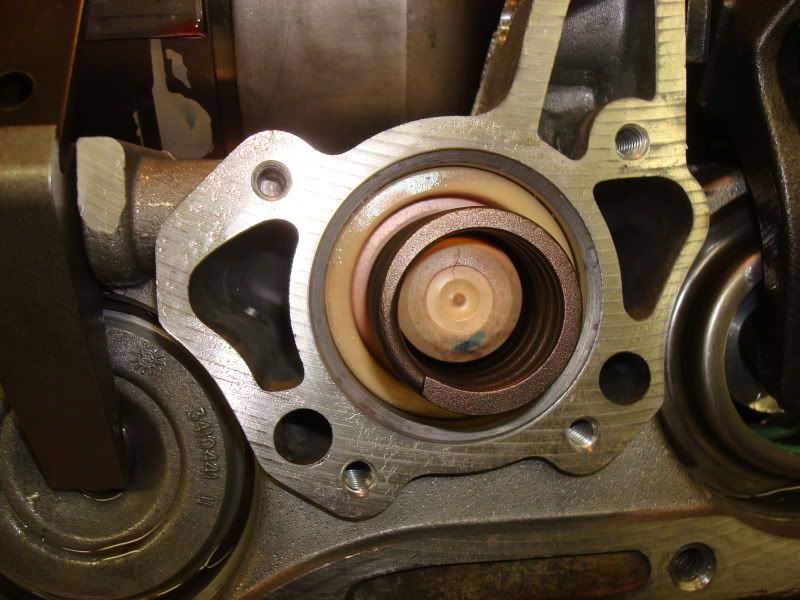
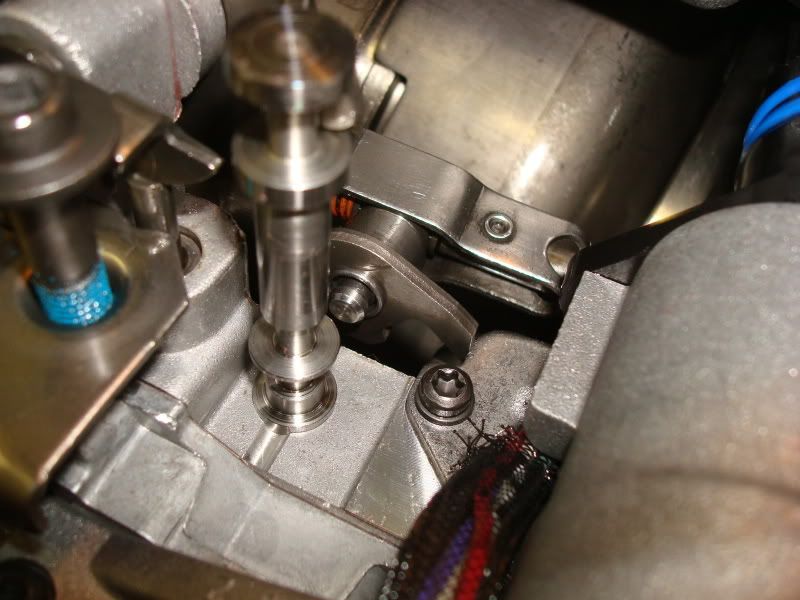
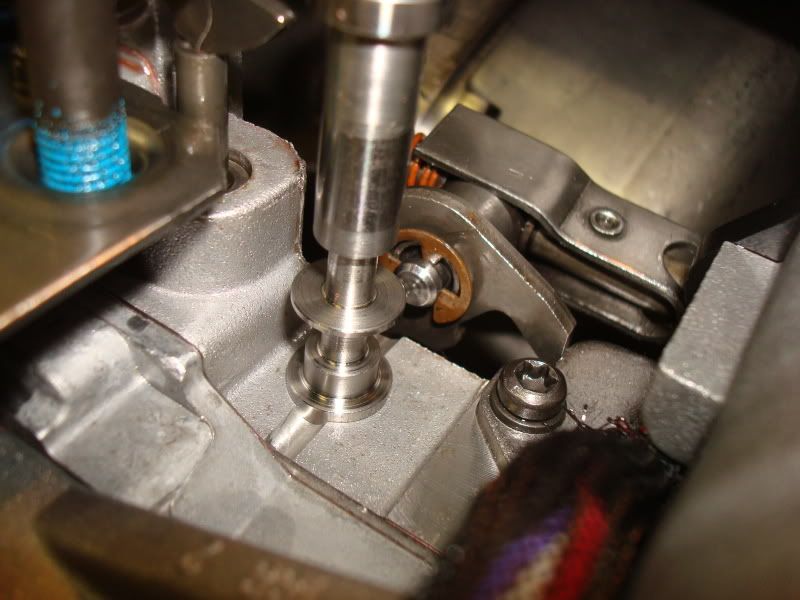
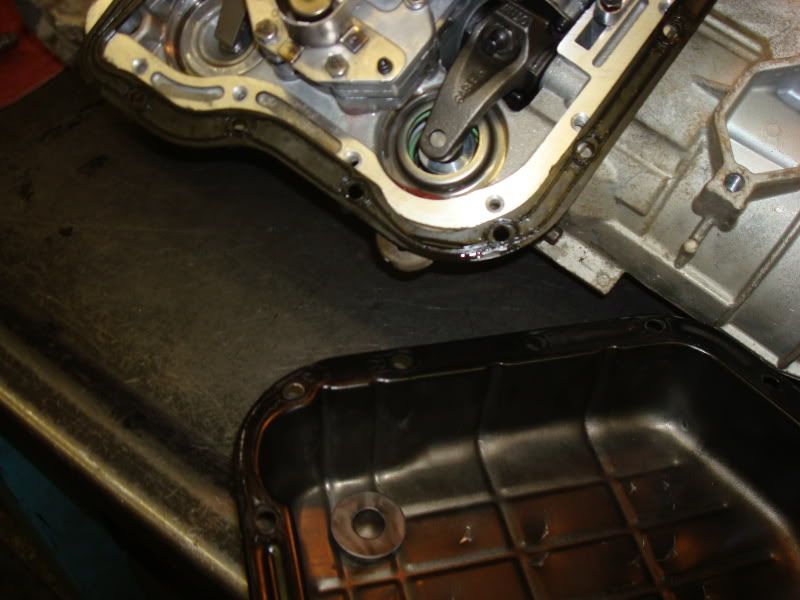
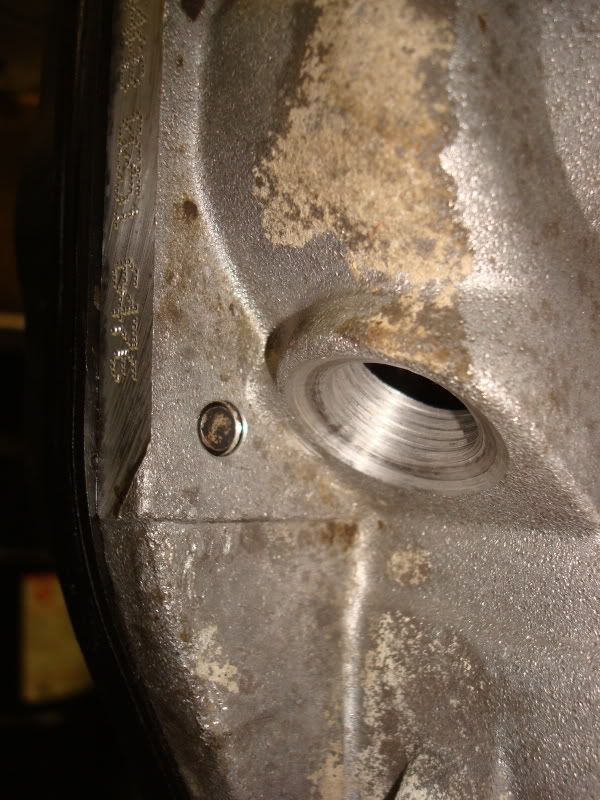
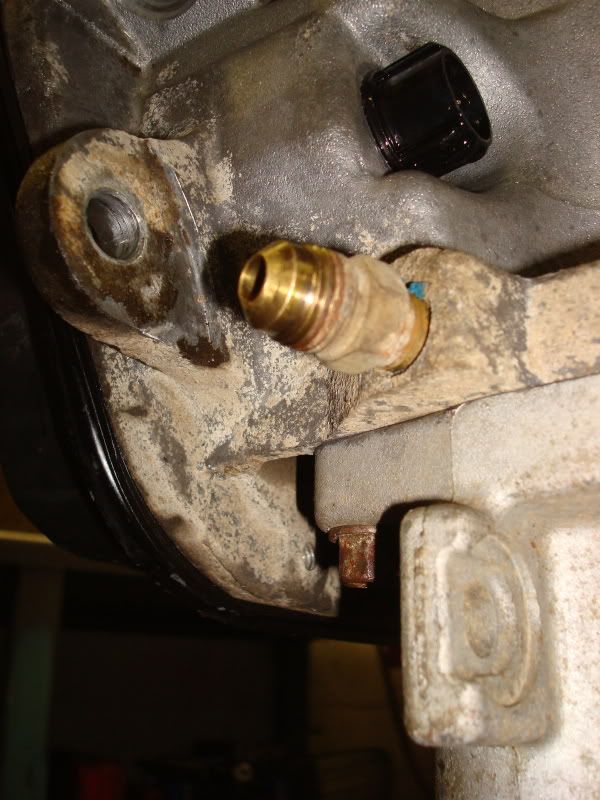
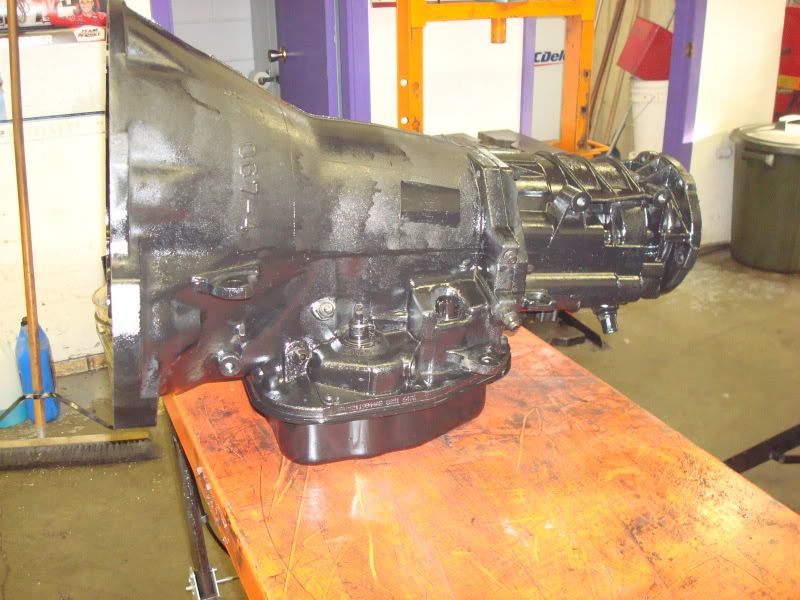
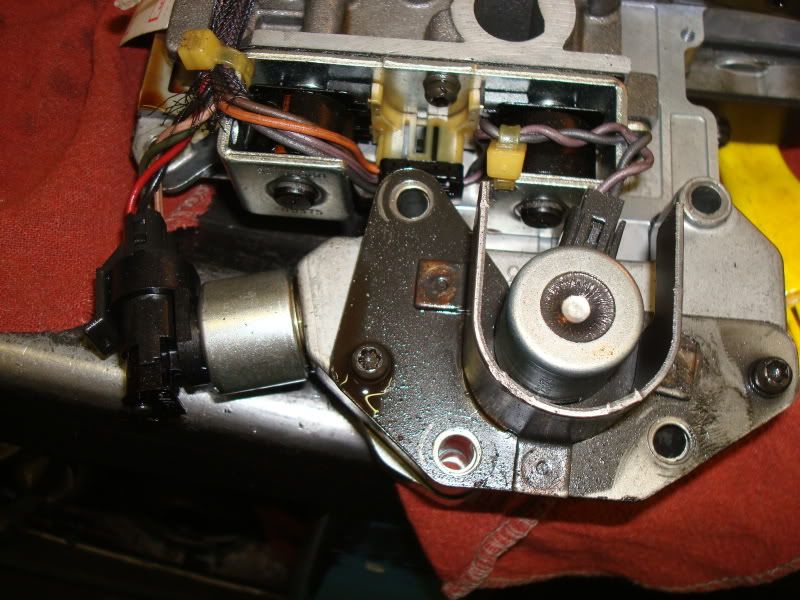
Today I got a 46RE in for rebuild, I didn't have a camera at work so I have dissasembled and cleaned all the parts. So what I will show is complete assembly of the unit , I'll try to point out common wear areas and common places to make upgrades.
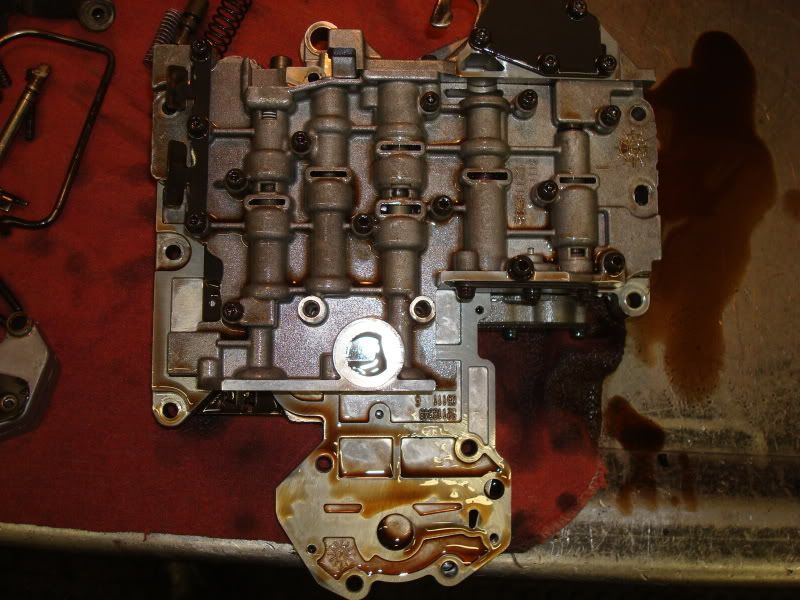
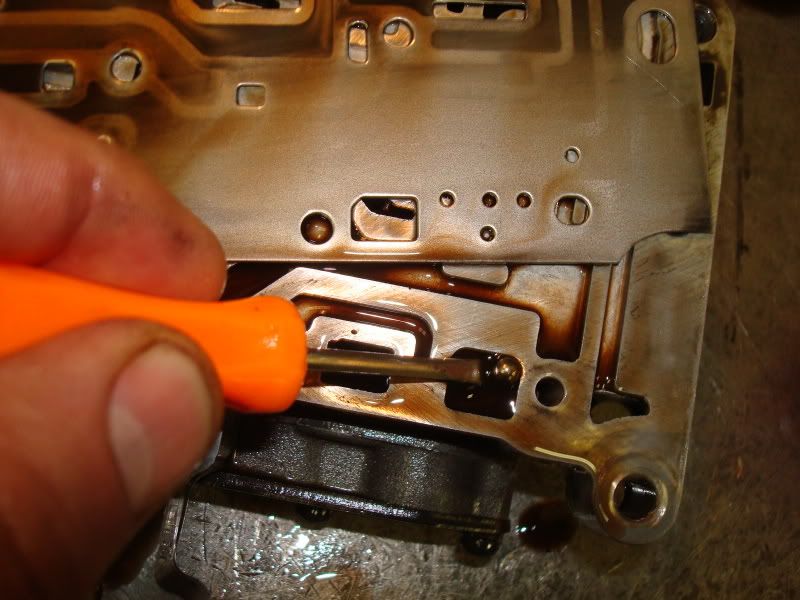
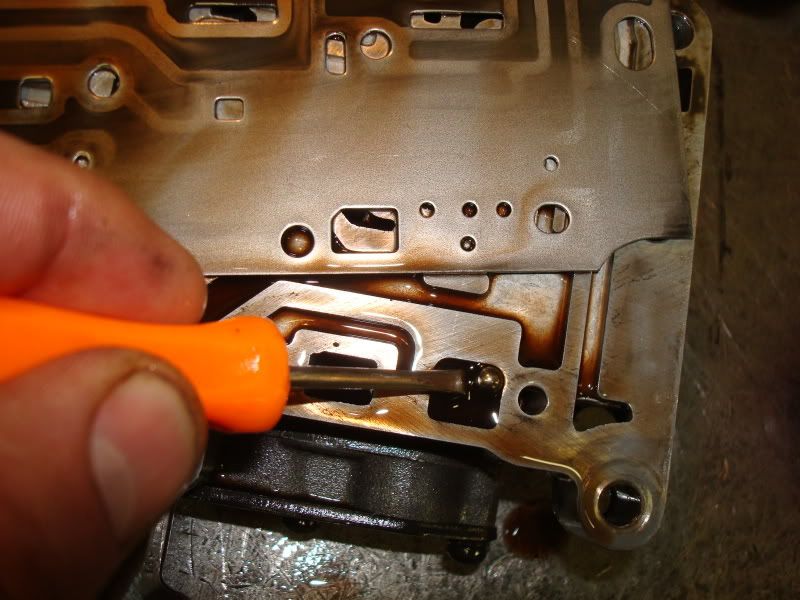
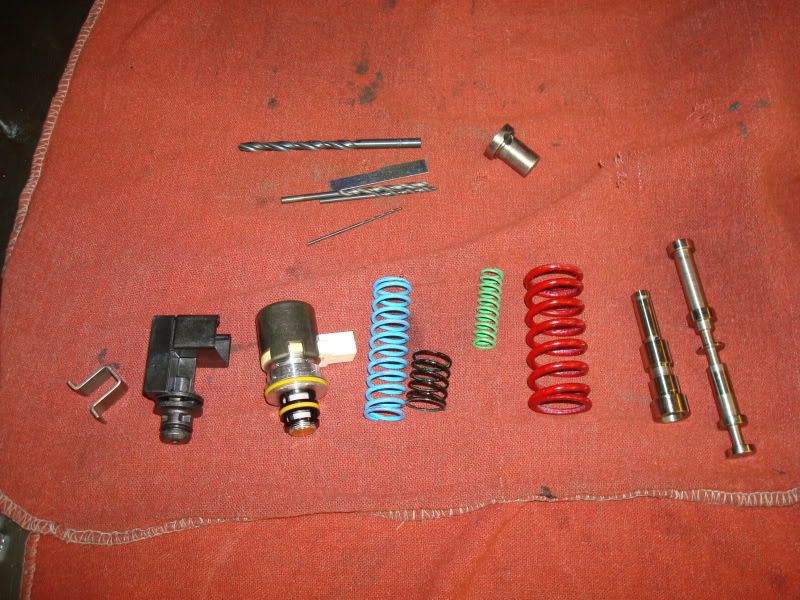
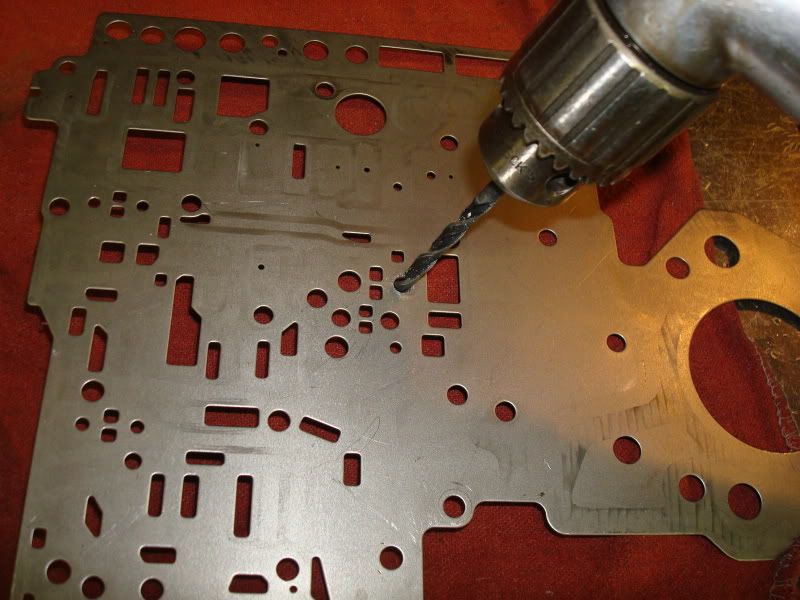
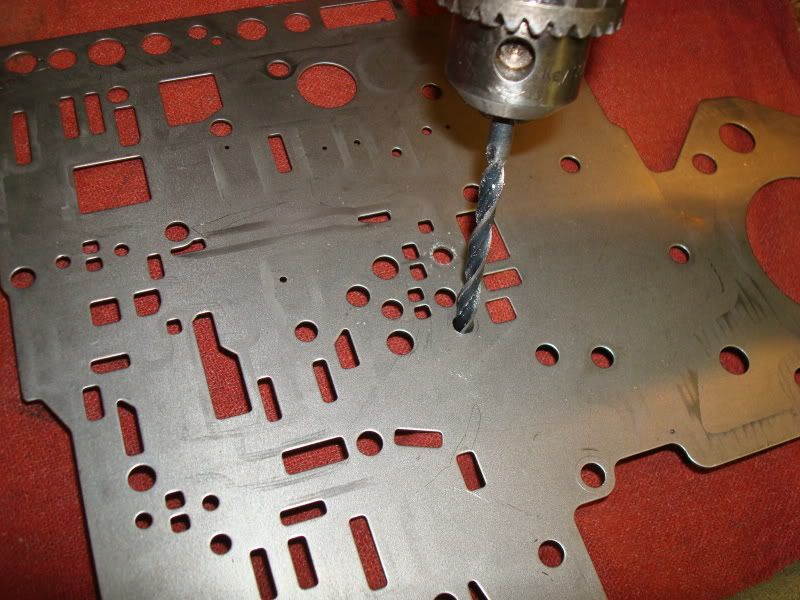
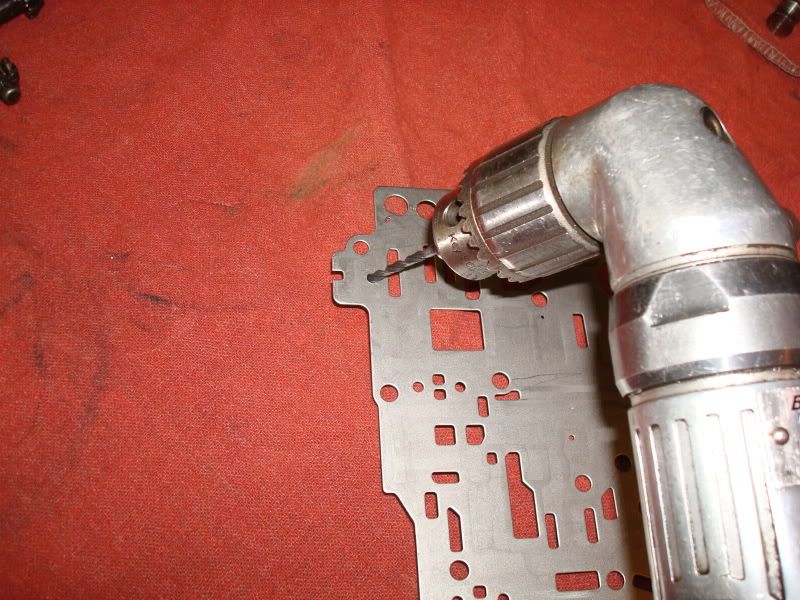
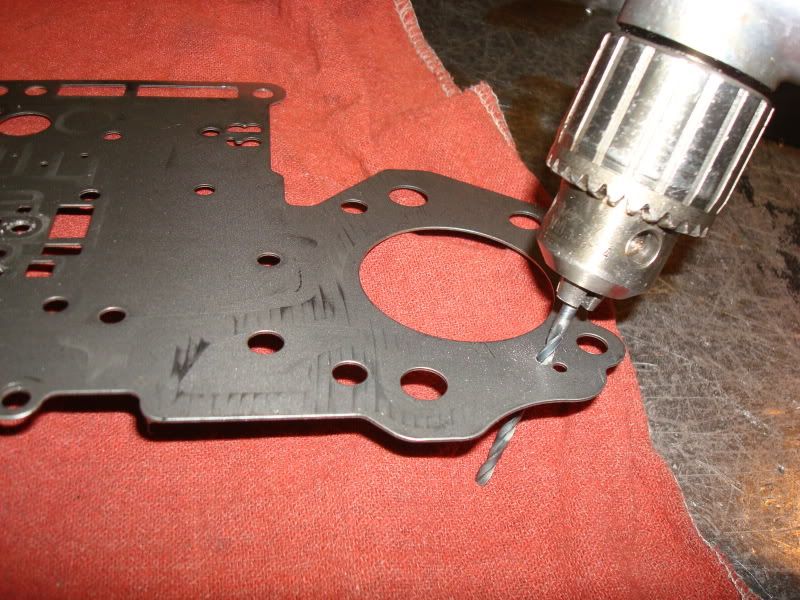
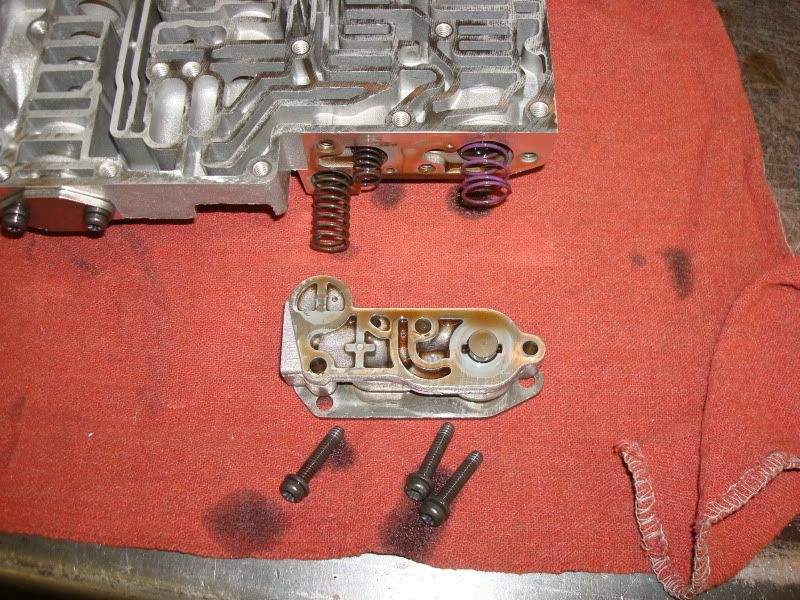
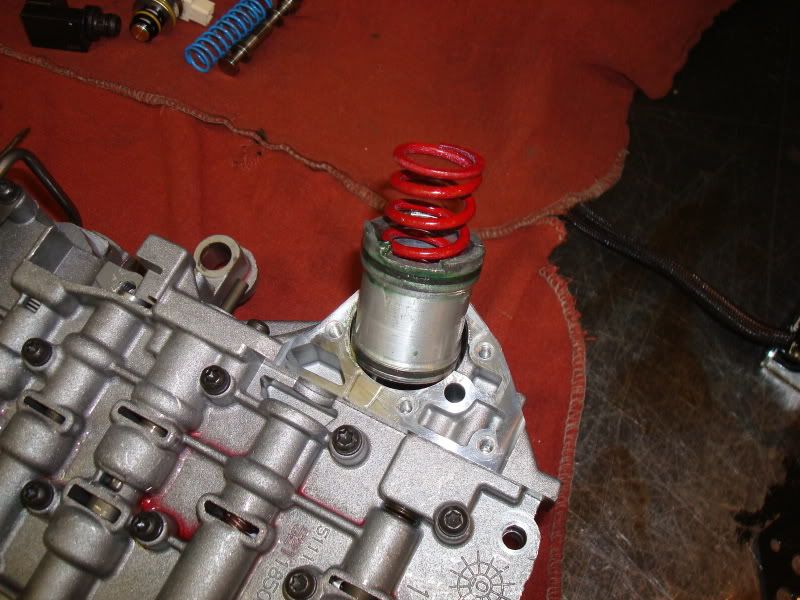
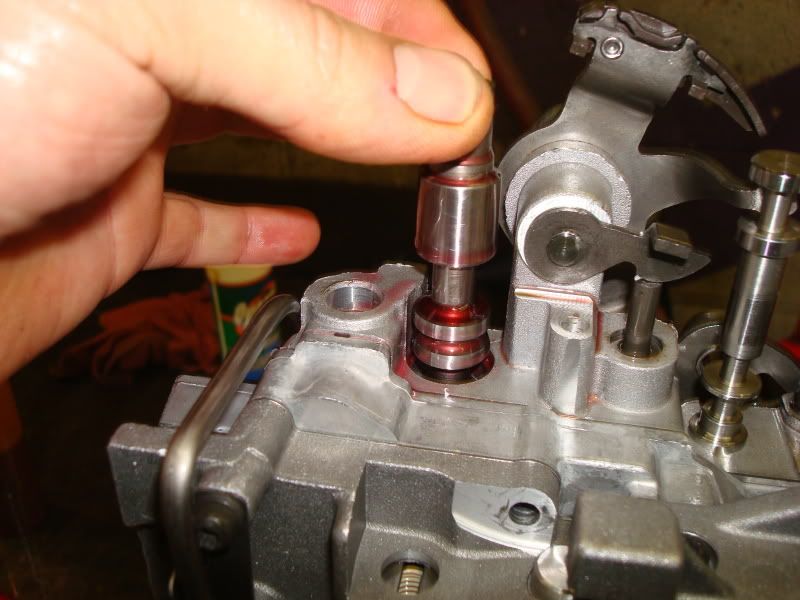
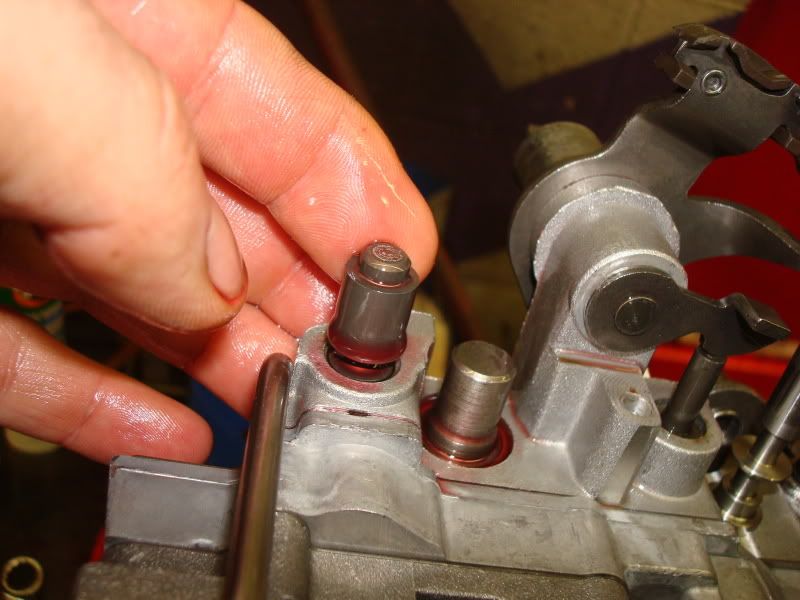
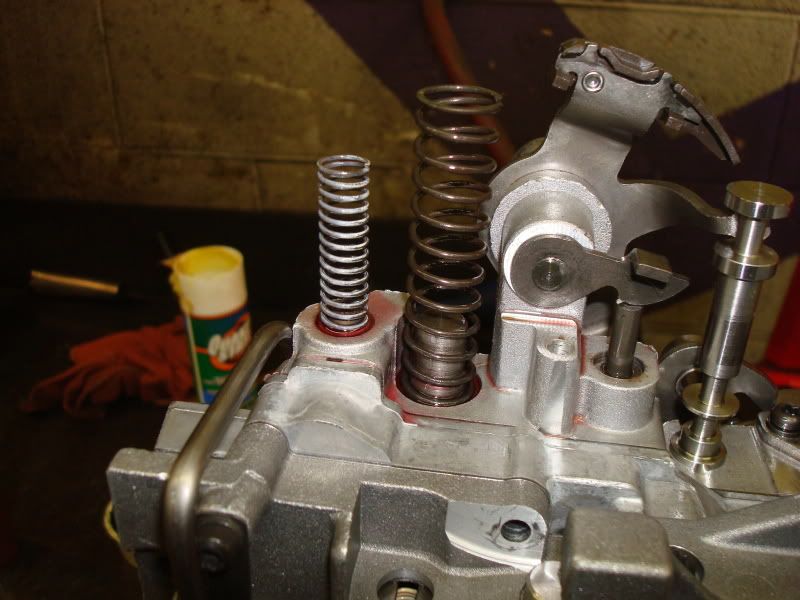
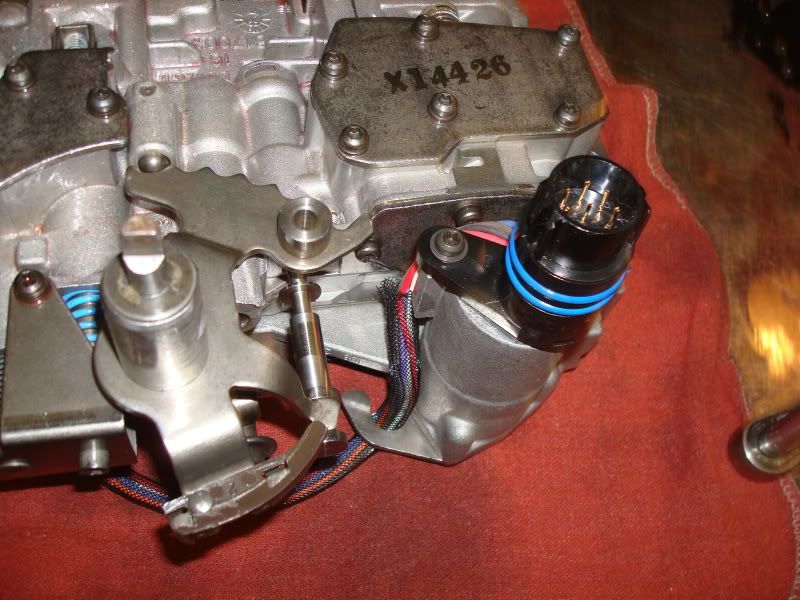
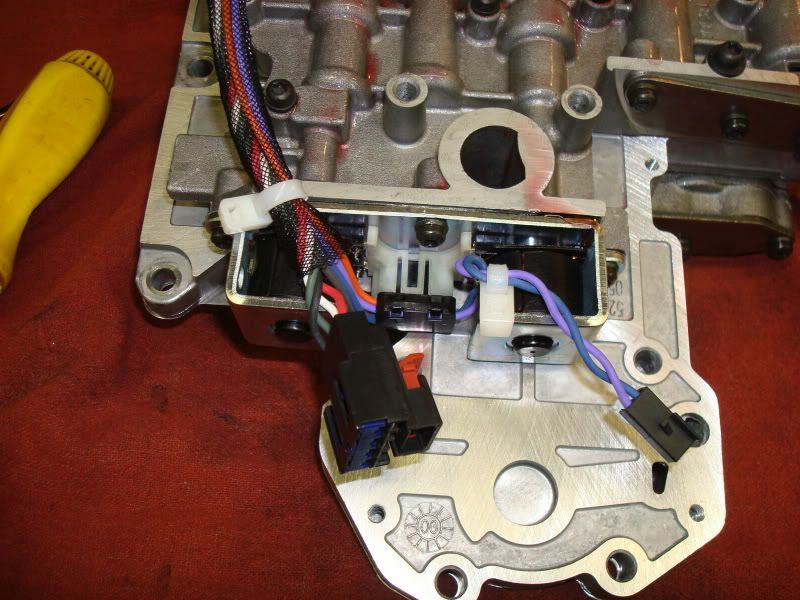
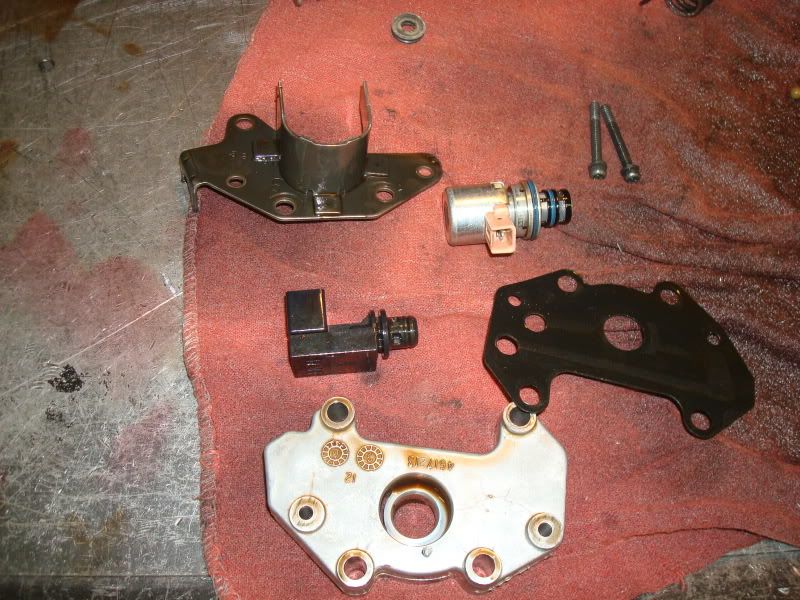
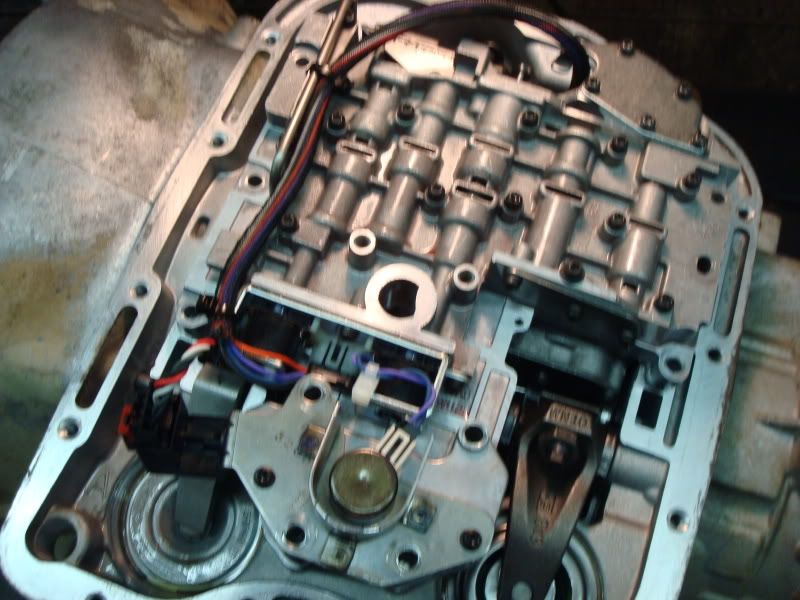
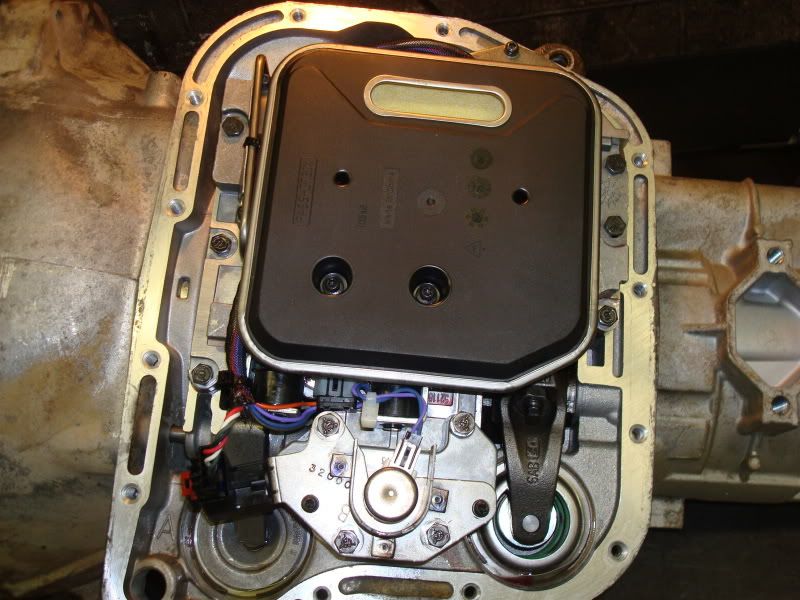
I'll show VB dissasembly and shift kit installation ,I'll point out differences in the kit for standard duty , HD and RUDE settings.
ALL the info that I'm going to post is going to be considered MY OPINION and I hope that others will not try to correct me by quoting the service manual. If you have a constructive comment I welcome them but critisizm will end the thread.
Attempt this at your own risk , possibly down the road if I have a camera at work I will add to the thread with some dissasembly pics.
Also all the VB info and overdrive unit info will be identical on the 42/44RE the clutches and planets are different looking but assemble the same as the 46RE.
STAY TUNED
")