

Thanks to Tecumsa for the link to Strapworks
I was able to get replacement webbing at $.50 a foot and I picked up some Stainless steel pop rivets at the local hardware store for $.20 each. I thought about using other methods of fastening to make the repair, but all in all, the rivets were cheap and simple. Easy to remove and install and I really don't plan on repeating this repair every few years. The new webbing appears to be a bit thicker and more durable. I also used Stainless flat washers under the rivets. I had those in my hardware drawer. I will insert a few pictures and I believe that if you click on a photo it will allow you to view the folder at Photobucket. I took many photos to try to document the process. I use a butane torch to seal the edges of the webbing after cutting was completed to keep it from coming unravelled over time. To make the holes in the material for the rivets and screws, I used a soldering iron. It melted right through the webbing and sealed the material from fraying as well. I managed to salvage one of the two straps that was still fairly intact and I used this as a template for the two straps I fabricated. It all worked well and total cost (less the small washers I already had) was $5.00, which is unbelievable. The shipping on the webbing was a few bucks and I ordered enough to do another jeep as well as some cool straps from Strapworks.com. I had fun doing the work and it just takes some patience. I hope the pictures do it justice.
![Image]()
![Image]()
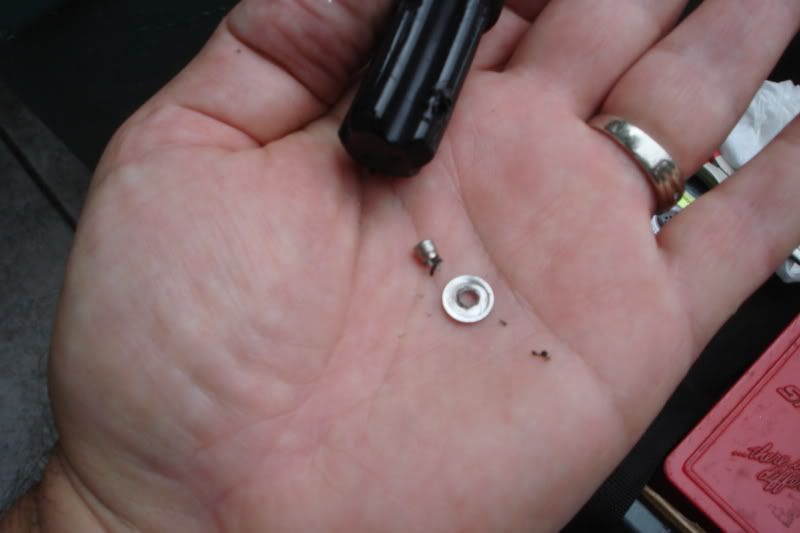
REMOVING THE RIVET DEBRI FROM INSIDE THE TUBE:
![Image]()
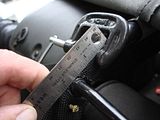
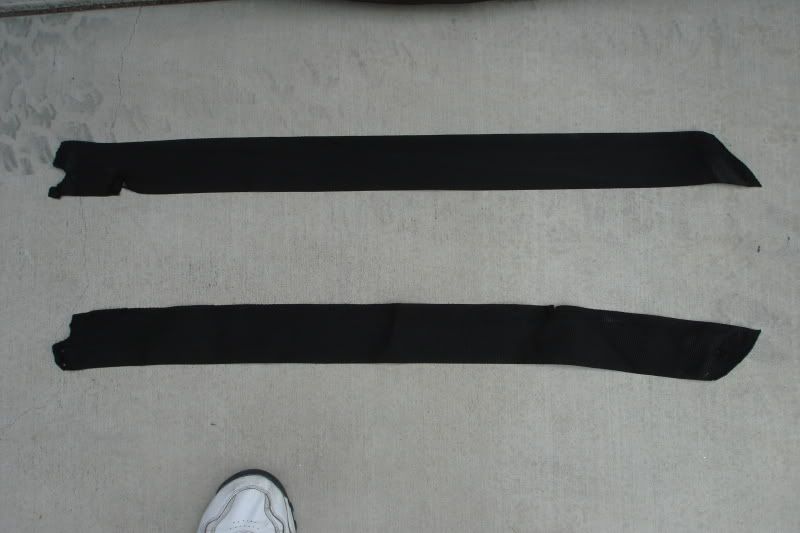
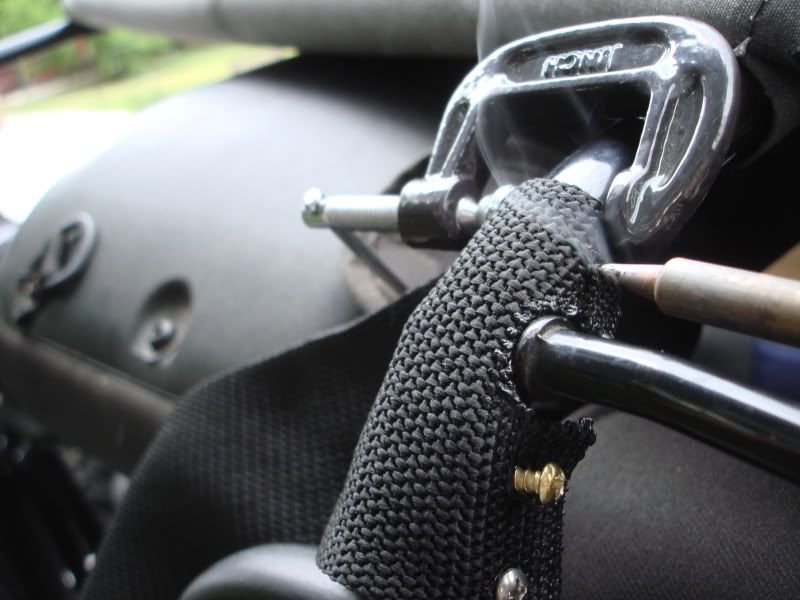
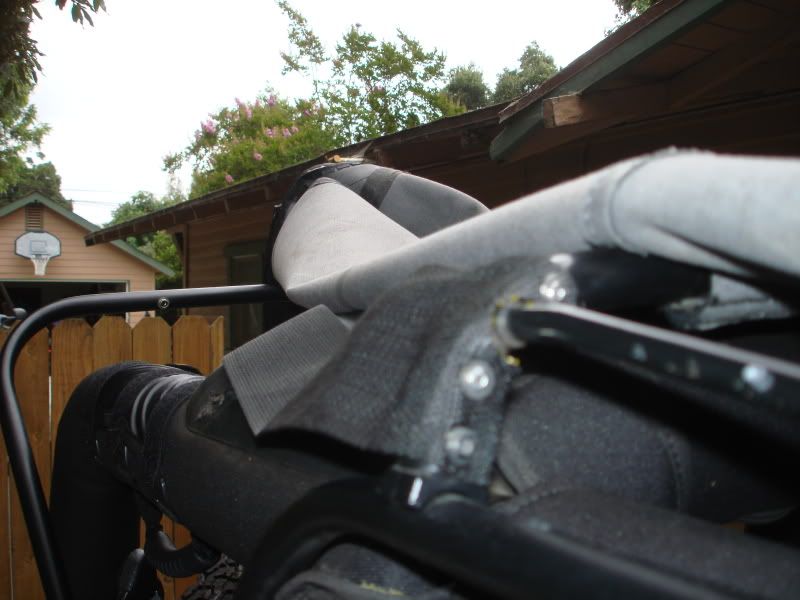
OLD STRAPS
![Image]()
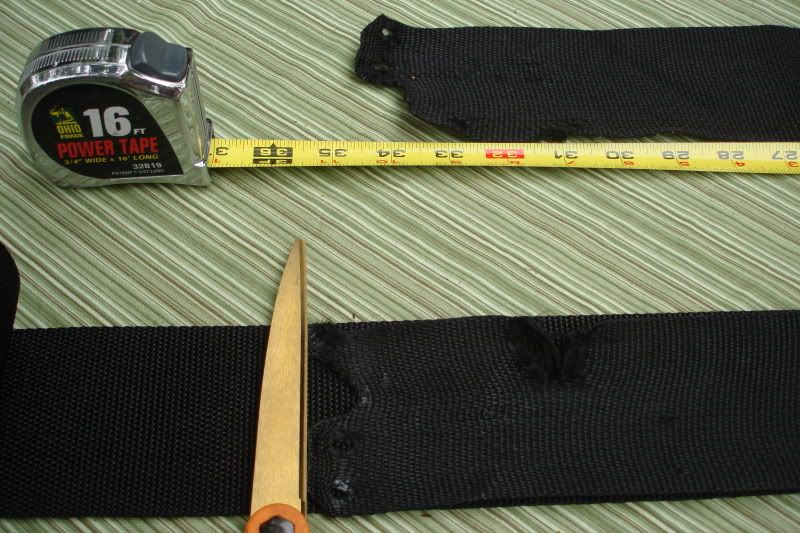
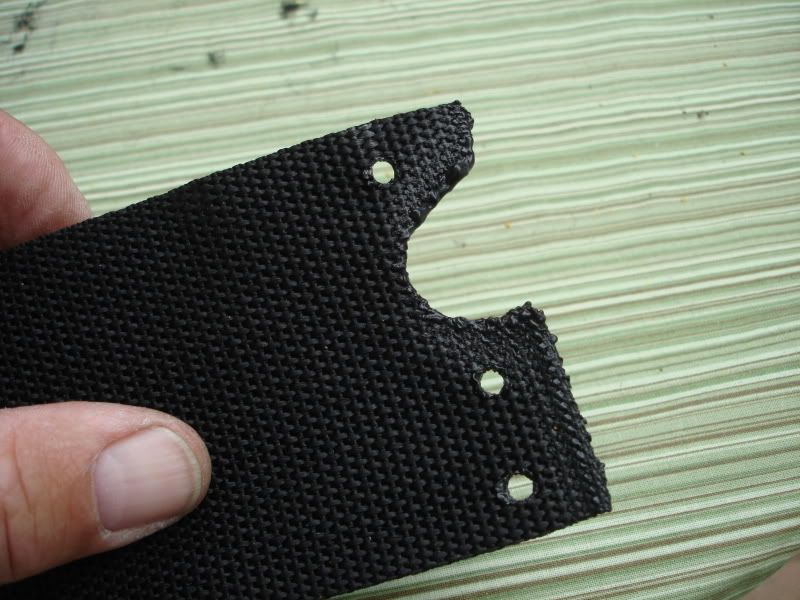
MEASURING UP FOR NEW STRAPS
![Image]()
![Image]()
![Image]()
USING SOLDERING IRON TO MAKE HOLES IN STRAPS
![Image]()
![Image]()
![Image]()
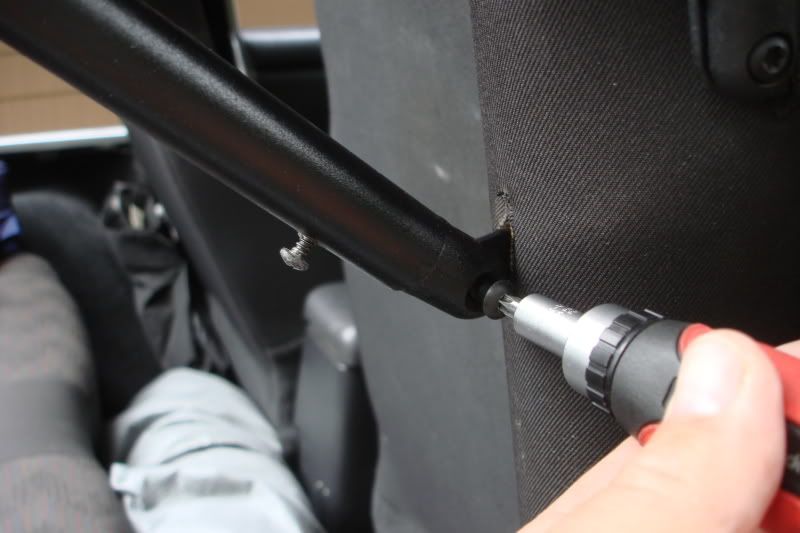
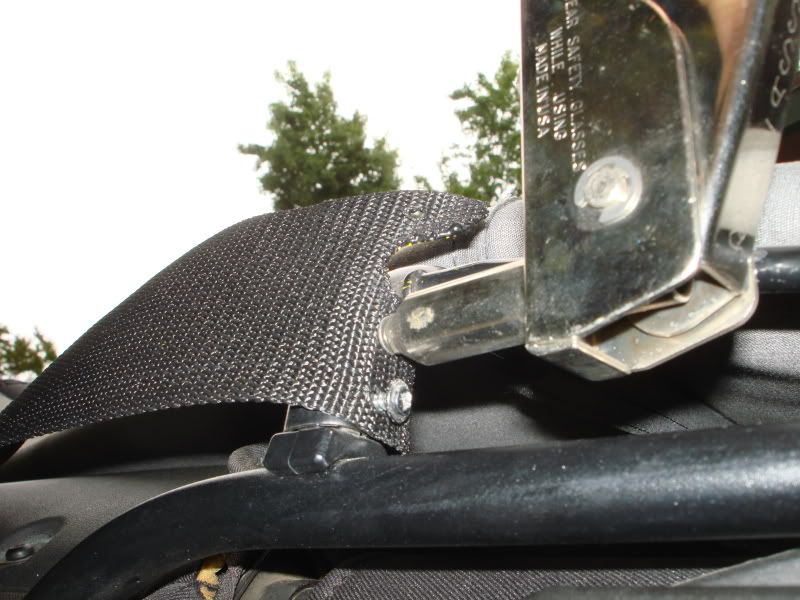
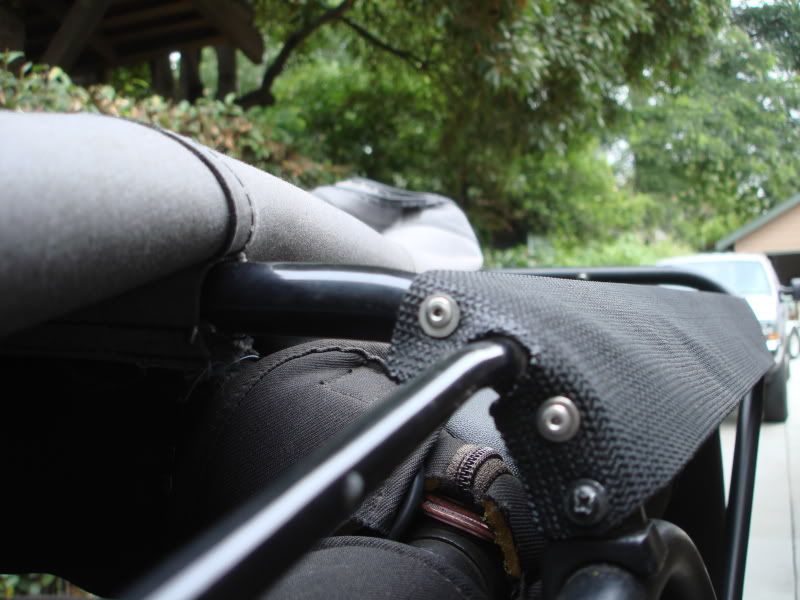
ATTACHING WITH RIVET GUN
![Image]()
![Image]()
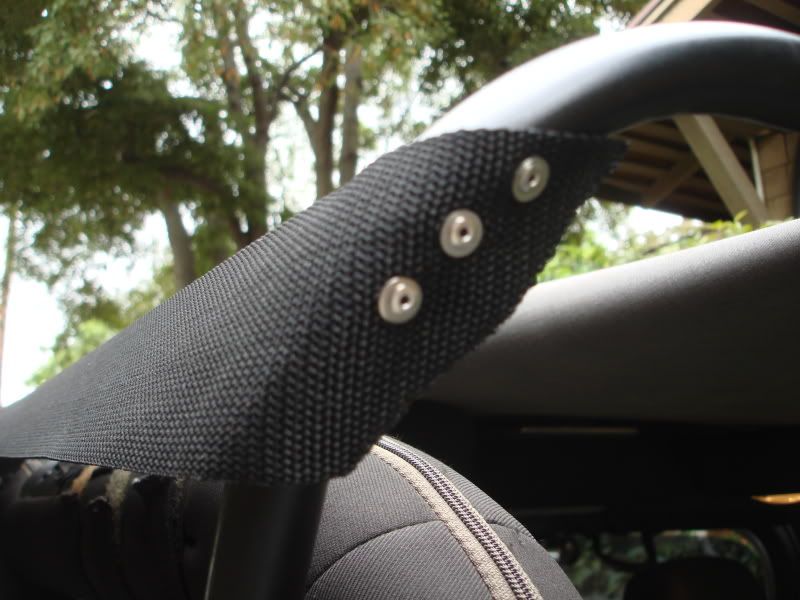
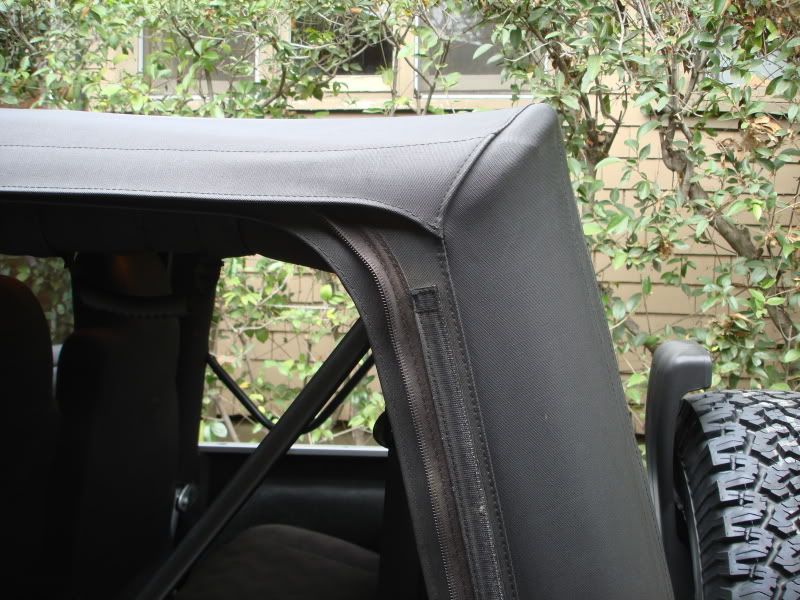
DONE
![Image]()
![Image]()
![Image]()
![Image]()
![Image]()
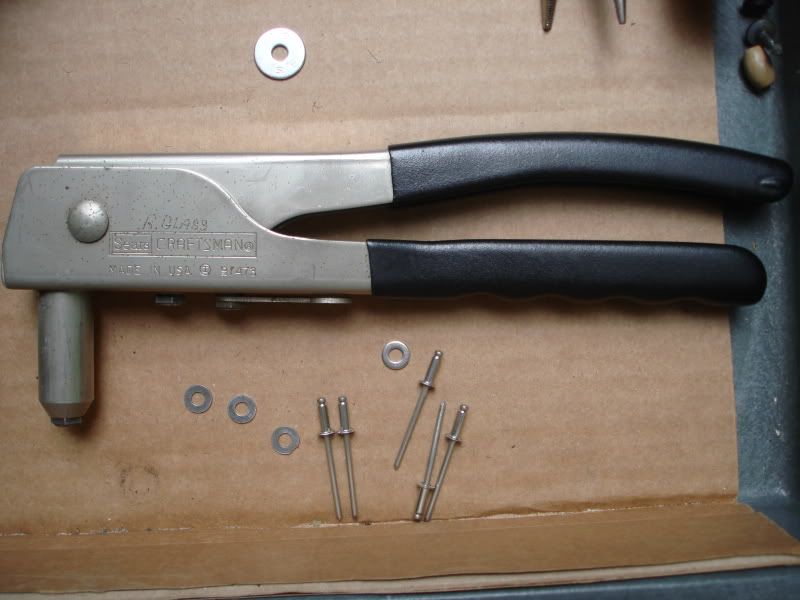
THE OH SO HANDY CRAFTSMAN POP RIVET TOOL
![Image]()
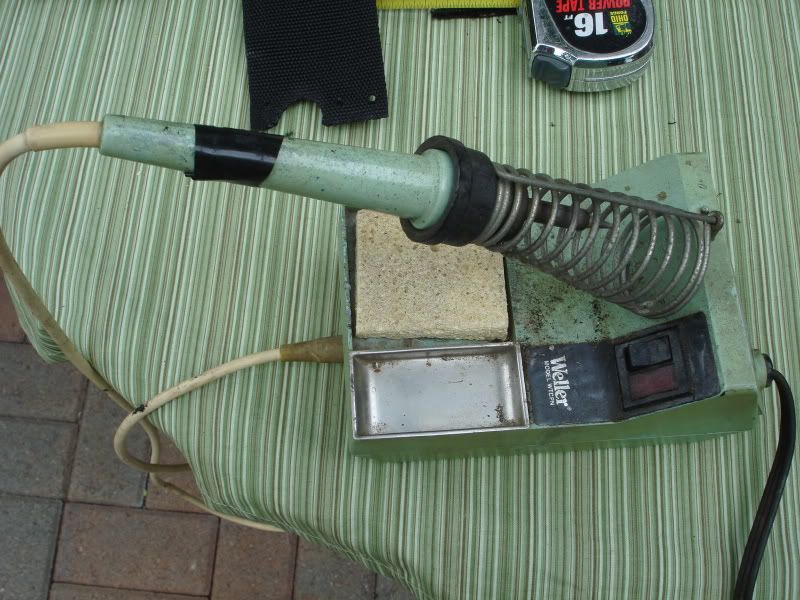
POPS OLD WELLER SOLDERING IRON
![Image]()
Again there are many more detailed photos at photobucket. If you are interested in them. Try clicking this thumbnail to view:
 Enjoy
Enjoy
I was able to get replacement webbing at $.50 a foot and I picked up some Stainless steel pop rivets at the local hardware store for $.20 each. I thought about using other methods of fastening to make the repair, but all in all, the rivets were cheap and simple. Easy to remove and install and I really don't plan on repeating this repair every few years. The new webbing appears to be a bit thicker and more durable. I also used Stainless flat washers under the rivets. I had those in my hardware drawer. I will insert a few pictures and I believe that if you click on a photo it will allow you to view the folder at Photobucket. I took many photos to try to document the process. I use a butane torch to seal the edges of the webbing after cutting was completed to keep it from coming unravelled over time. To make the holes in the material for the rivets and screws, I used a soldering iron. It melted right through the webbing and sealed the material from fraying as well. I managed to salvage one of the two straps that was still fairly intact and I used this as a template for the two straps I fabricated. It all worked well and total cost (less the small washers I already had) was $5.00, which is unbelievable. The shipping on the webbing was a few bucks and I ordered enough to do another jeep as well as some cool straps from Strapworks.com. I had fun doing the work and it just takes some patience. I hope the pictures do it justice.
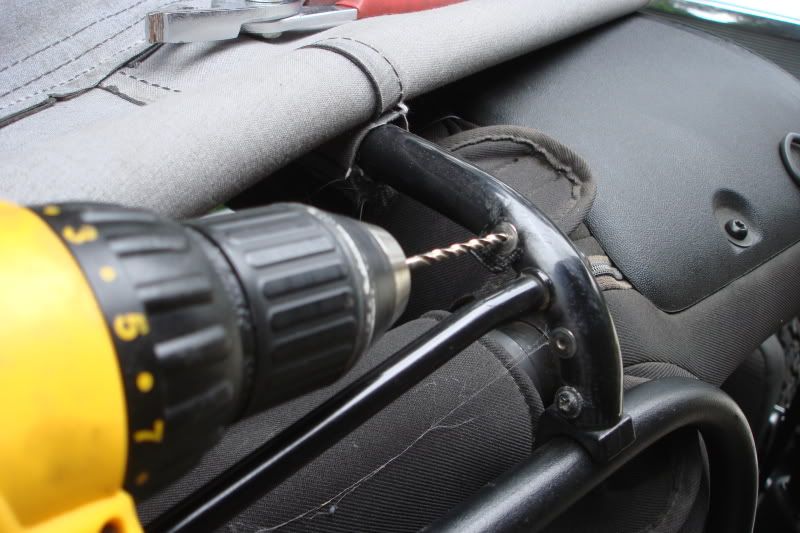
REMOVING THE RIVET DEBRI FROM INSIDE THE TUBE:
OLD STRAPS
MEASURING UP FOR NEW STRAPS

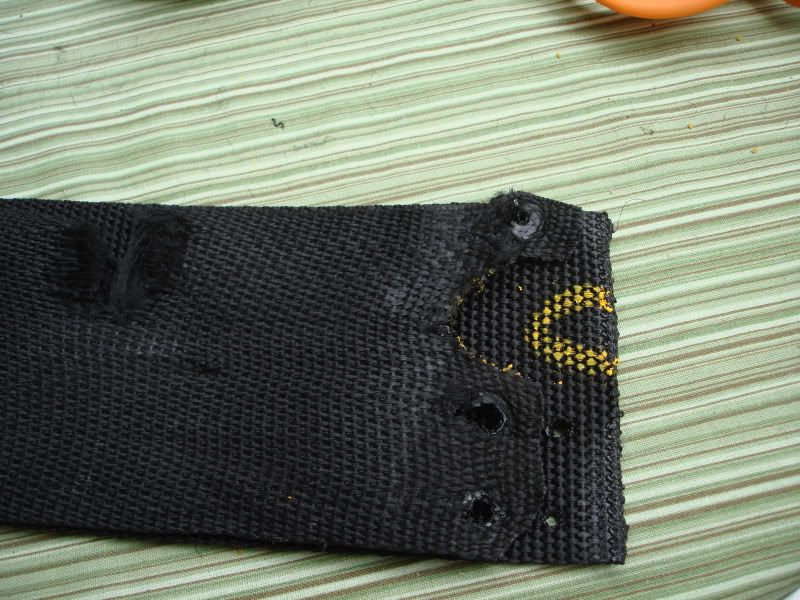
USING SOLDERING IRON TO MAKE HOLES IN STRAPS
ATTACHING WITH RIVET GUN
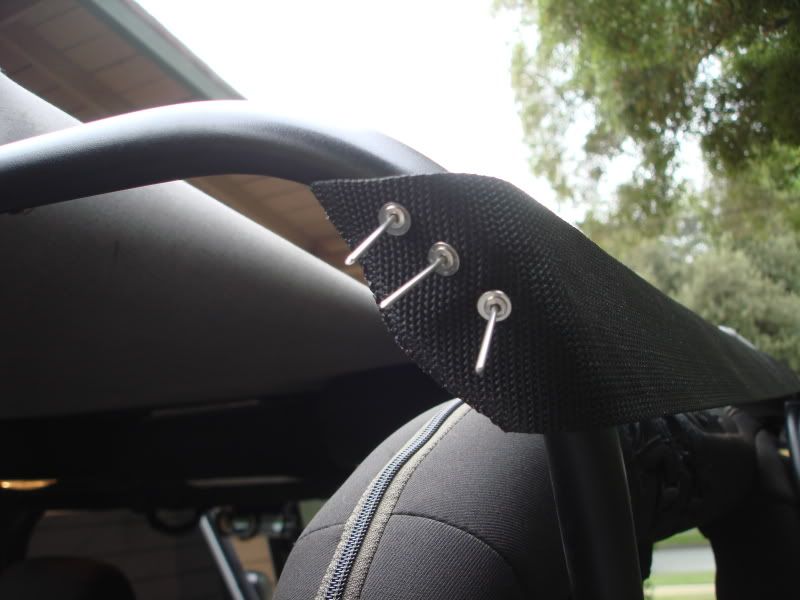
DONE

THE OH SO HANDY CRAFTSMAN POP RIVET TOOL
POPS OLD WELLER SOLDERING IRON

Again there are many more detailed photos at photobucket. If you are interested in them. Try clicking this thumbnail to view:
 Enjoy
Enjoy . Good to know, I will be replacing those when I replace my windshield header channel. Still trying to figure out why the PO cut them...


