hello, i have been looking to do this for awhile and i have found a couple good threads but some were lacking some of the pictures or information i was looking for before starting this project so i figured i would go ahead and do it myself and make a short write up on how to do it. The task seemed somewhat daunting at first but once you get started replacing the headliner wasn't too hard on my 96 zj.
Starting off i made a run to joann fabrics and picked up the material i chose for the headliner. I went with one of the cheaper ones i could find for around $10 a yard and ended up buying 4 yards, honestly you can get away with 3 but i didnt have the exact measurement on the length and didn't want to risk it being short
http://www.joann.com/home-decor-signature-series-vinyl-lexus-black/xprd780305/
that is a link to one very similar to what i bought. it was some sort of vinyl material
whatever you go with make sure it is 54 inches wide
After the fabric was bought i stopped by autozone and bought 3 cans of 3m Headliner adhesive for 15.99 a piece. I originally bought 2 and potentially it can be done with 2 but went back for a 3rd can about half way through the process because i did not want to run out.
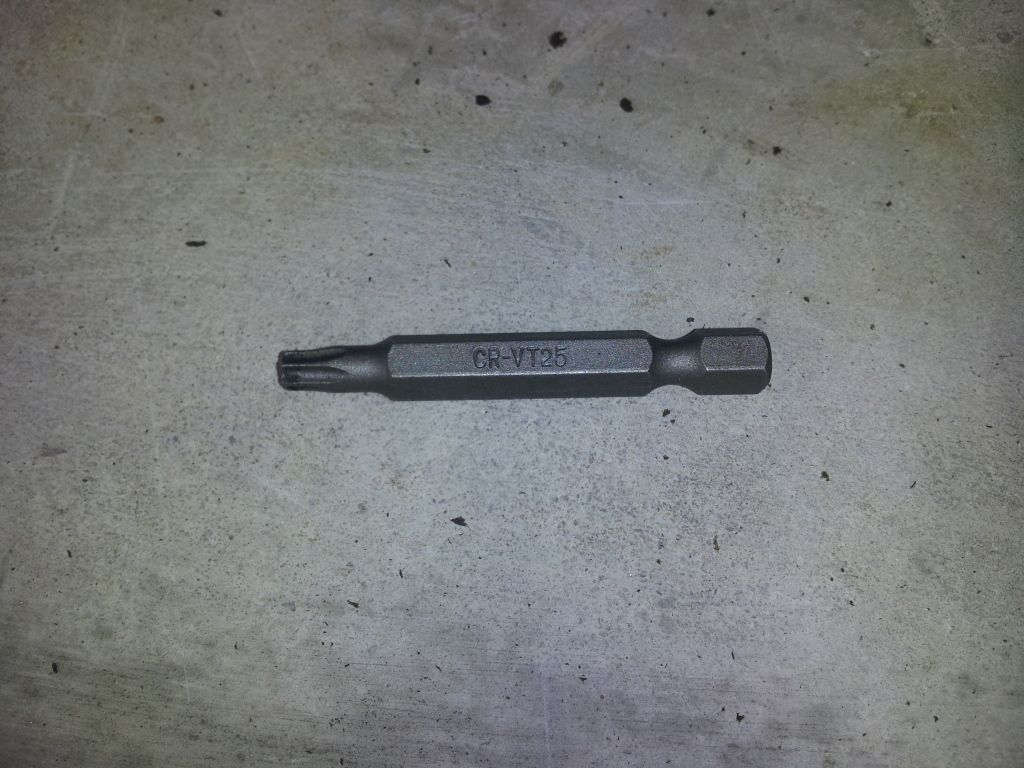
So those are pretty much the supplies you need to get, everything else that is required you most likely already have in your garage like a shopvac, size 20 or 13/16 socket, Phillips head screw driver and im not sure what size but a torx head driver
here is a pic of the one that fit for me it shows as cr-vt25
![Image]()
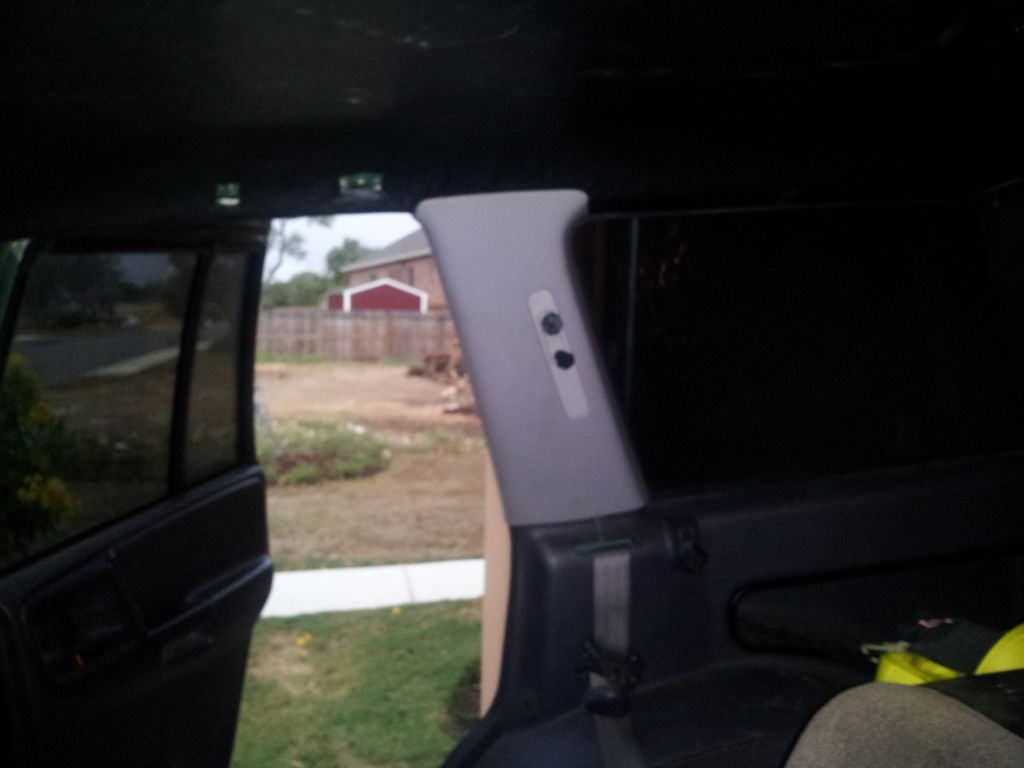
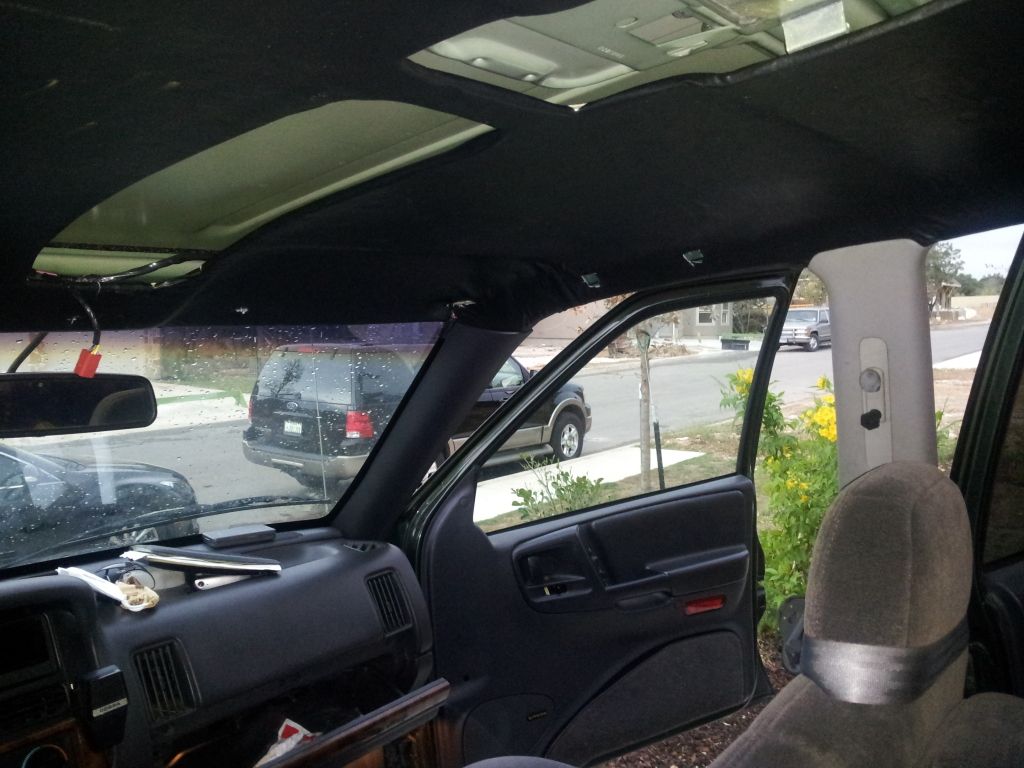
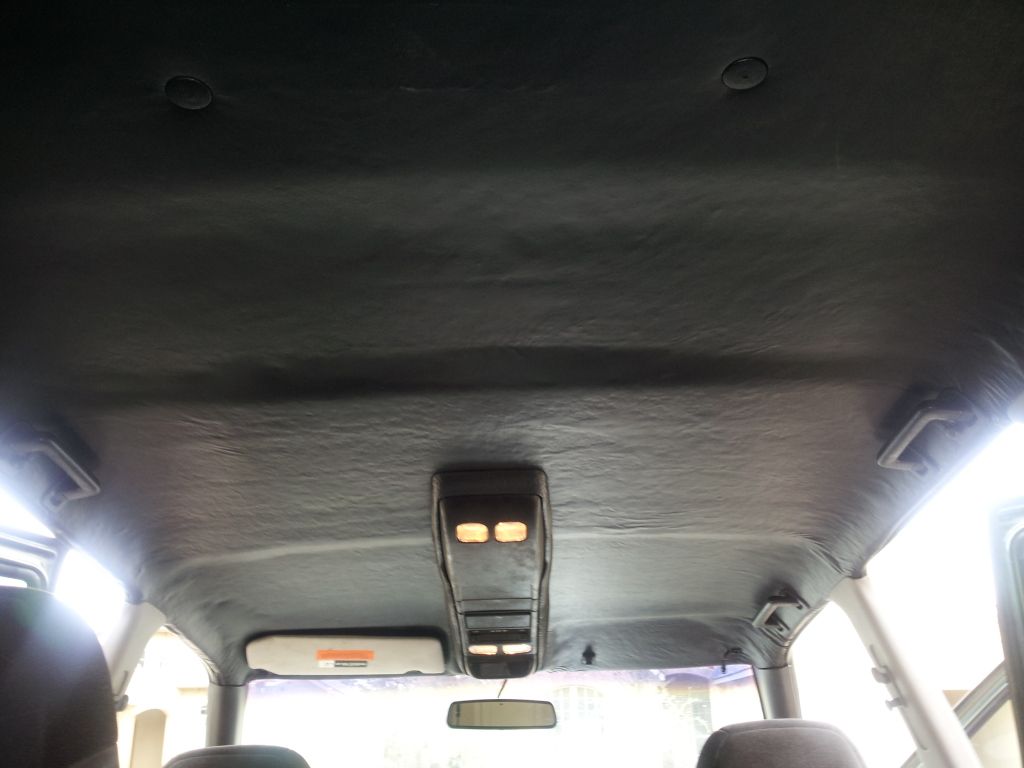
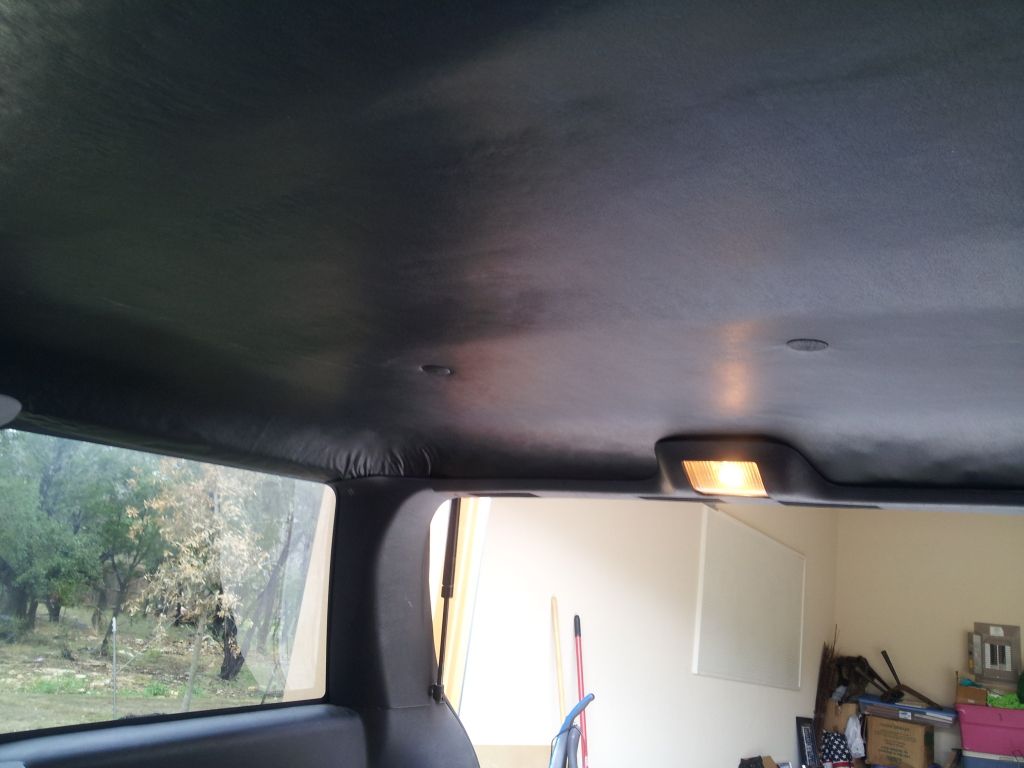
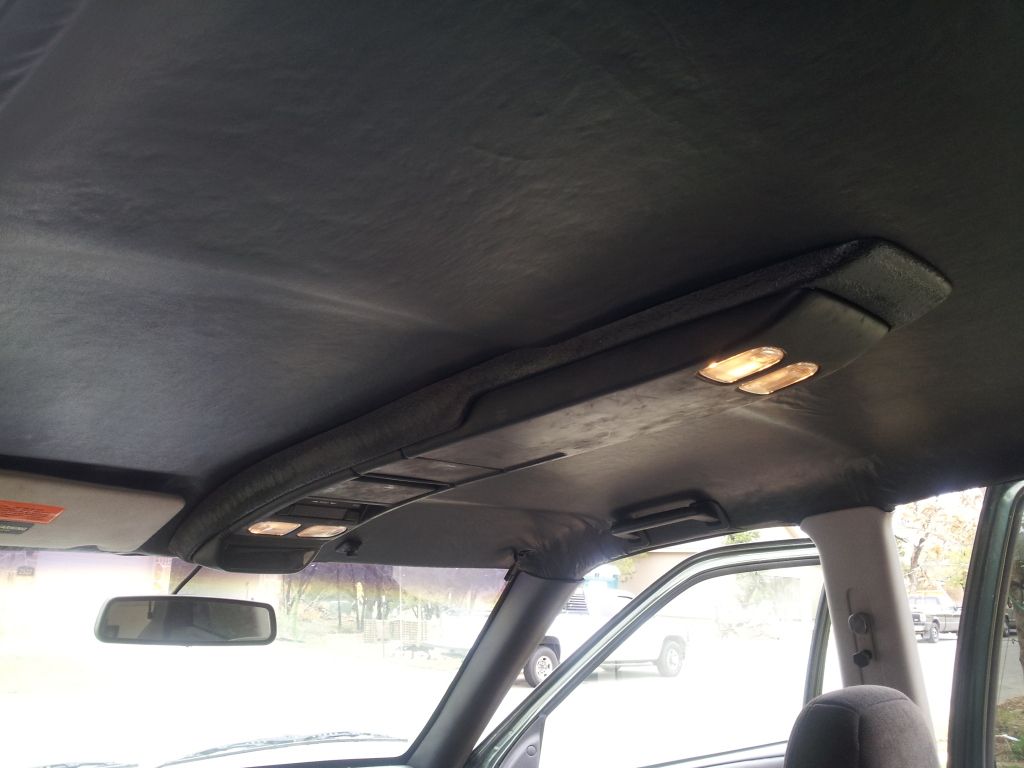
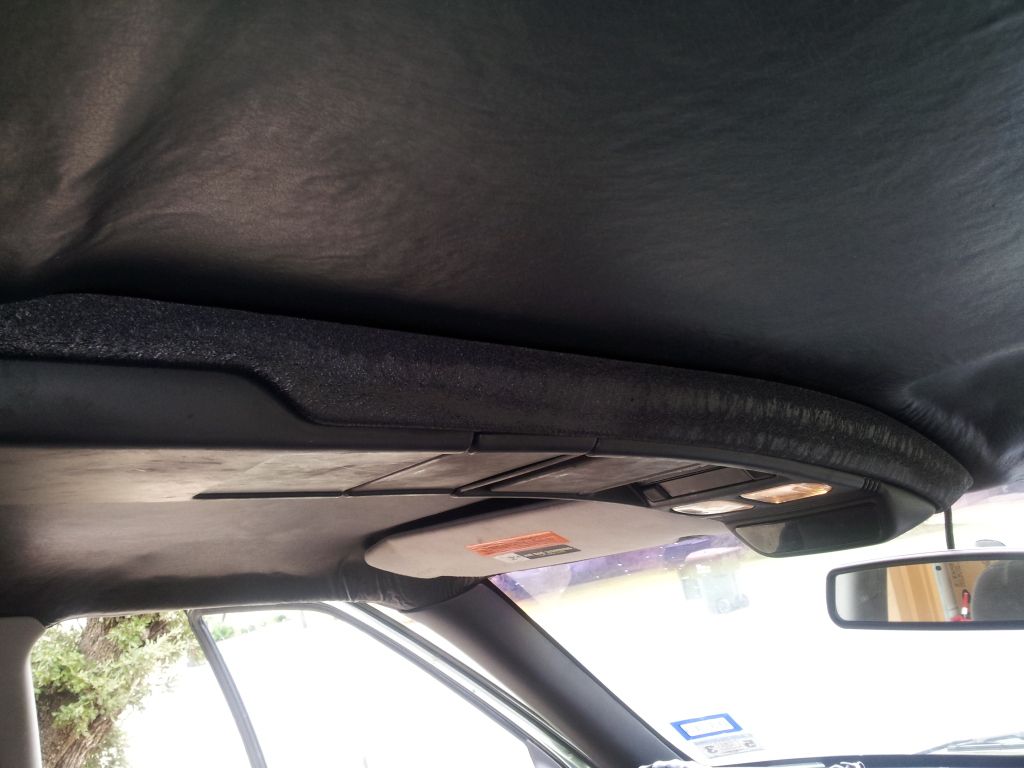
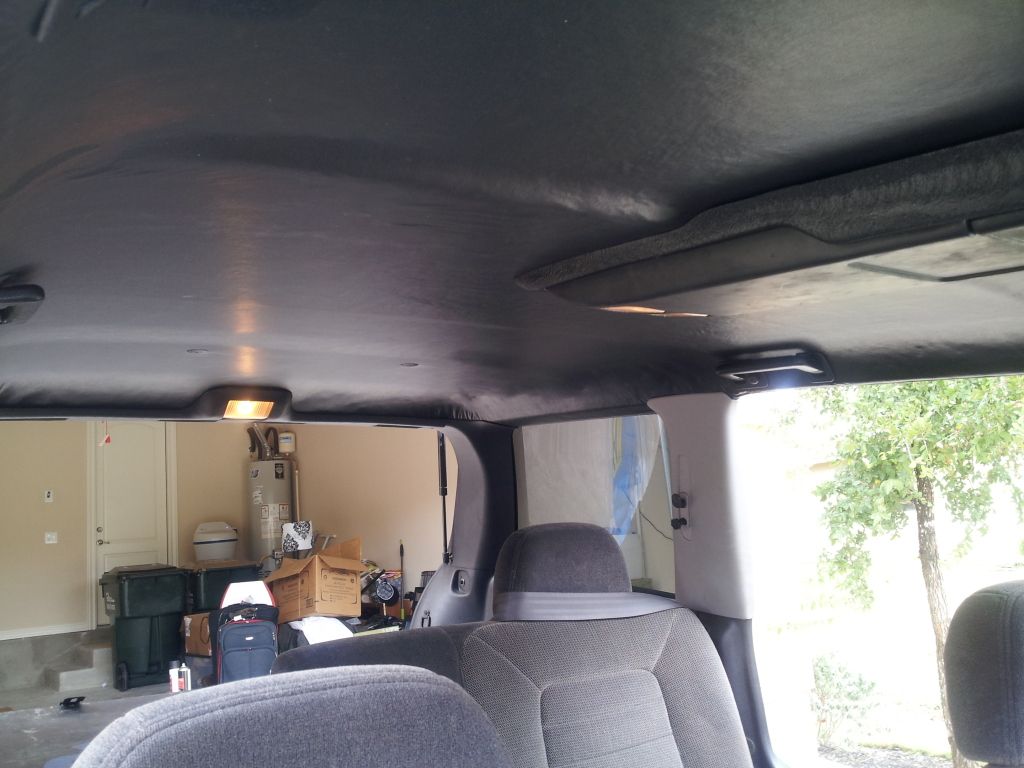
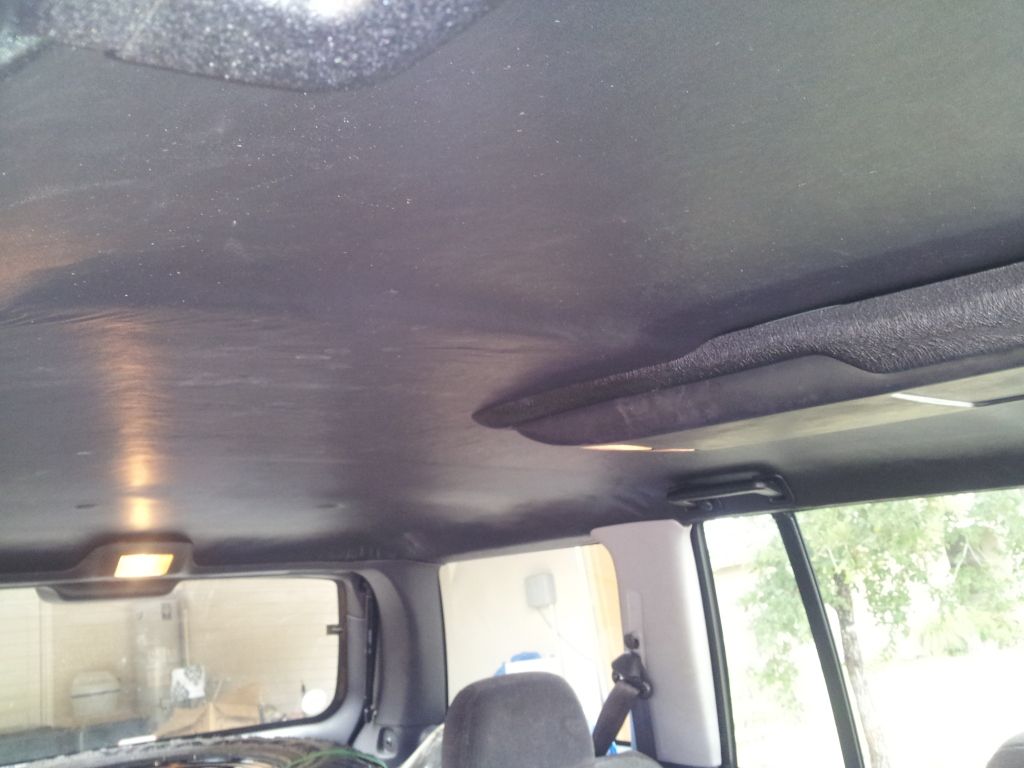
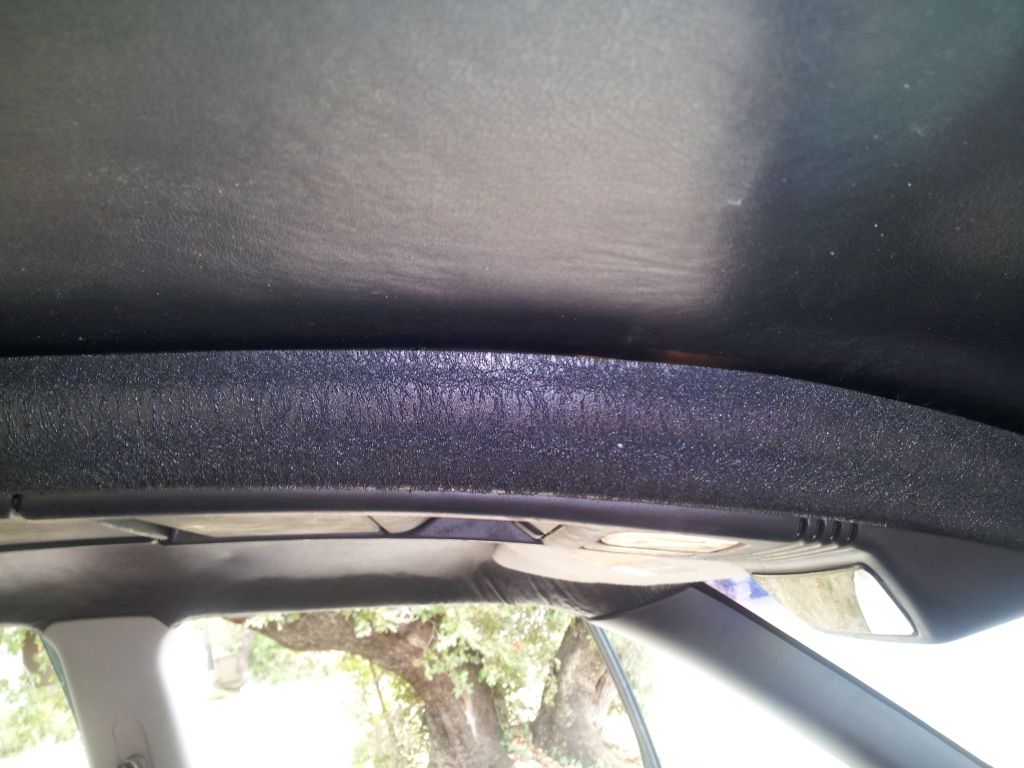
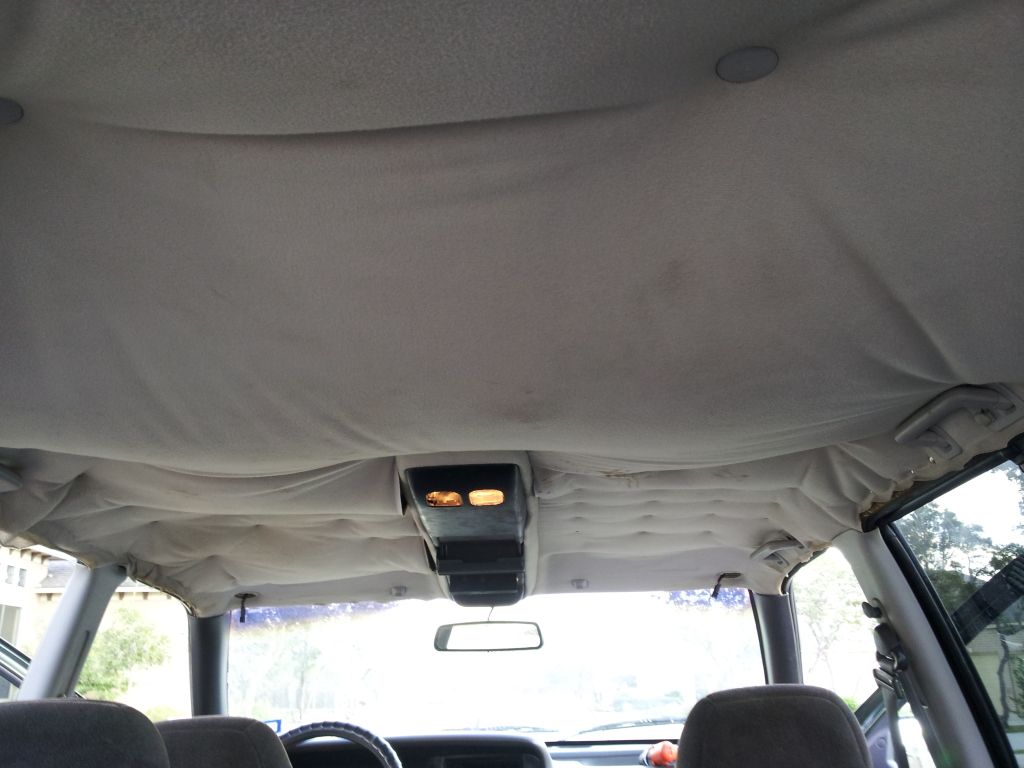
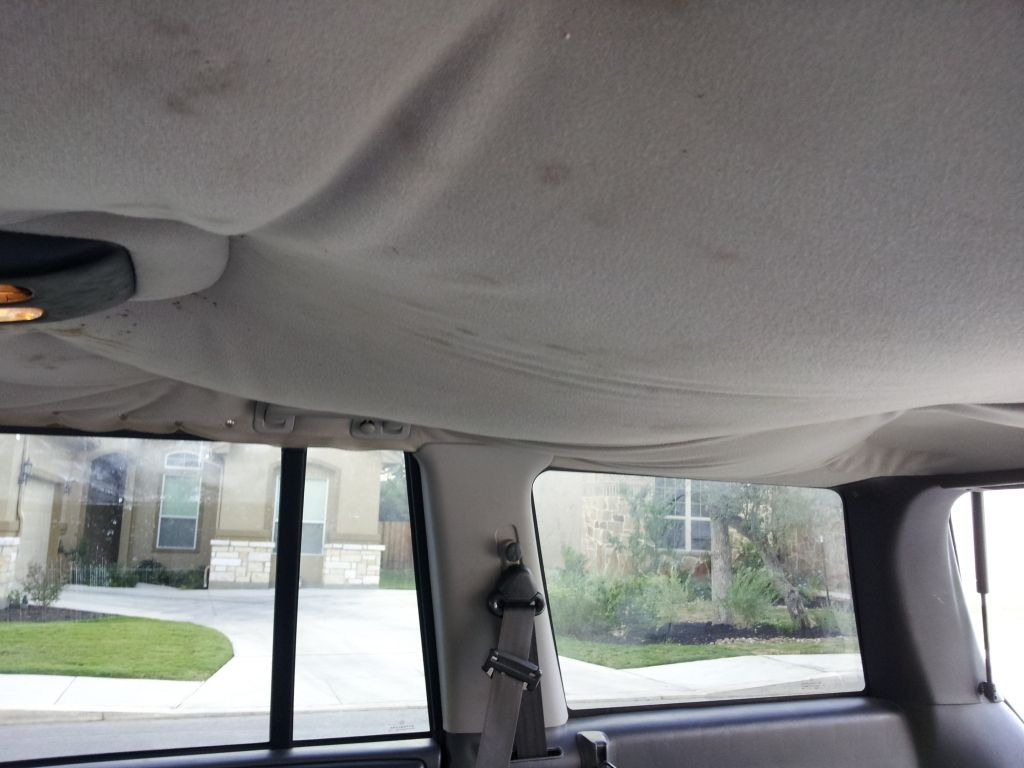
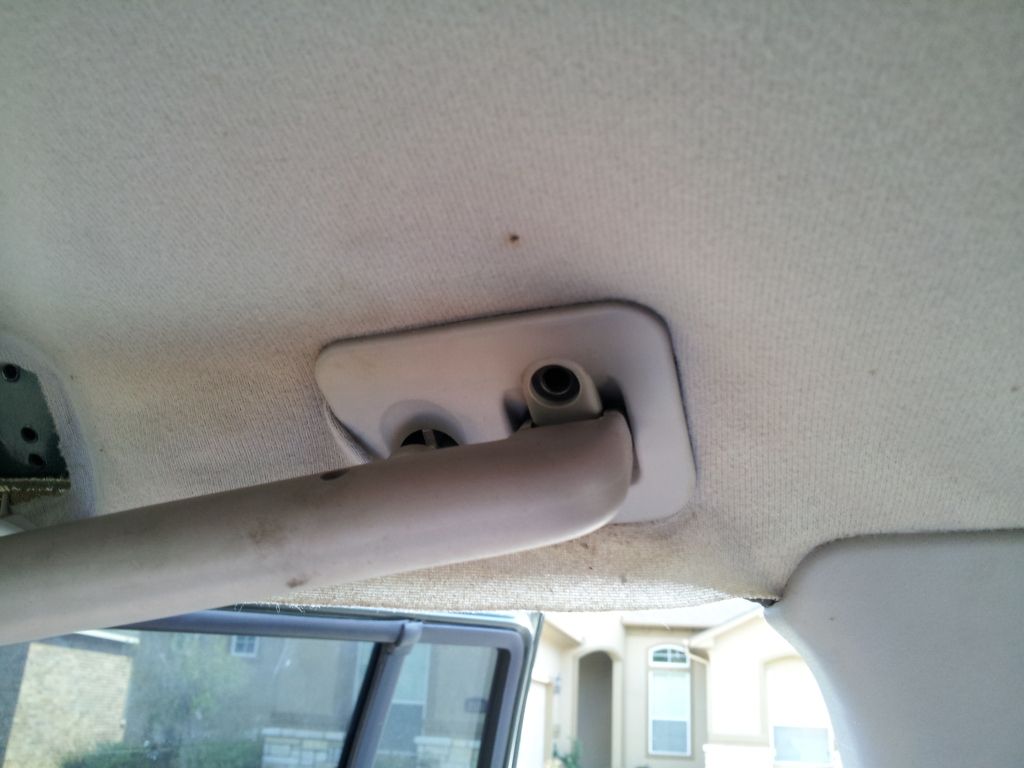
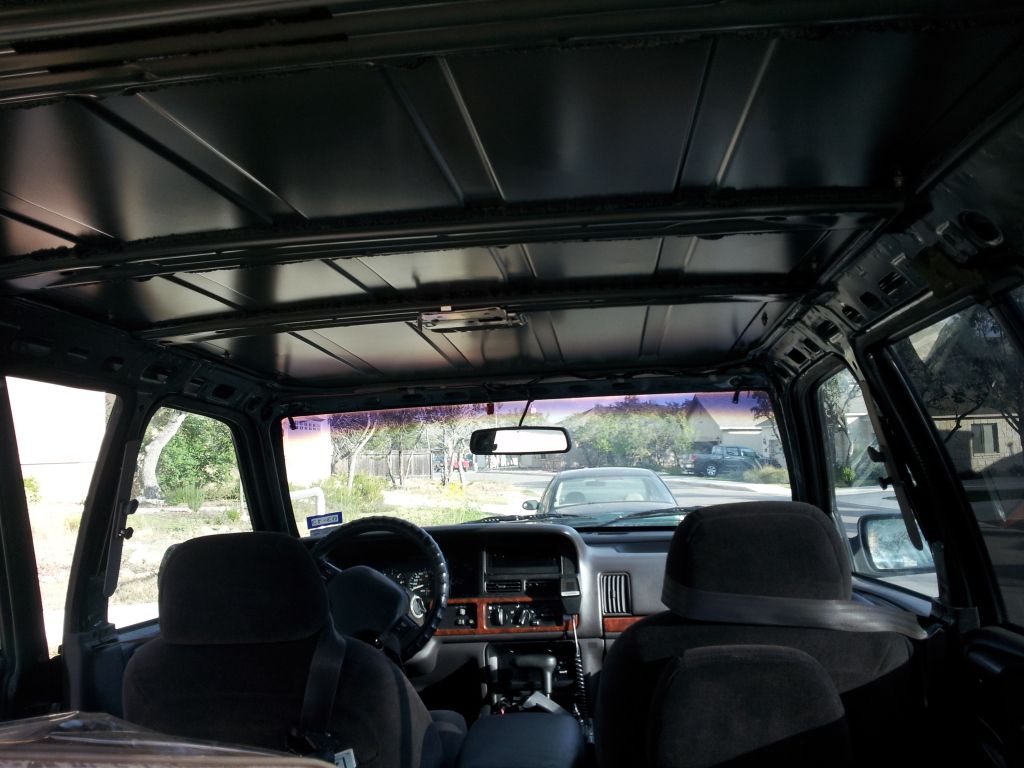
starting off here is what the headliner originally looked like, ha you can see where i had used thumbtacks in the front to reduce sagging until i could finally get around to doing this.
![Image]()
![Image]()
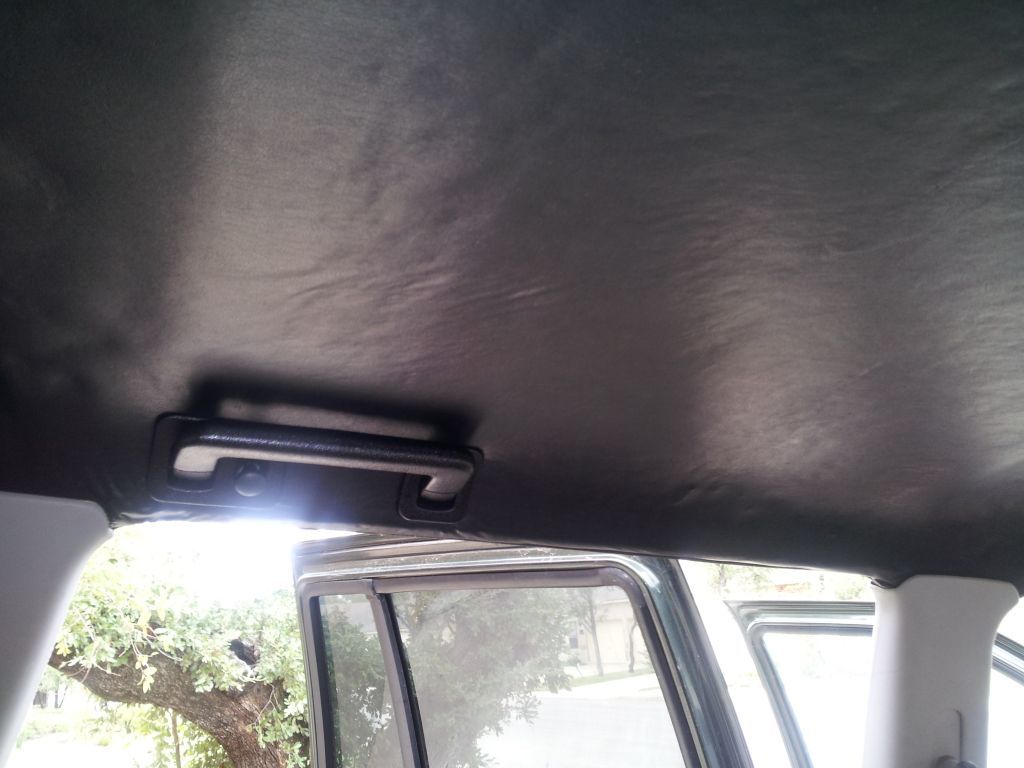
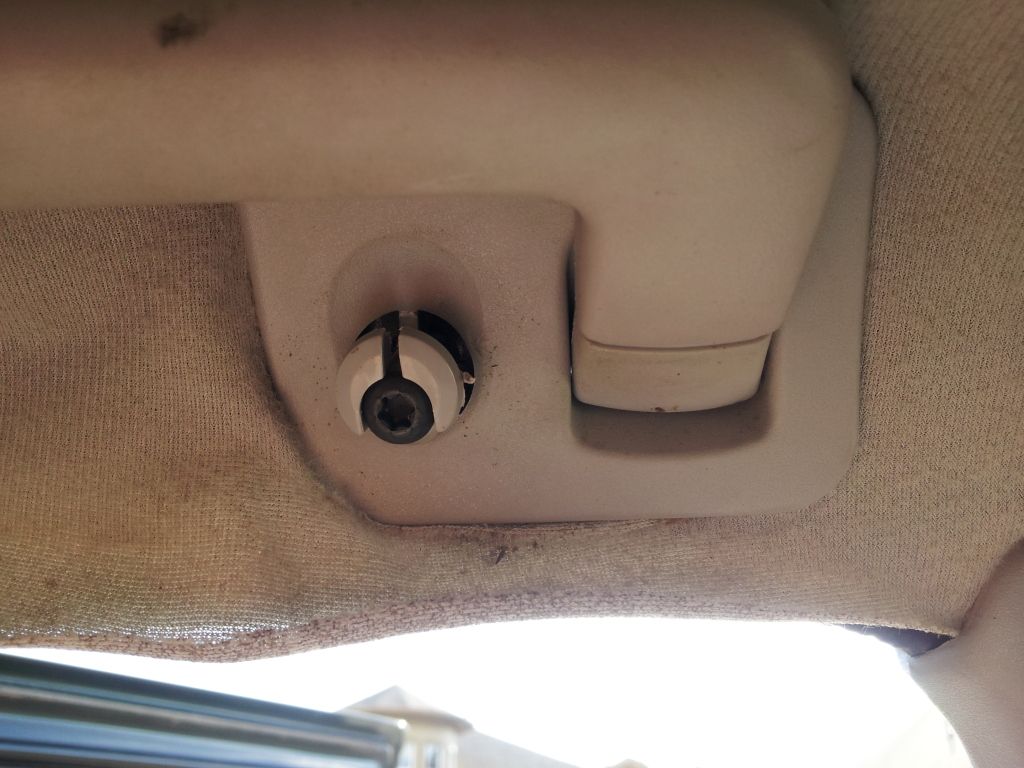
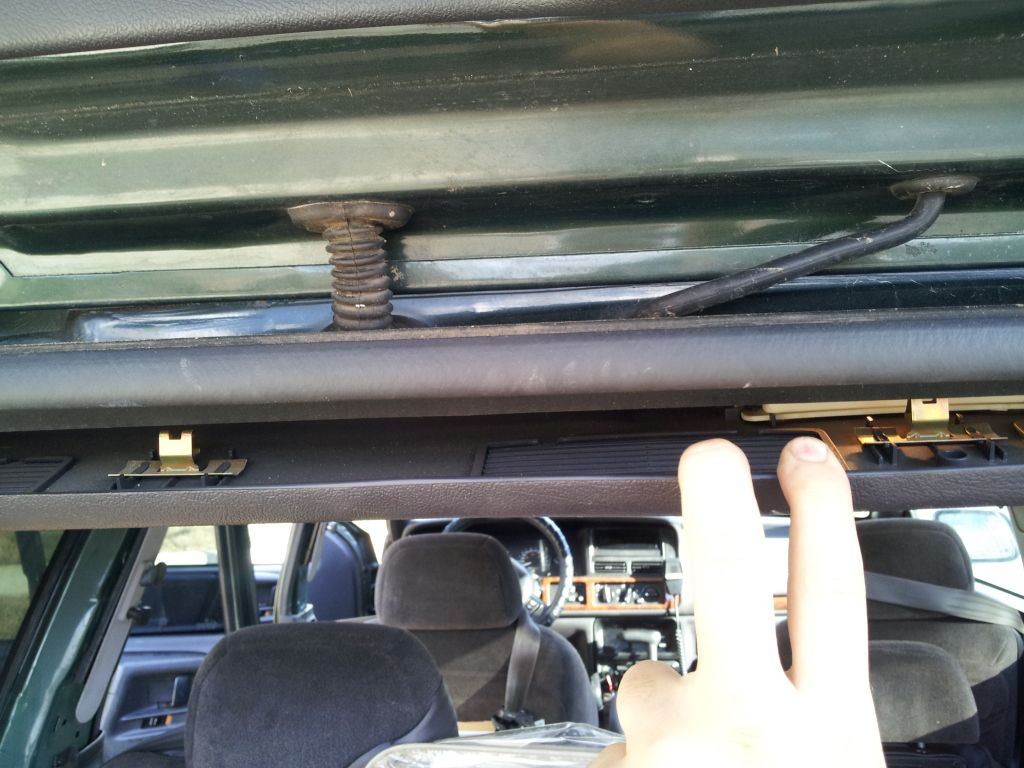
the first thing i did was go around and remove all of the visors and handles using the torx driver
![Image]()
on the back handles their is a little plastic cover over a 3rd screw that you need to remove to get to the head of it
![Image]()
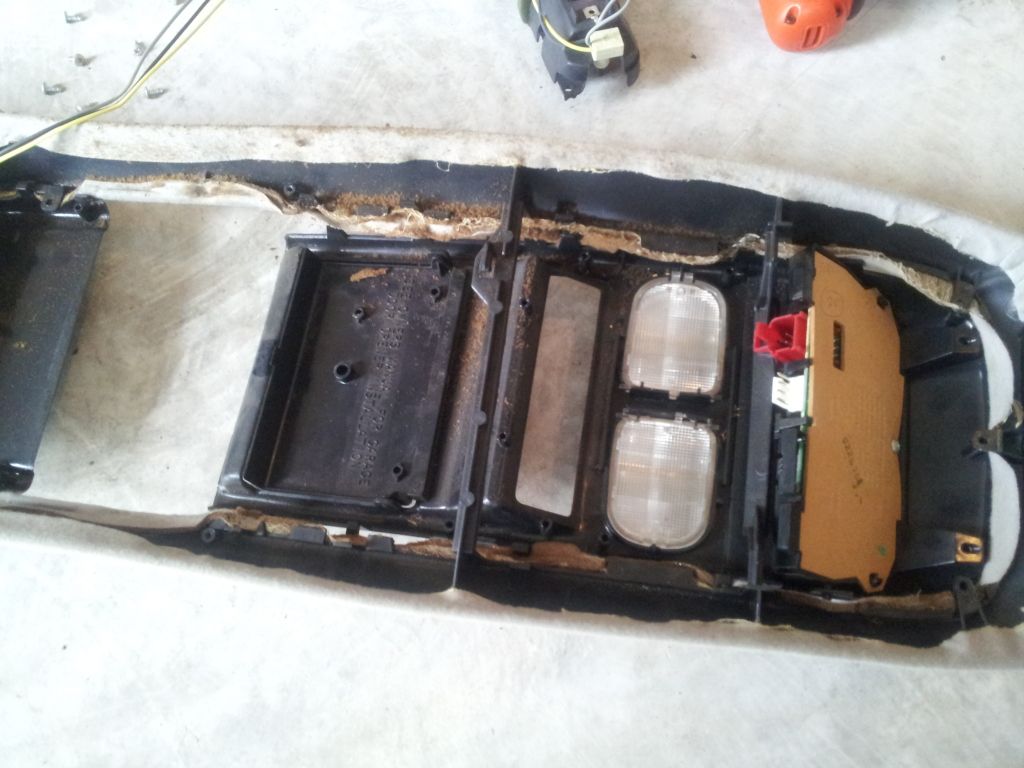
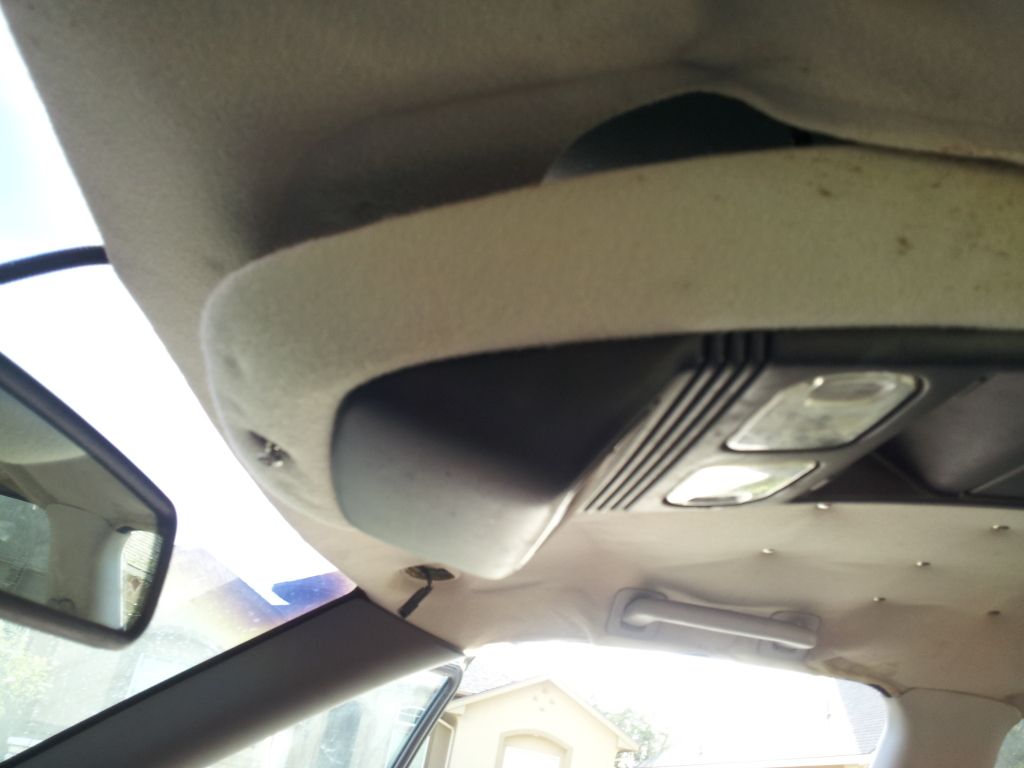
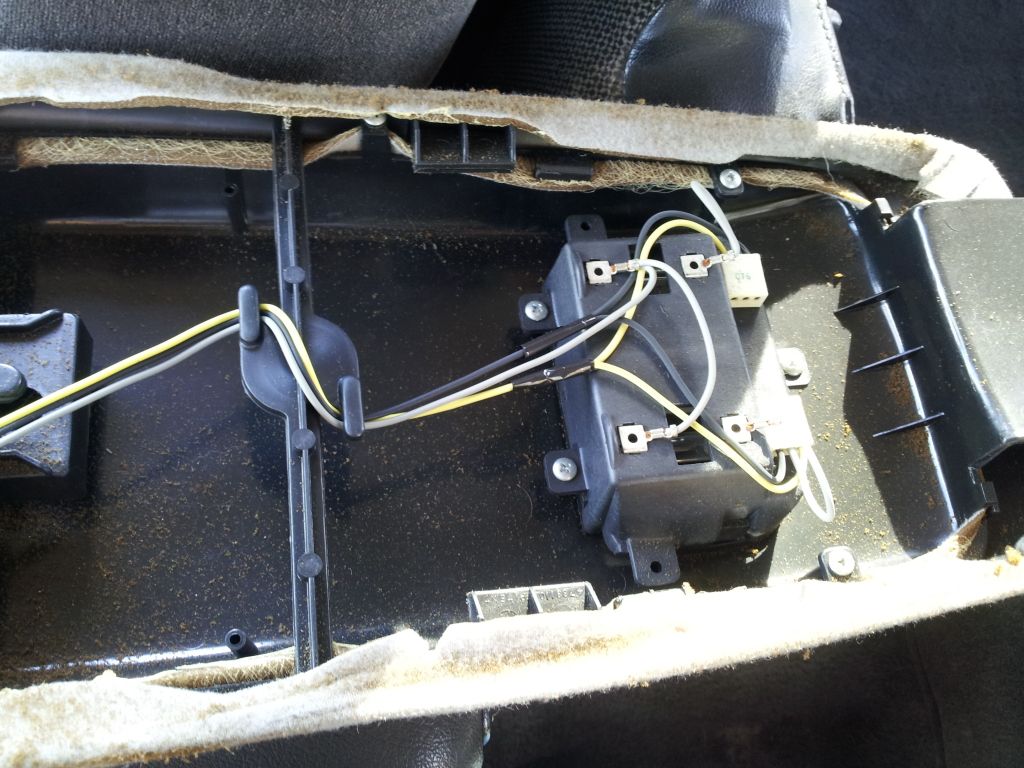
Next i removed the center console by first unscrewing the phillips head screw located at the front of it
![Image]()
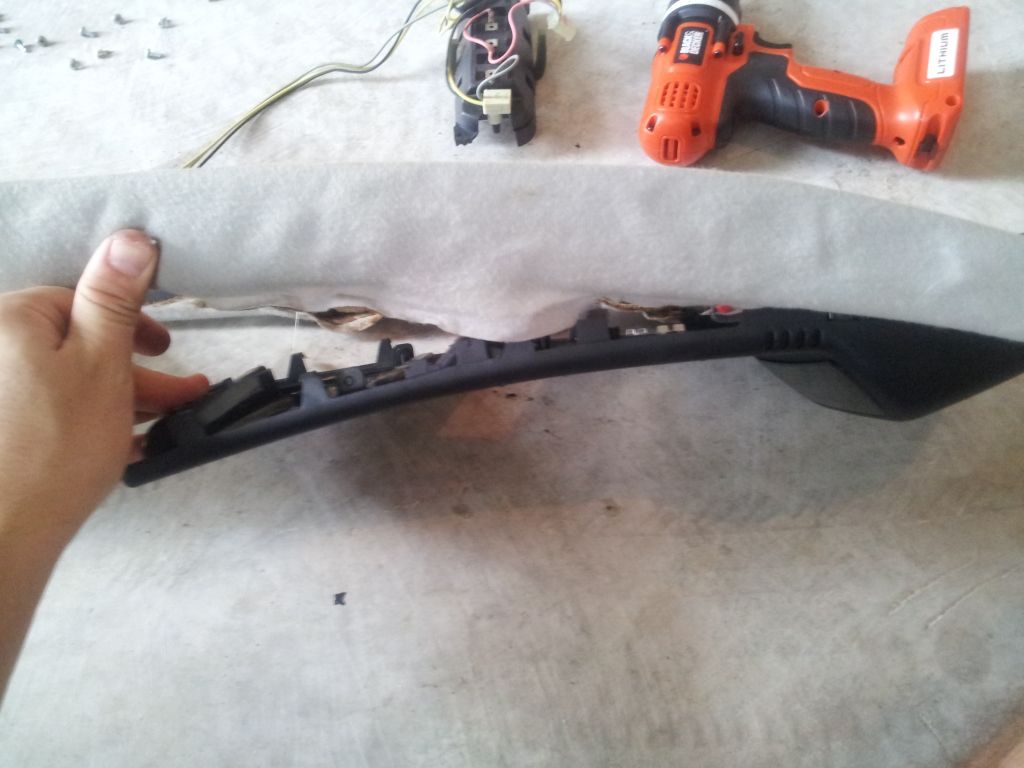
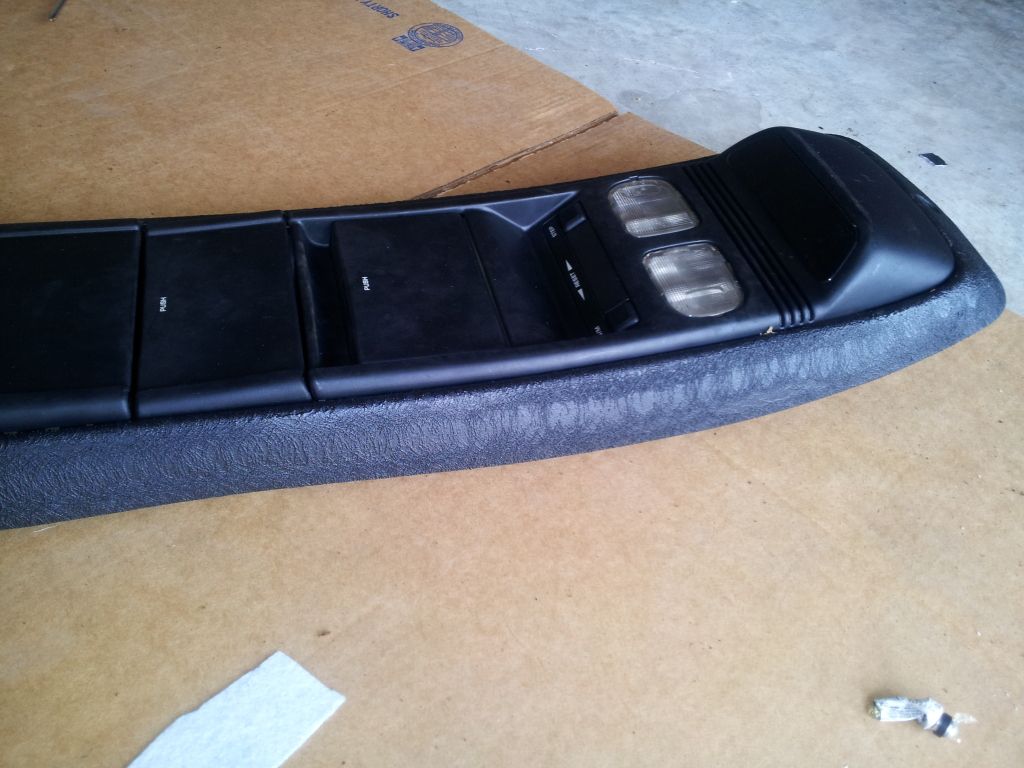
once that is removed you will see the front start to hang down, the back part of the console is held on by like clips and you can slide it forward or backwards and it will slide or kind of pop off
here is a picture of what they look like
![Image]()
![Image]()
once that was removed i went to the back of the jeep
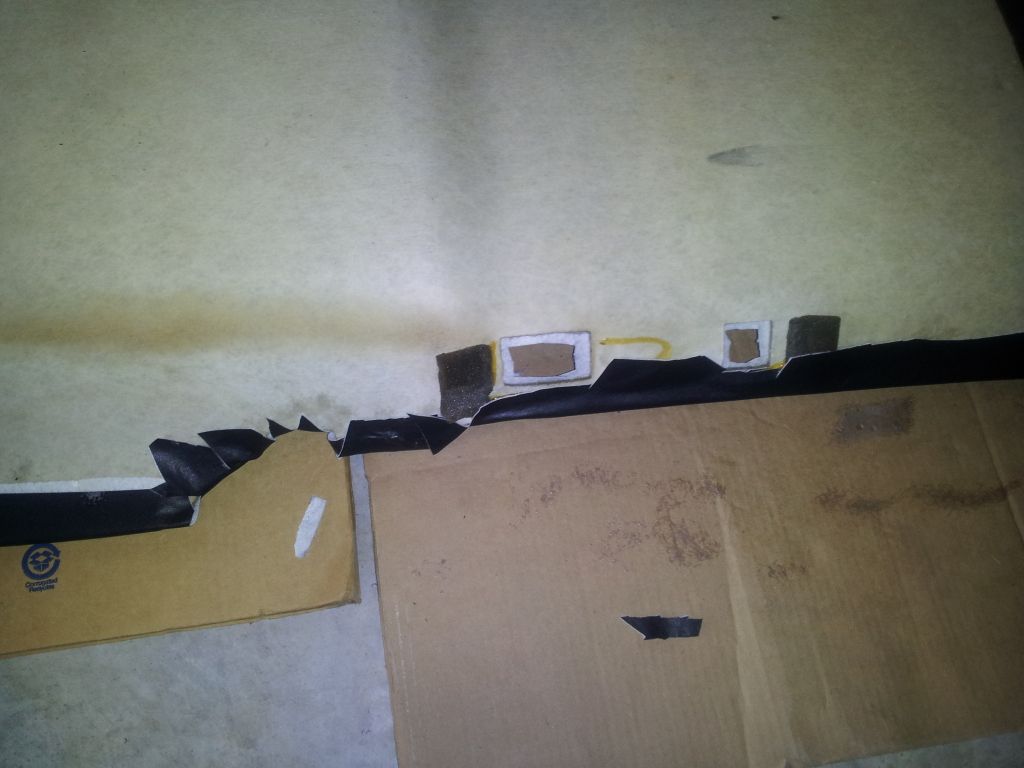
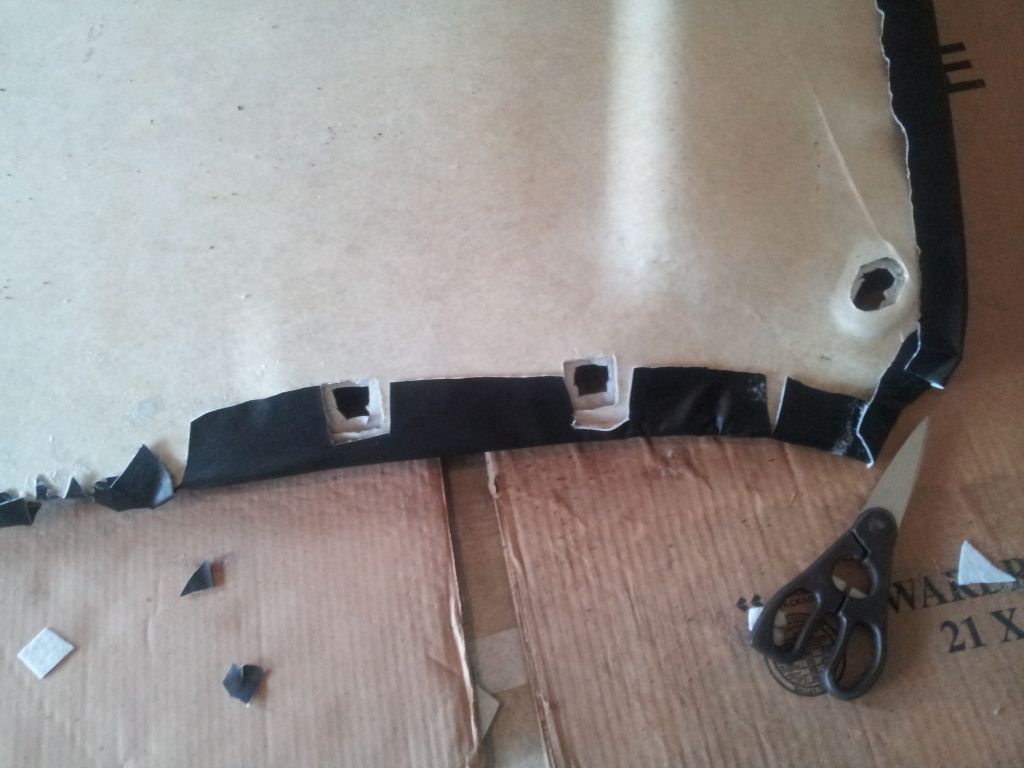
and started removing the plastic that was screwed in along the tailgate edge
this had 2 screws, one on each end and three clips in the middle that just pop out. i didn't realize this until it was too late but their are also 2 screws inside the rear light that you would have to remove the clear plastic cover to get to, i ended up breaking the part that attaches to the light because i thought it was just going to pop off to separate
![Image]()
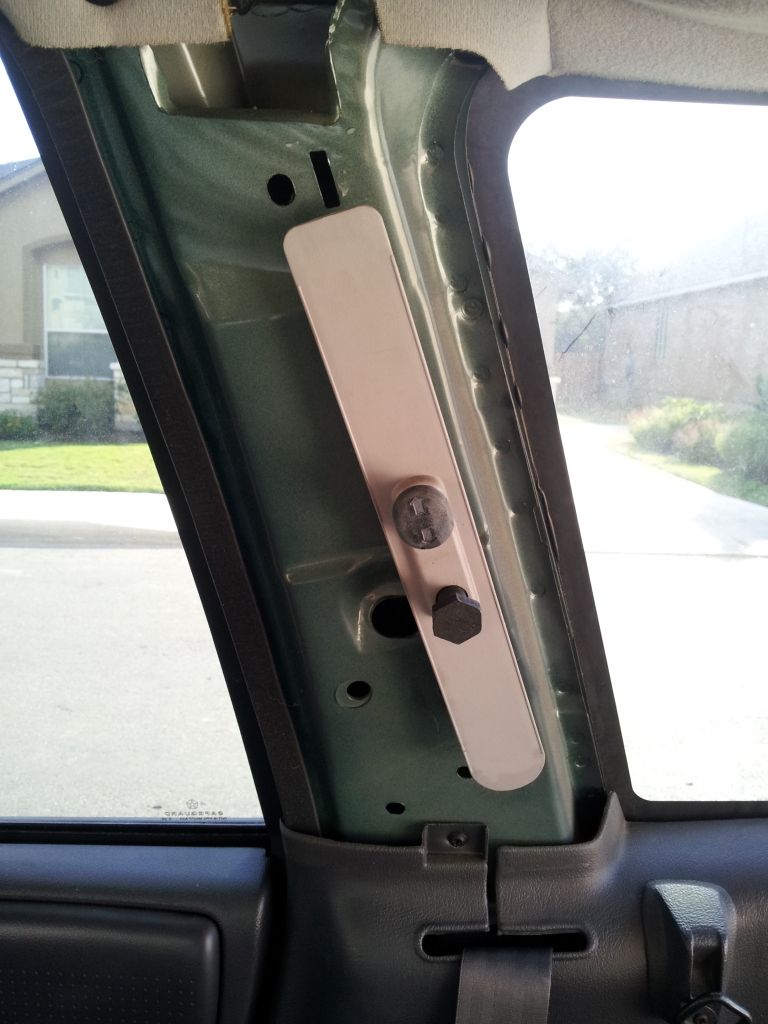
after this piece was removed i used my 13/16 socket to remove all of the seat belts, i think a size 20 might have worked better but the biggest i had was a 19.
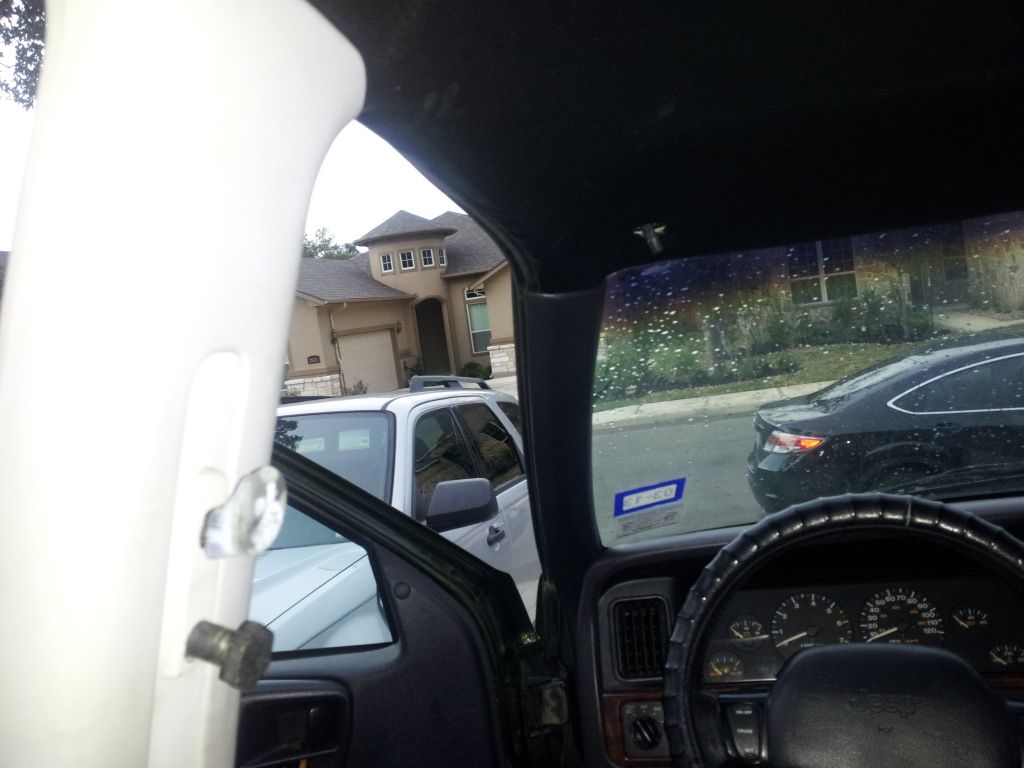
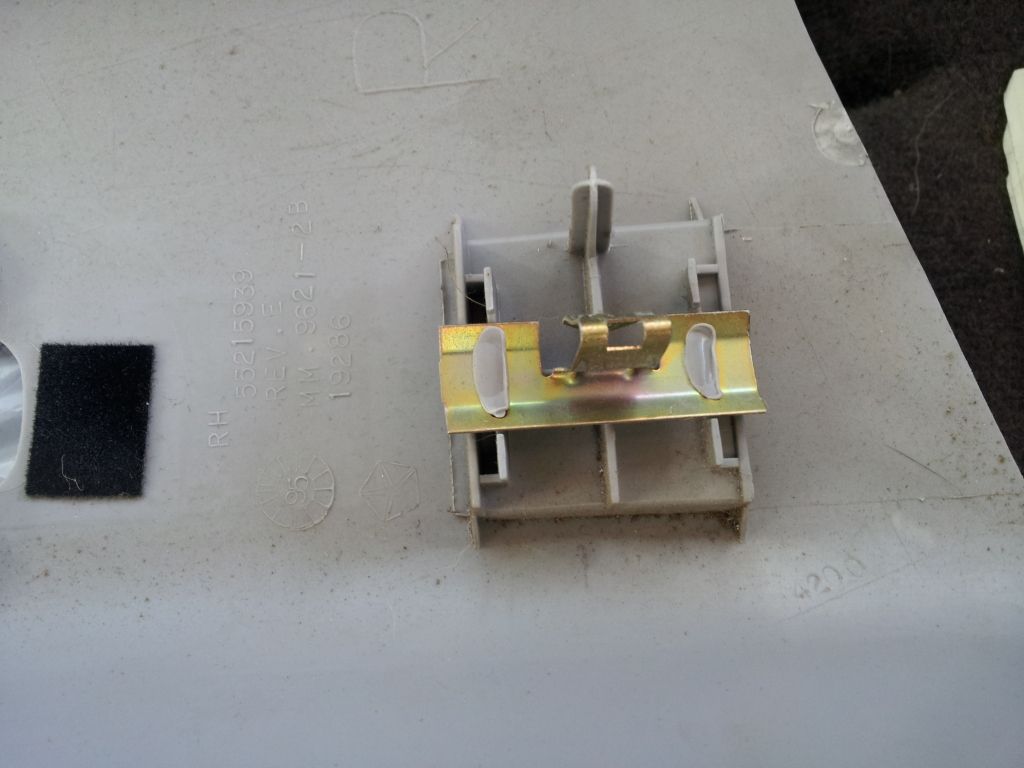
once they were removed i began popping off all of the plastic pillars that support the headliner piece up. Their are no screws involved with these they all use clips that look like this. I found its best to grab from either the top or bottom with a hand on the left and right side and slowly just pry it off. Dont forget to also remove the clips located in the center of the headliner in the back. i started them with a flat head screw driver and used pliers or just my hands to pull them the rest of the way
![Image]()
![Image]()
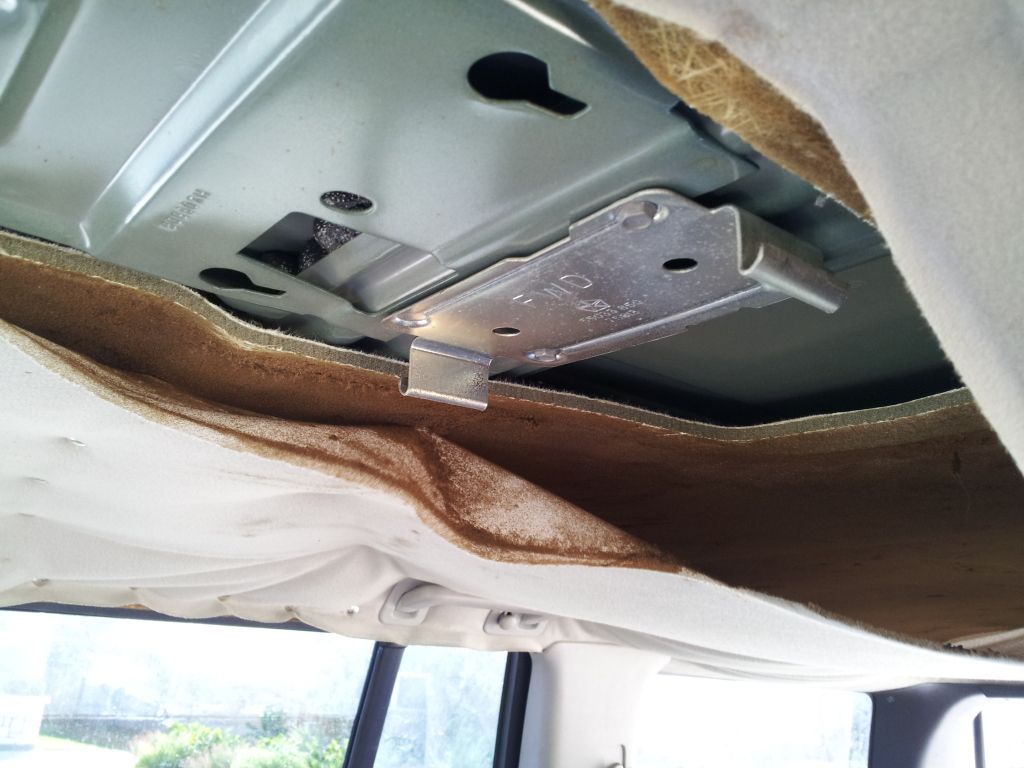
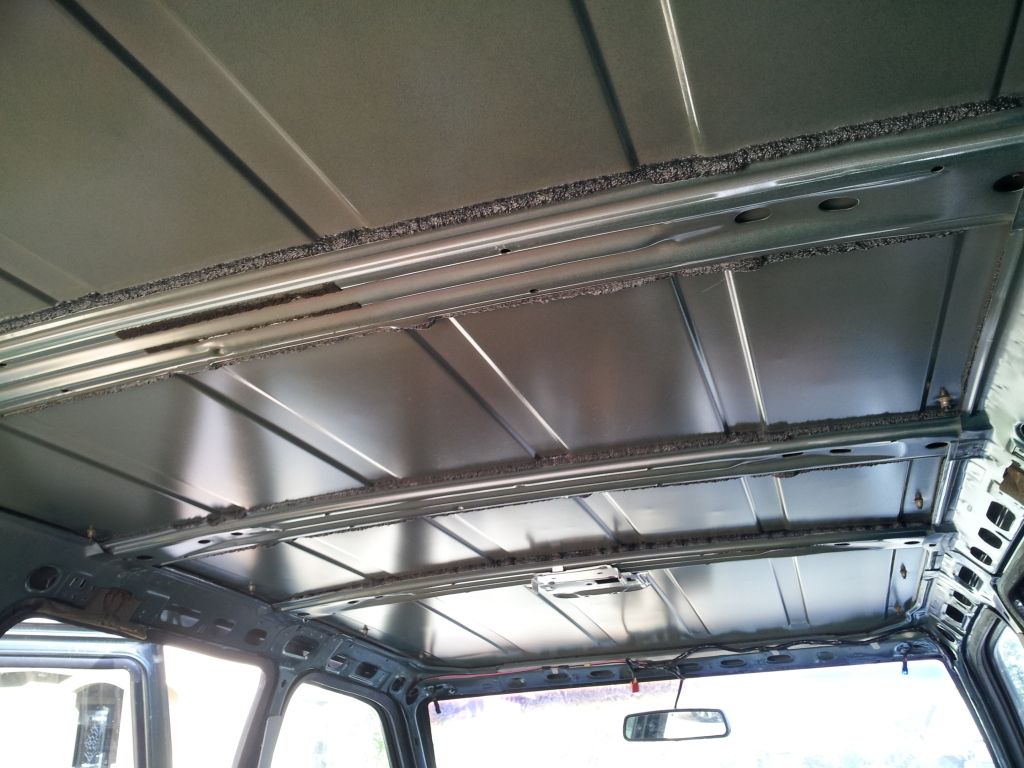
once all of them are removed the headliner should begin to separate from the roof and fall down. you then can maneuver it out of the back of the jeep.
for those interested here is what the jeep looked like without any headliner
![Image]()
![Image]()
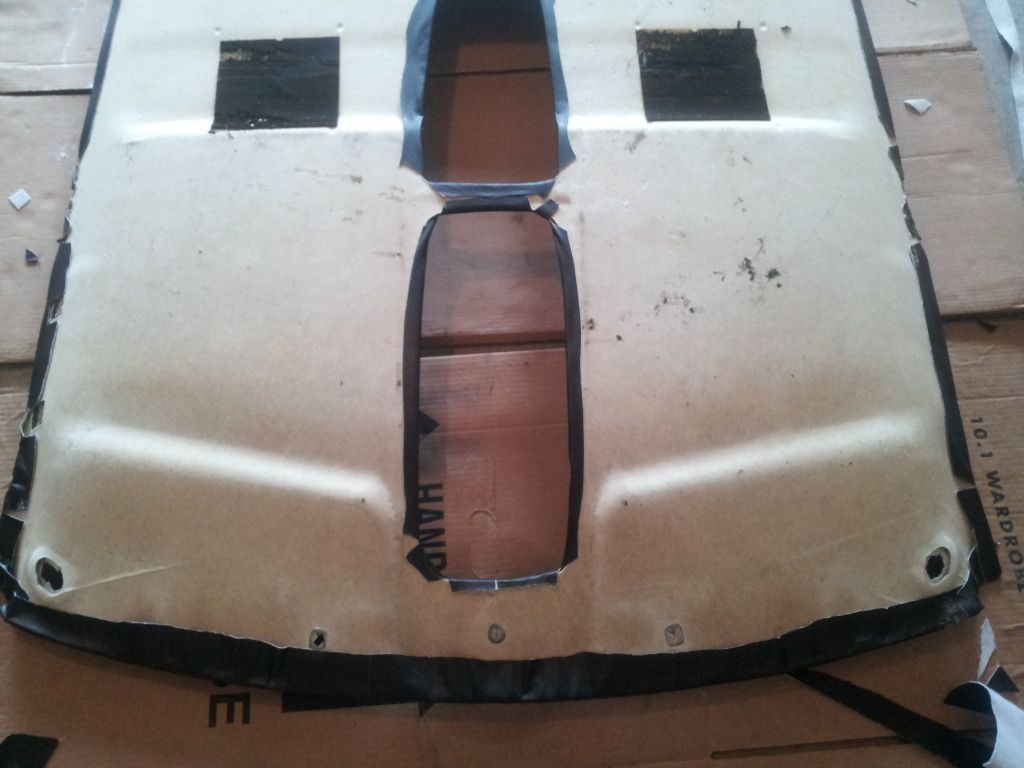
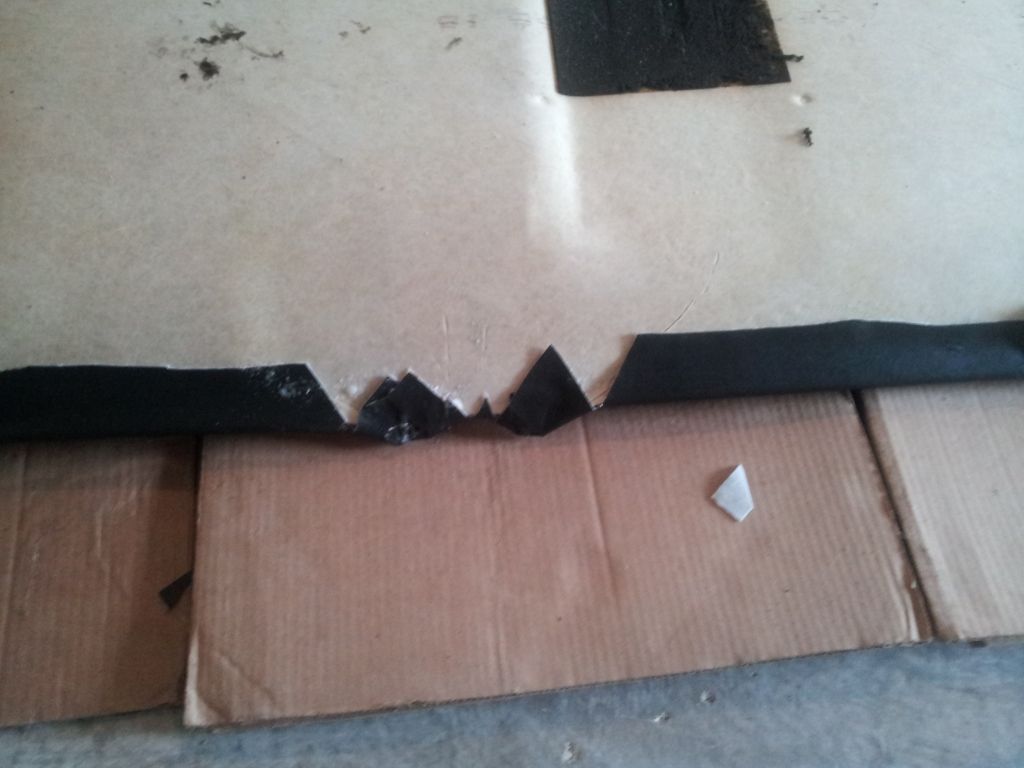
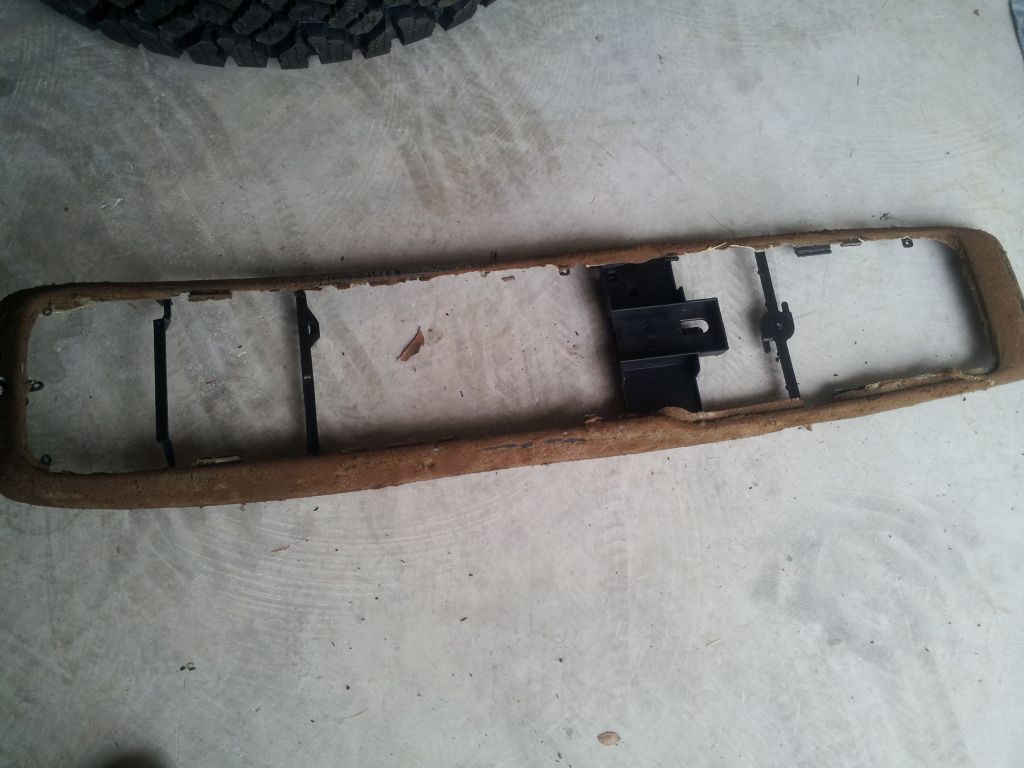
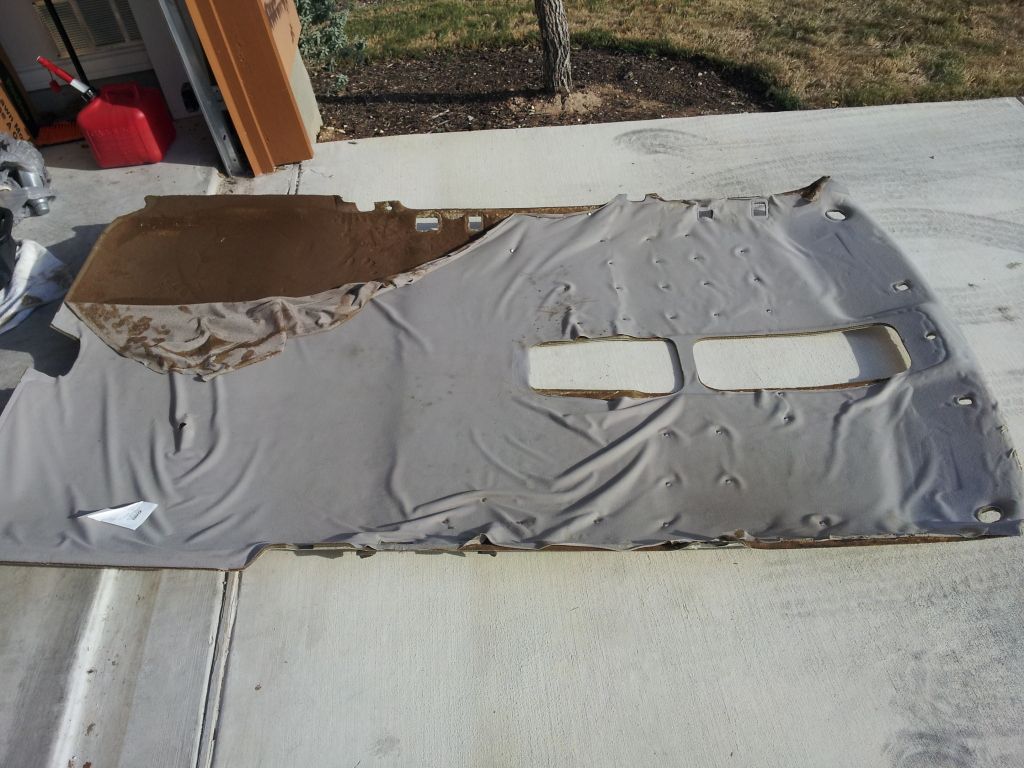
Here is the headliner removed from the jeep. Once it was out i just peeled off the old fabric
![Image]()
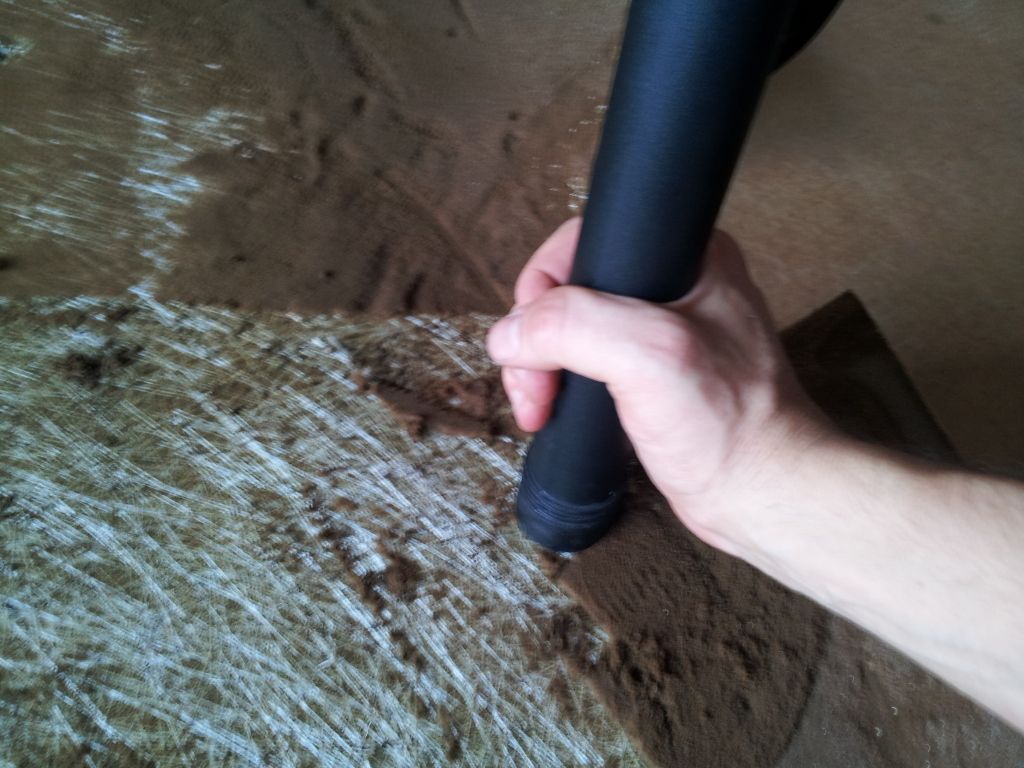
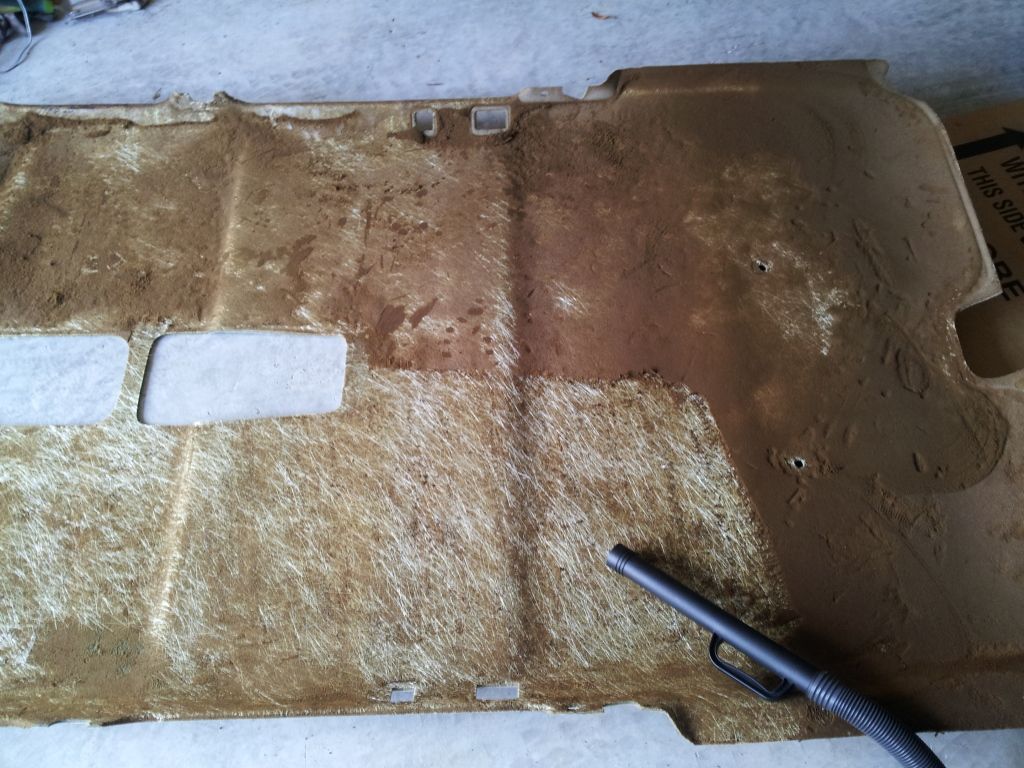
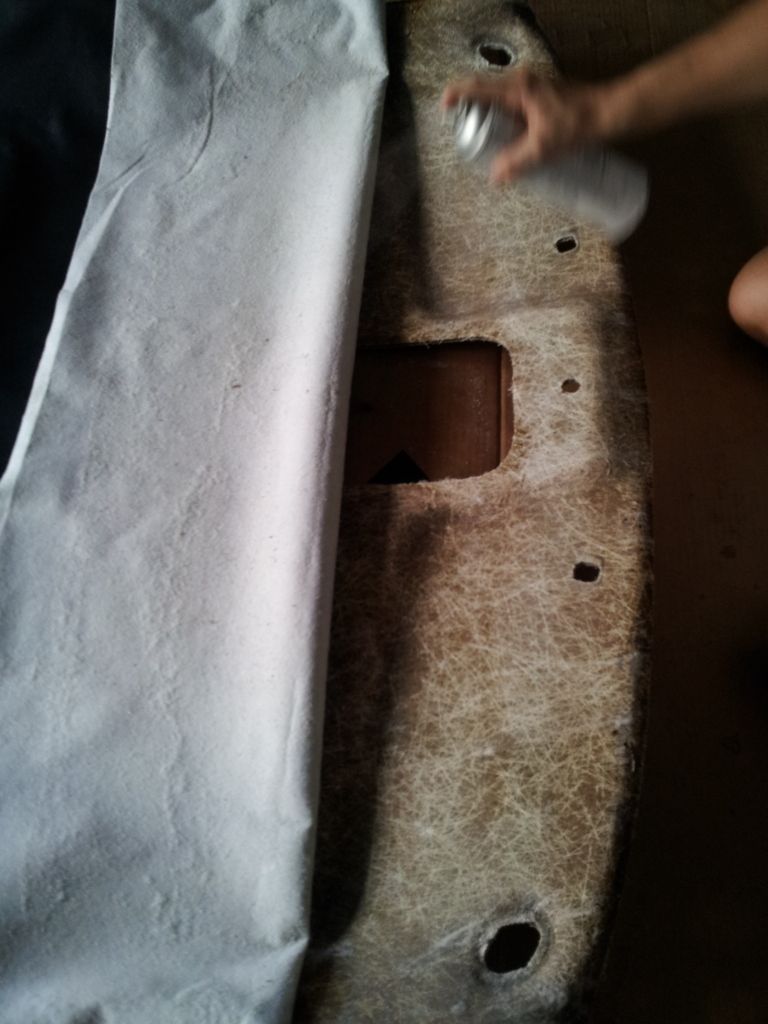
Once it was off i began to clean the old foam off the of fiberglass piece. I used a vacuum and just use the hose to rub off the foam while sucking it up
![Image]()
![Image]()
some people say they rub the foam off and i tried this but i found that the vacuum seemed to get more off.
![Image]()
![Image]()
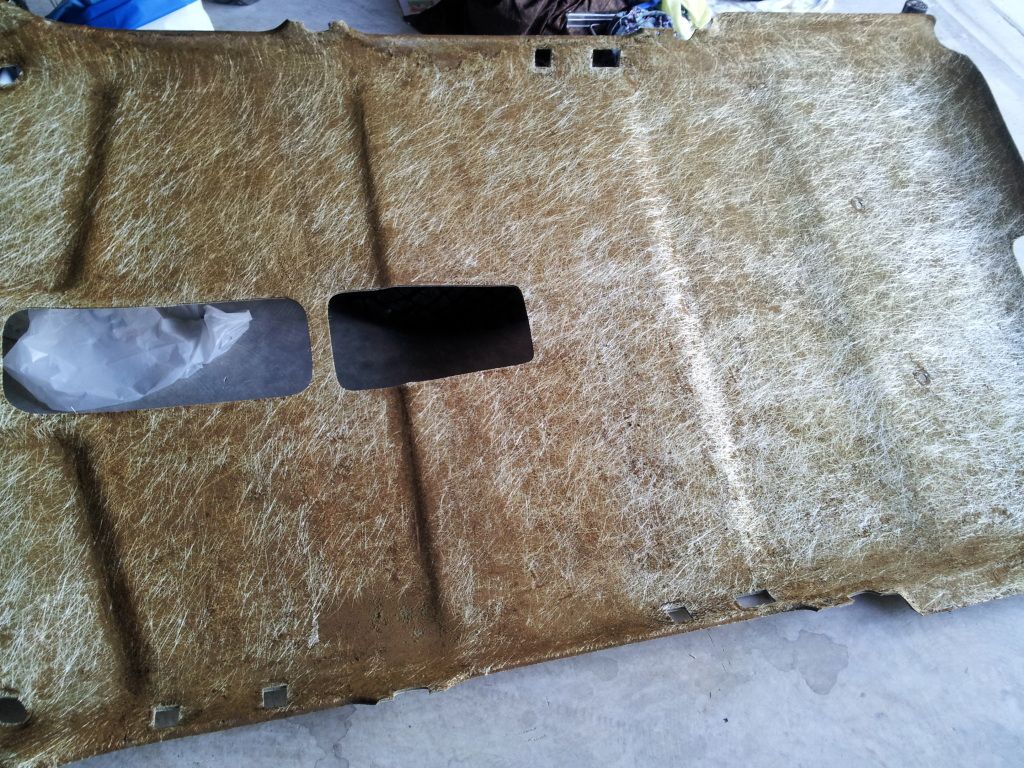
once it was complete i did run my hand (in a glove of course) over pretty much the whole thing while it was on its side to clear off any loose debris the vacuum missed. and ended up with
![Image]()
Once that was completed i grabbed my fabric and placed it over the top of the fiberglass piece and lined everything up. i left about 6 inches hanging off the front and back ends
and the width was perfect at 54 inches
i started at the front of the piece by folding the material over onto itself and applying the 3m adhesive to the fiberglass and to the material
![Image]()
then i pushed all of the material into place starting in and flattening it out towards the edges. The front i found to be the hardest because of the contours on the fiberglass
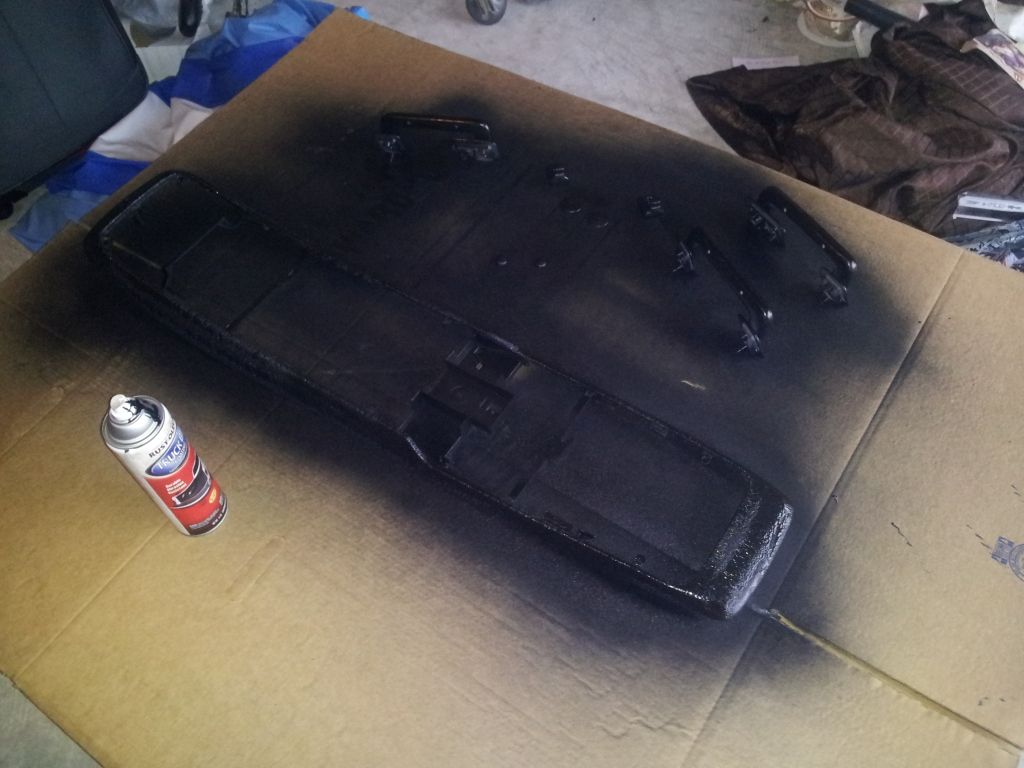
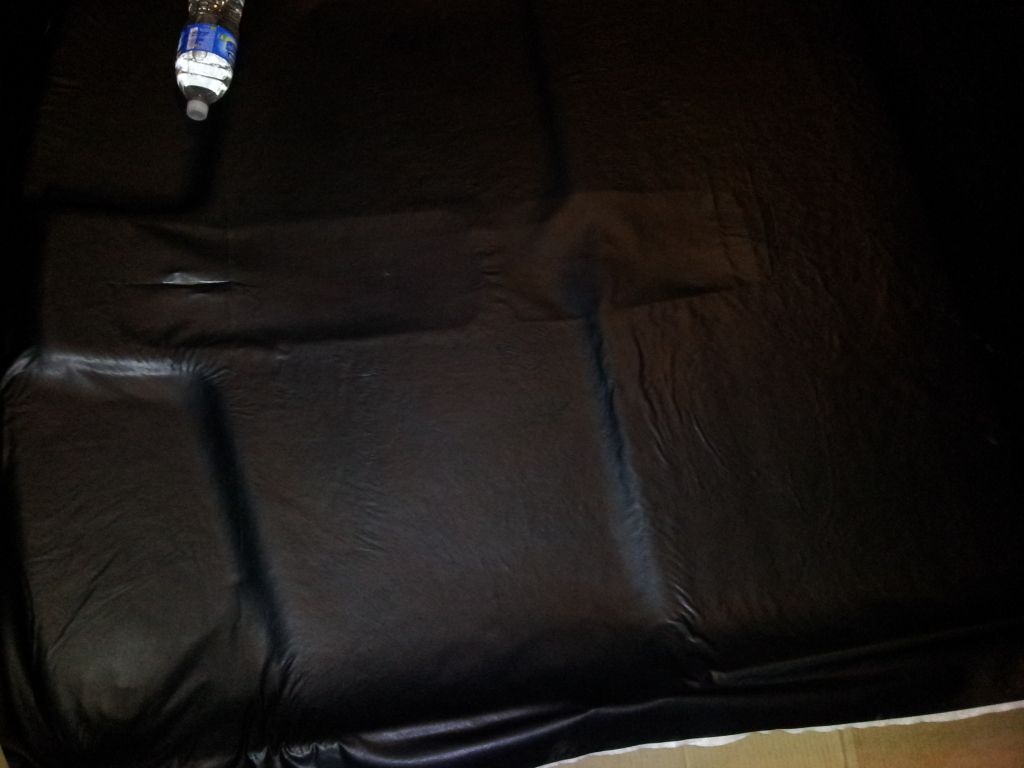
once this had dried for like 10 minutes i folded the material over itself again so now it is hanging off of the front of the piece and i would spray the adhesive in 3 foot increments spraying both the fiberglass and the fabric
![Image]()
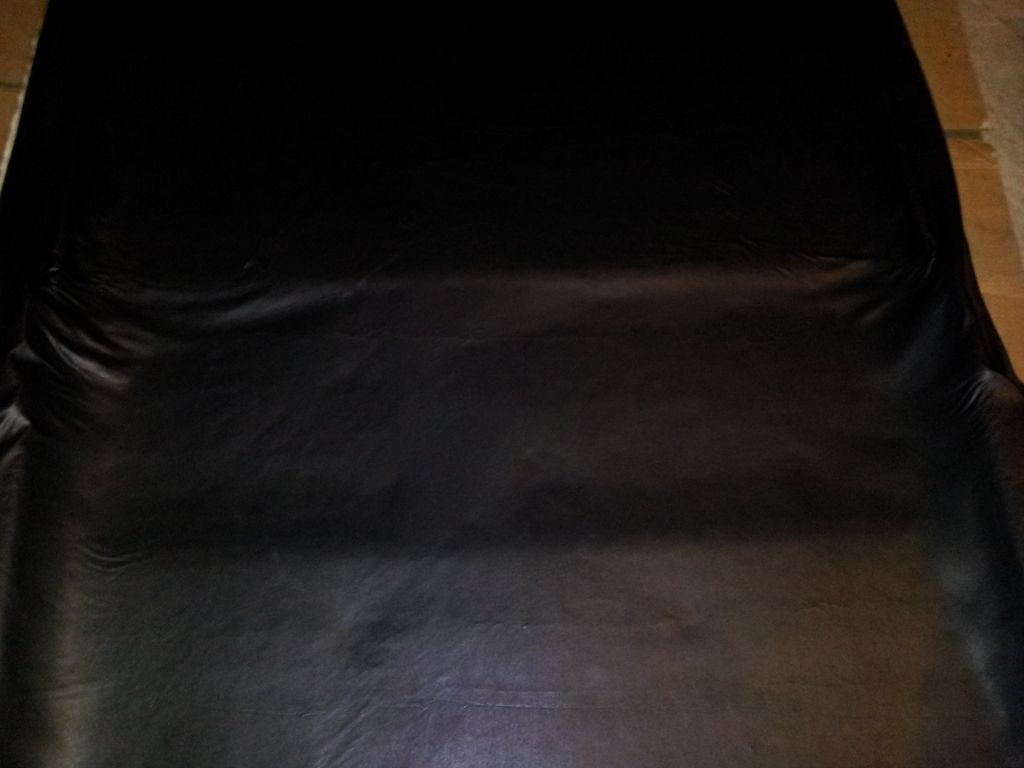
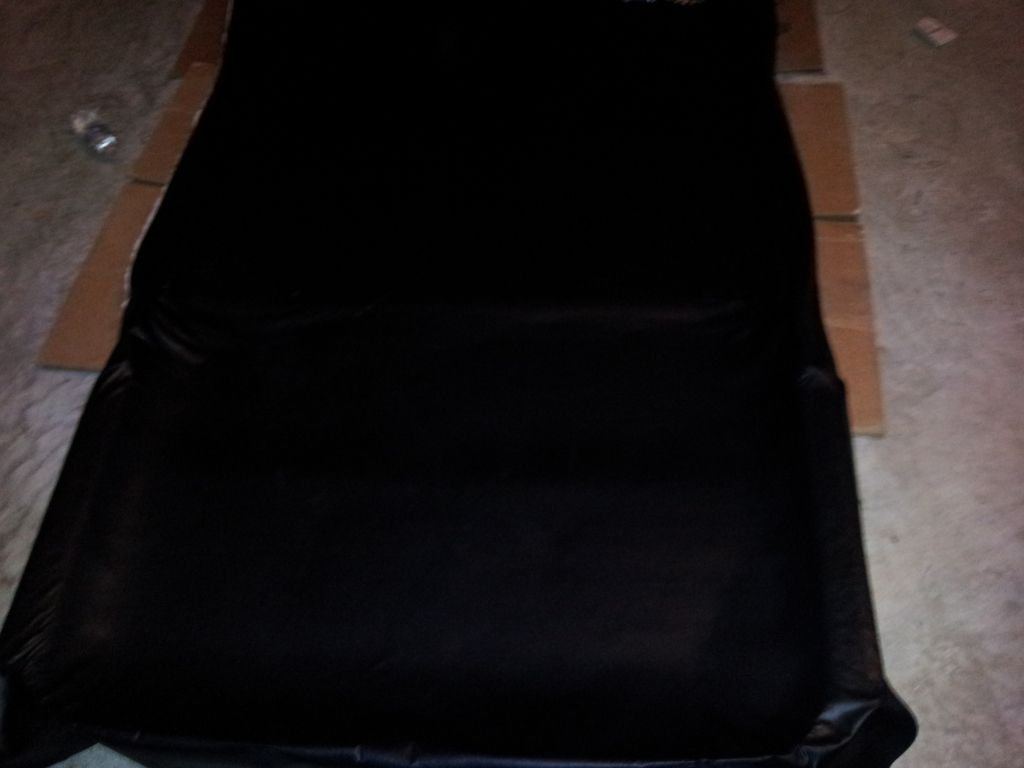
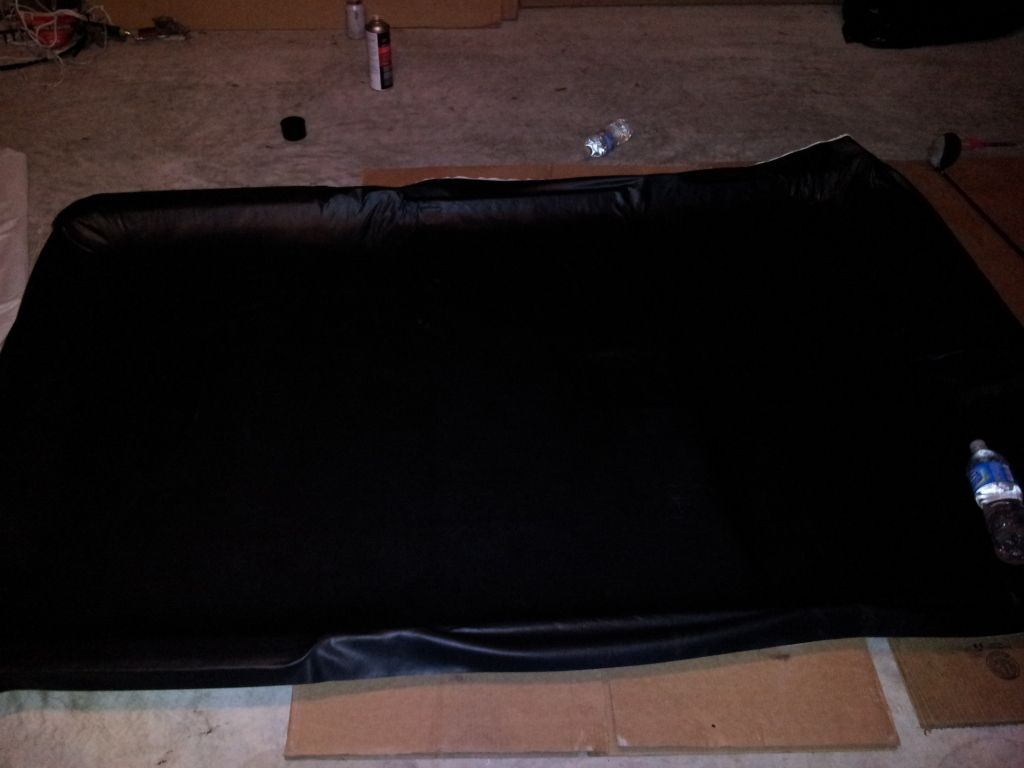
i did this all the way down and ended up with
![Image]()
![Image]()
![Image]()
![Image]()
sorry that material didn't photograph well because it was dark when i was taking those last pictures
I will be finishing it today, what remains it cutting the edges of the material around the fiber glass and using an exacto knife to cut out the whole in the material for the handles and visors etc.
i will post pictures of the finished project tonight or tomorrow.
I hope this inspires you to fix yours because it really isn't too bad once you get started
feel free to ask any questions!!
Starting off i made a run to joann fabrics and picked up the material i chose for the headliner. I went with one of the cheaper ones i could find for around $10 a yard and ended up buying 4 yards, honestly you can get away with 3 but i didnt have the exact measurement on the length and didn't want to risk it being short
http://www.joann.com/home-decor-signature-series-vinyl-lexus-black/xprd780305/
that is a link to one very similar to what i bought. it was some sort of vinyl material
whatever you go with make sure it is 54 inches wide
After the fabric was bought i stopped by autozone and bought 3 cans of 3m Headliner adhesive for 15.99 a piece. I originally bought 2 and potentially it can be done with 2 but went back for a 3rd can about half way through the process because i did not want to run out.
So those are pretty much the supplies you need to get, everything else that is required you most likely already have in your garage like a shopvac, size 20 or 13/16 socket, Phillips head screw driver and im not sure what size but a torx head driver
here is a pic of the one that fit for me it shows as cr-vt25
starting off here is what the headliner originally looked like, ha you can see where i had used thumbtacks in the front to reduce sagging until i could finally get around to doing this.
the first thing i did was go around and remove all of the visors and handles using the torx driver
on the back handles their is a little plastic cover over a 3rd screw that you need to remove to get to the head of it
Next i removed the center console by first unscrewing the phillips head screw located at the front of it
once that is removed you will see the front start to hang down, the back part of the console is held on by like clips and you can slide it forward or backwards and it will slide or kind of pop off
here is a picture of what they look like
once that was removed i went to the back of the jeep
and started removing the plastic that was screwed in along the tailgate edge
this had 2 screws, one on each end and three clips in the middle that just pop out. i didn't realize this until it was too late but their are also 2 screws inside the rear light that you would have to remove the clear plastic cover to get to, i ended up breaking the part that attaches to the light because i thought it was just going to pop off to separate
after this piece was removed i used my 13/16 socket to remove all of the seat belts, i think a size 20 might have worked better but the biggest i had was a 19.
once they were removed i began popping off all of the plastic pillars that support the headliner piece up. Their are no screws involved with these they all use clips that look like this. I found its best to grab from either the top or bottom with a hand on the left and right side and slowly just pry it off. Dont forget to also remove the clips located in the center of the headliner in the back. i started them with a flat head screw driver and used pliers or just my hands to pull them the rest of the way
once all of them are removed the headliner should begin to separate from the roof and fall down. you then can maneuver it out of the back of the jeep.
for those interested here is what the jeep looked like without any headliner
Here is the headliner removed from the jeep. Once it was out i just peeled off the old fabric
Once it was off i began to clean the old foam off the of fiberglass piece. I used a vacuum and just use the hose to rub off the foam while sucking it up
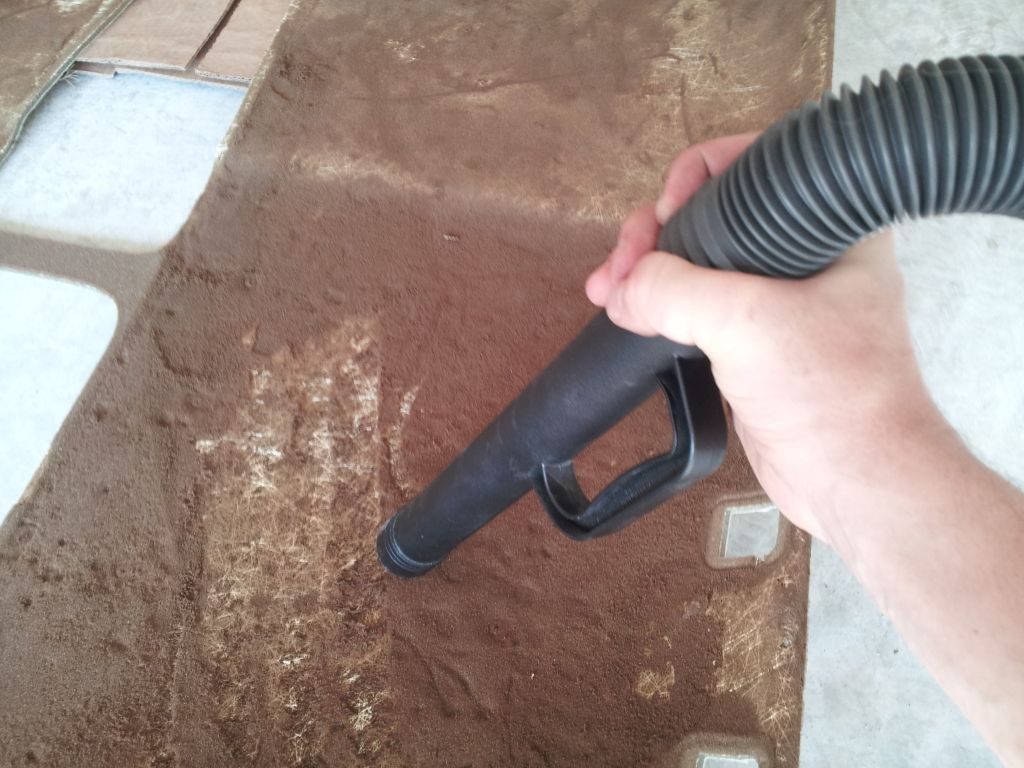
some people say they rub the foam off and i tried this but i found that the vacuum seemed to get more off.
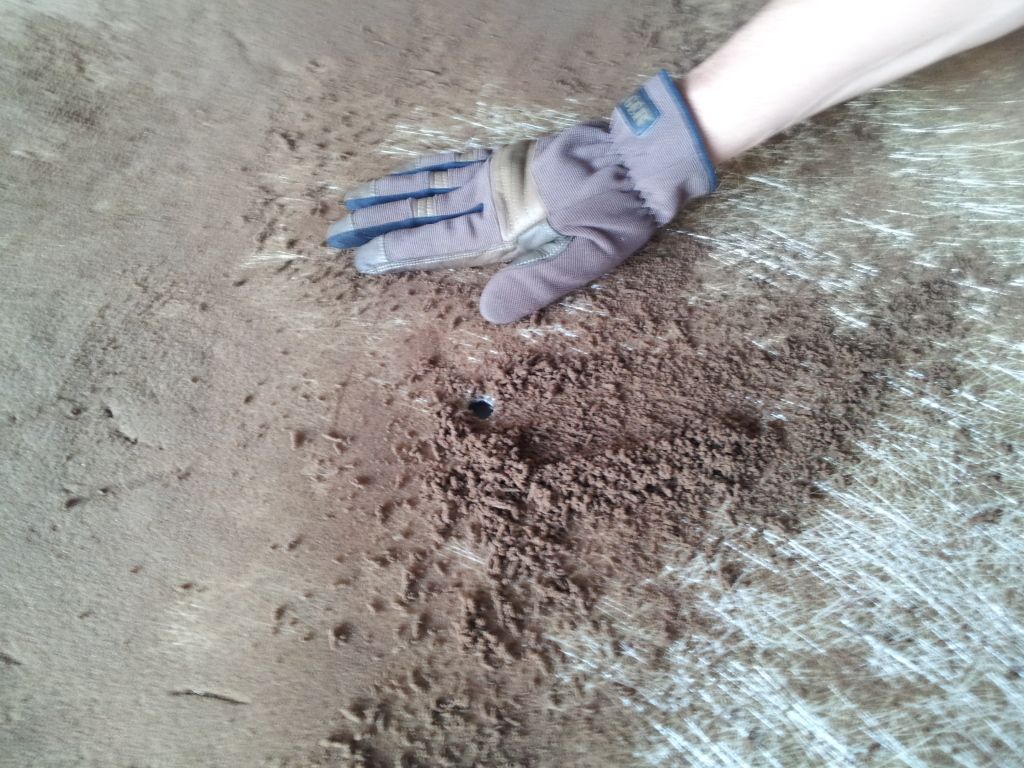
once it was complete i did run my hand (in a glove of course) over pretty much the whole thing while it was on its side to clear off any loose debris the vacuum missed. and ended up with
Once that was completed i grabbed my fabric and placed it over the top of the fiberglass piece and lined everything up. i left about 6 inches hanging off the front and back ends
and the width was perfect at 54 inches
i started at the front of the piece by folding the material over onto itself and applying the 3m adhesive to the fiberglass and to the material
then i pushed all of the material into place starting in and flattening it out towards the edges. The front i found to be the hardest because of the contours on the fiberglass
once this had dried for like 10 minutes i folded the material over itself again so now it is hanging off of the front of the piece and i would spray the adhesive in 3 foot increments spraying both the fiberglass and the fabric

i did this all the way down and ended up with
sorry that material didn't photograph well because it was dark when i was taking those last pictures
I will be finishing it today, what remains it cutting the edges of the material around the fiber glass and using an exacto knife to cut out the whole in the material for the handles and visors etc.
i will post pictures of the finished project tonight or tomorrow.
I hope this inspires you to fix yours because it really isn't too bad once you get started
feel free to ask any questions!!
")