

Ok, here's my version of the Hummer cold air intake…I know its been getting more popular and the "unique-ness" of the mod may start taking a hit, but I think it looks great, its functional, and it was cost effective as well. I got the pieces put together over a two week span and then went to town. BTW, this is what I did and I will not take responsibility for anyone not measuring correctly and cutting holes in the wrong spot or causing any other kind of damage to his or her rig. Nor can I speak for the changes of the TJ throughout the years. Mine is finished and I hit a few bumps along the way, but it's sealed up and it appears to be working just fine. So, with that in mind, here's a rough estimate and parts breakdown:
-Hummer intake cap: $32 shipped (ebay)
-Buick (3.3L V6) airbox: $10 (u-pull-it yard)
-Plumbing reducer bushing: $4 (Home Depot)
-Plumbing flange: $2 (Home Depot)
-Nuts, bolts, and miscellaneous items: $10 (all stainless hardware from Lowe's)
-Flexible 3" ricer air tube: $20 (Autozone)
-Paper air filter: $7 (Autozone)
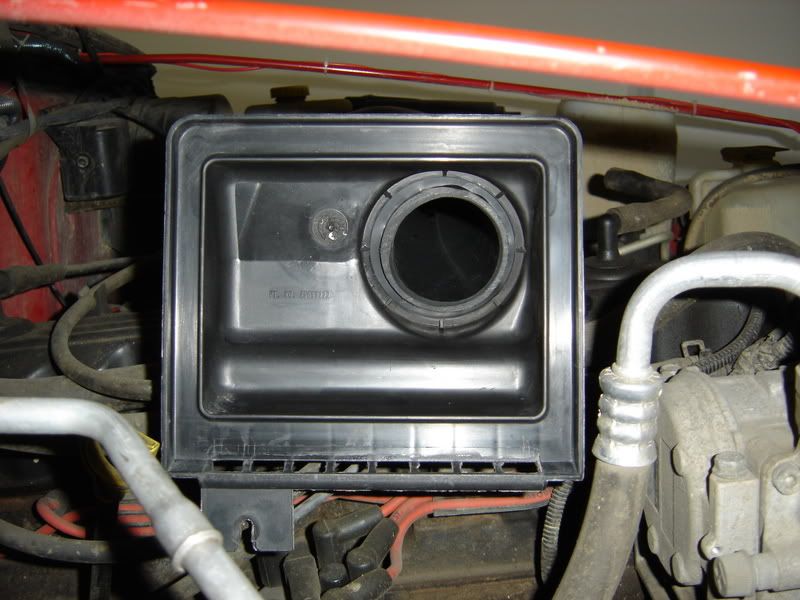
I opted to use a buick airbox as it has been used previously by fellow jeepers. Not to mention I think it gives it a clean look under the hood. The negatives to this route are you will need to remove the airbox to change all the plugs and you will need to "route" the dipstick when checking your oil and your trans fluid. Oh well, I'll survive. BTW, here's some reading on that mod…
JU thread 1
JU thread 2
http://www.jeepfreedom.com/html/airbox_replacement.html
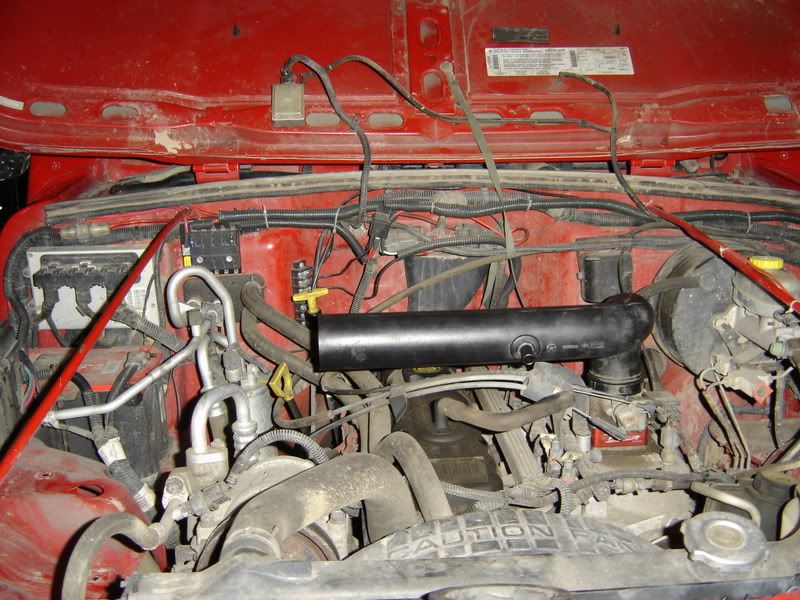
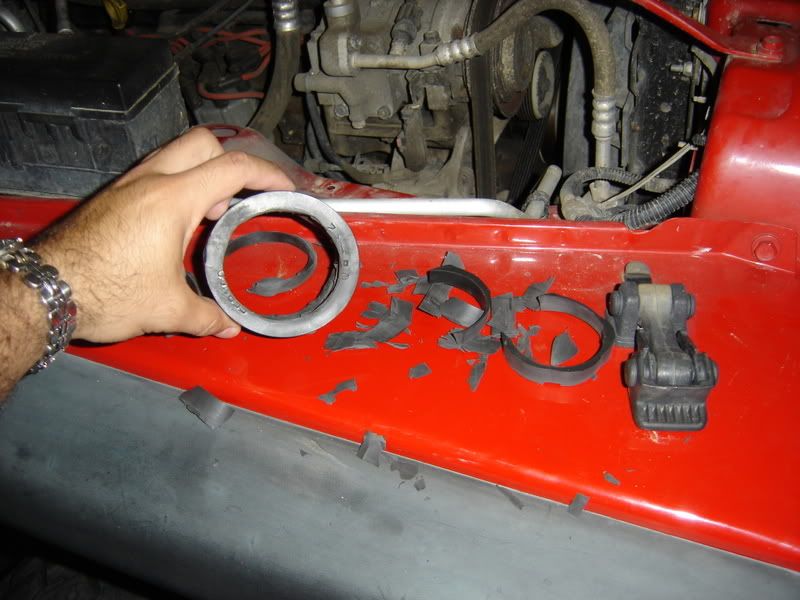
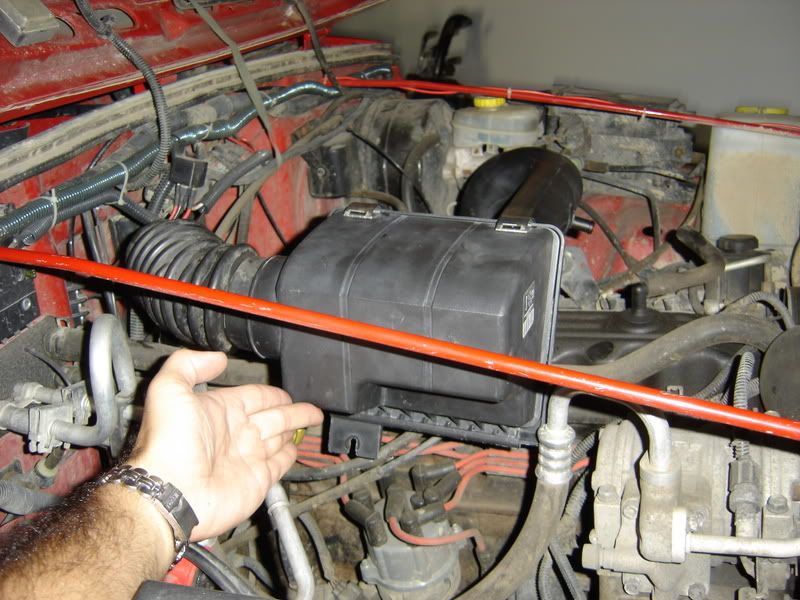
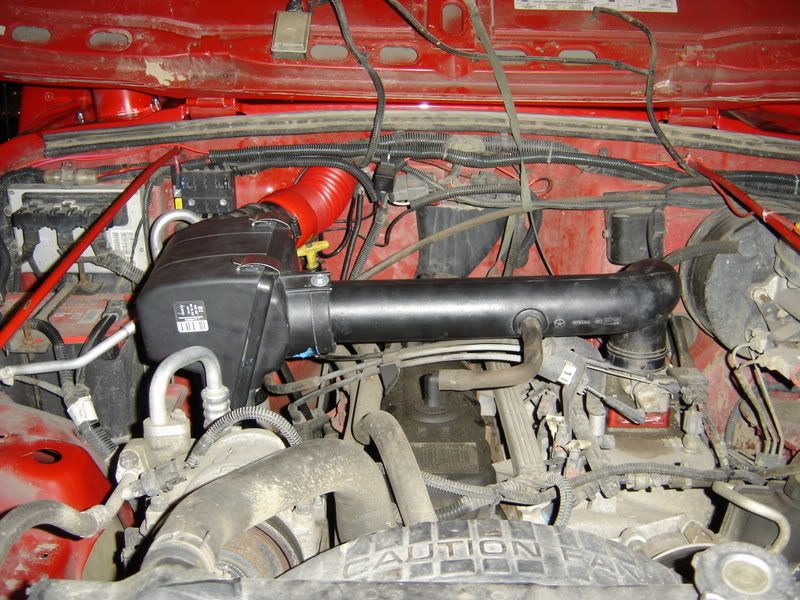
Ok, on to my airbox install; I'll explain what I did and then rapid fire some pics. I removed the old airbox and cut the intake tube. I used a 3" to 2" rubber bushing to connect the intake to the new box. The problem was I needed to whittle down the i.d. of the busing since the Jeep's intake tube is roughly 2 5/8. After that, I did a test fitting with the box and got some scrap metal for a bracket.
![Image]()
![Image]()
![Image]()
![Image]()
![Image]()
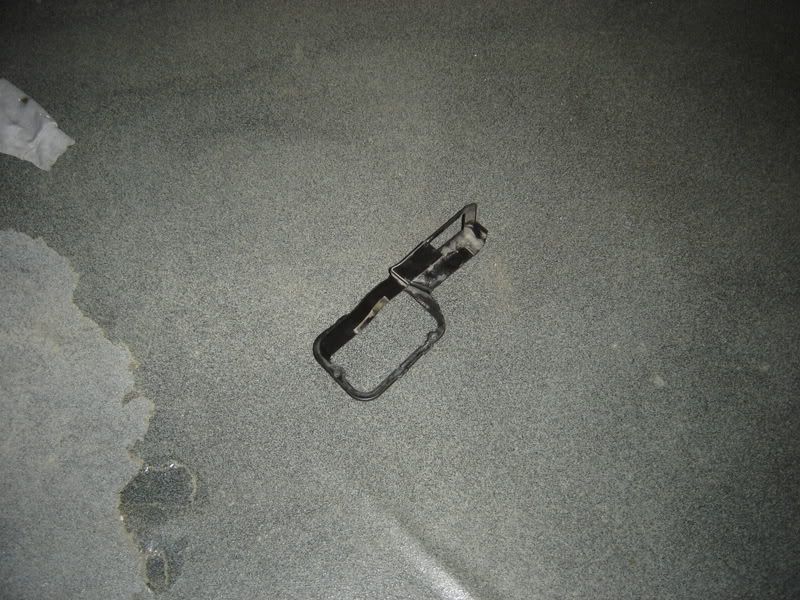
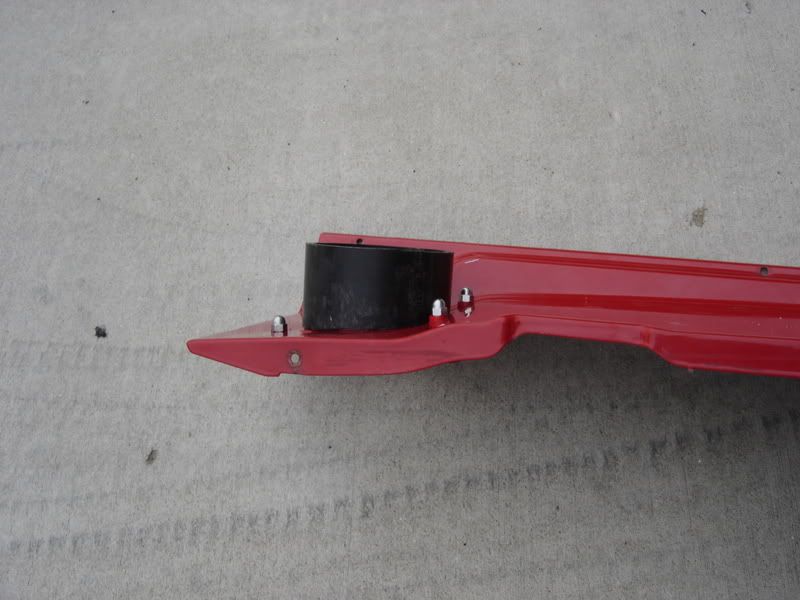
For the bracket I opened up the bottom end and attached that to the motor mount. I twisted and bent it with some pliers so everything would line up.
![Image]()
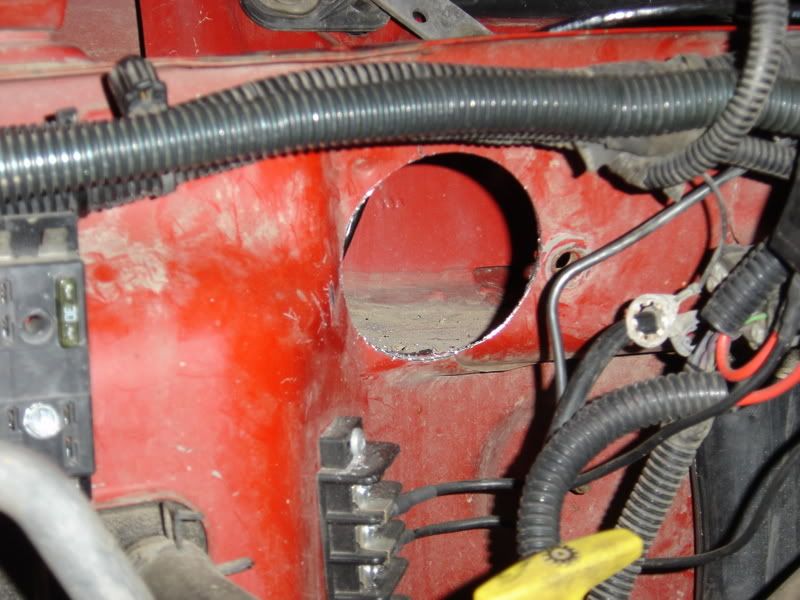
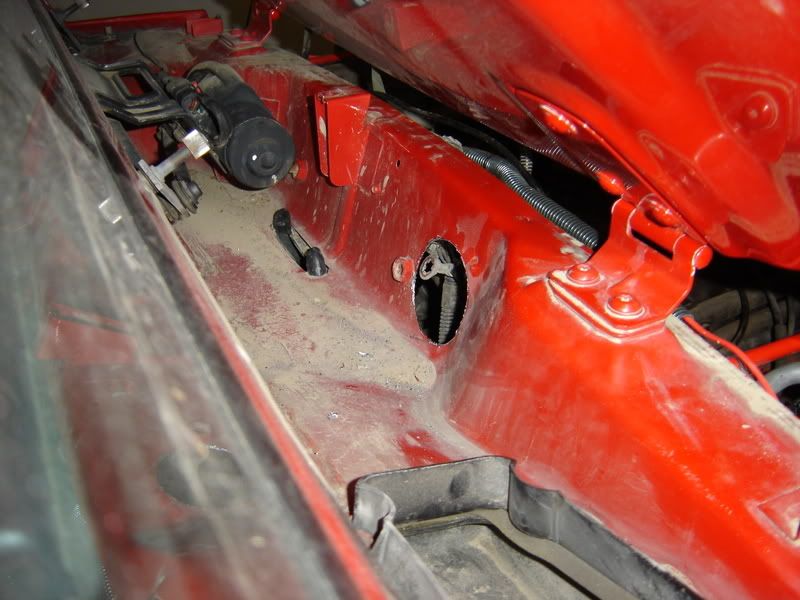
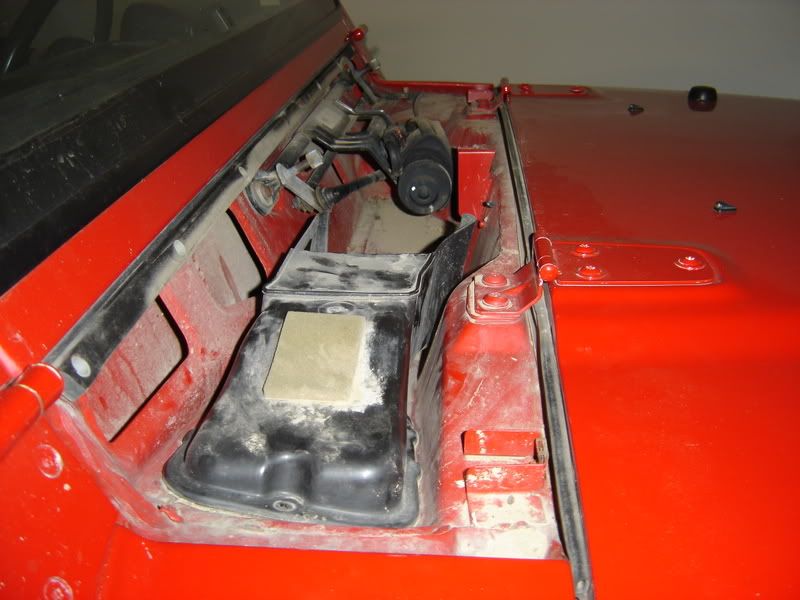
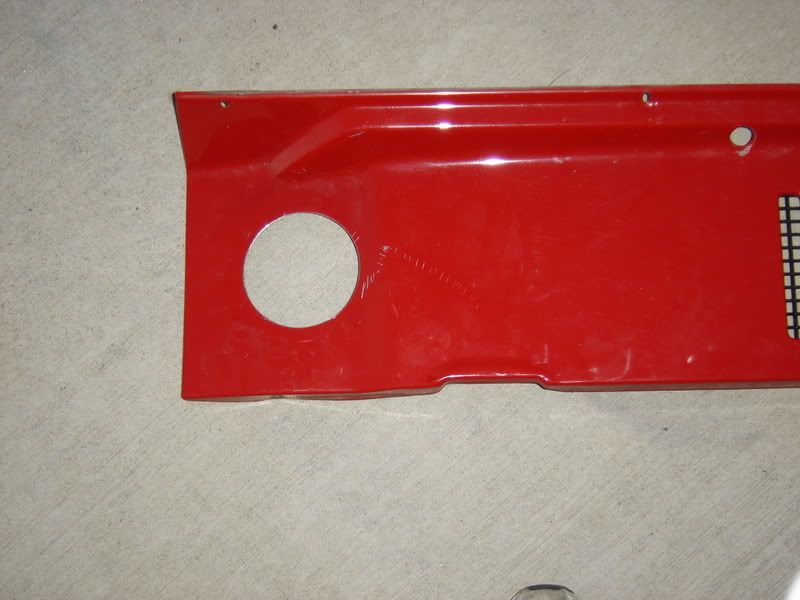
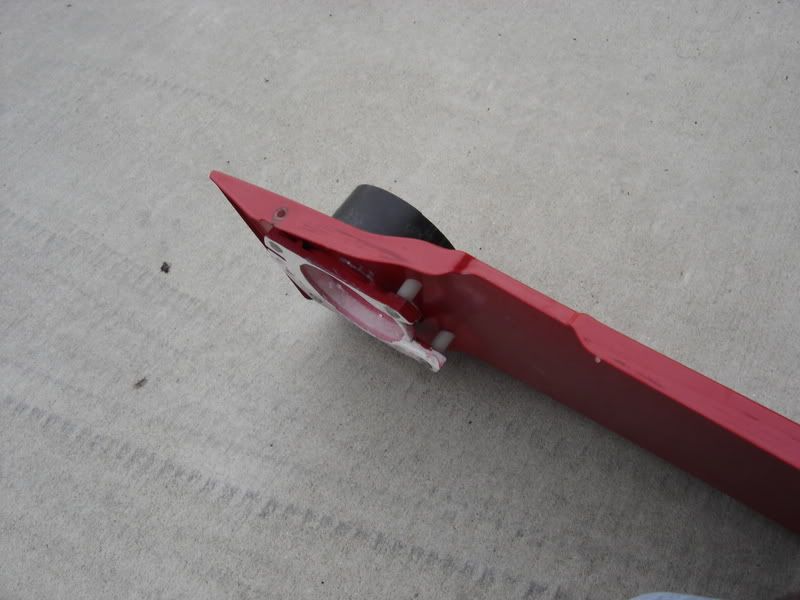
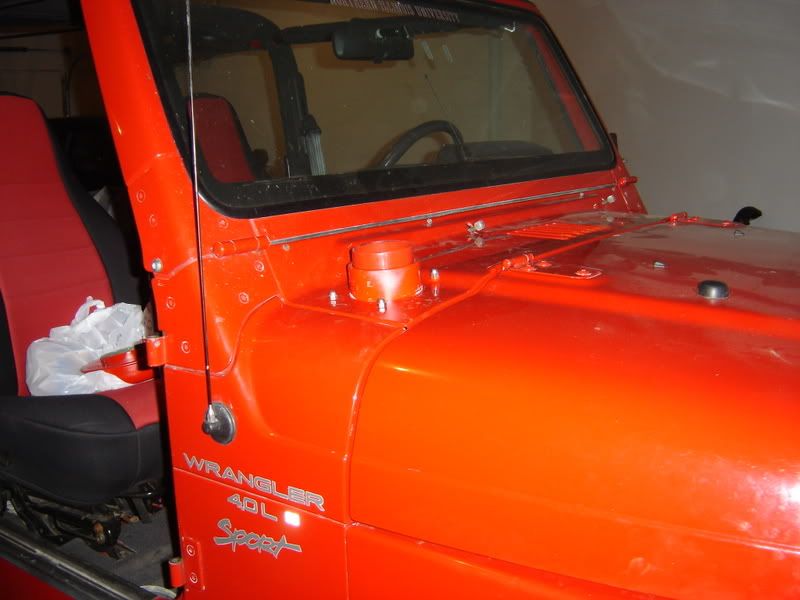
The next step was cutting through the firewall. I measured twice and cut once. You can see how close I got to the ground! Like I said, measure TWICE and cut ONCE!
![Image]()
![Image]()
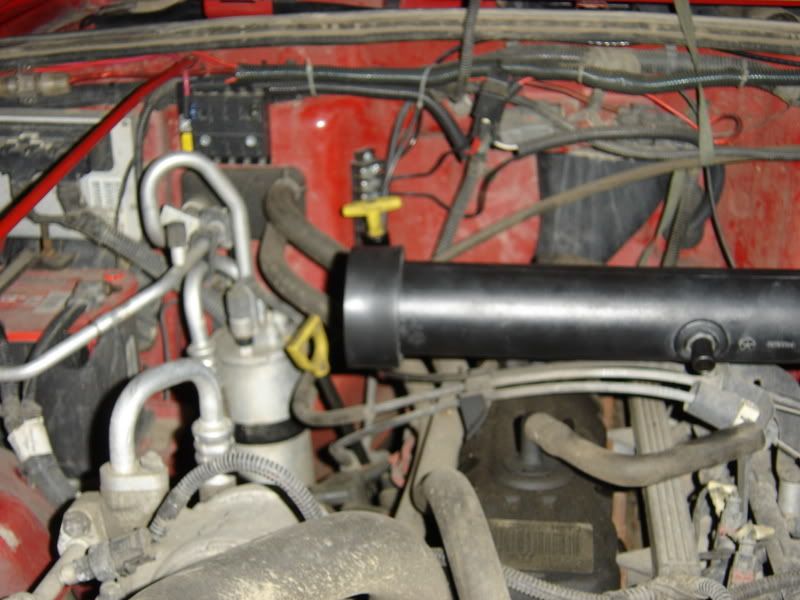
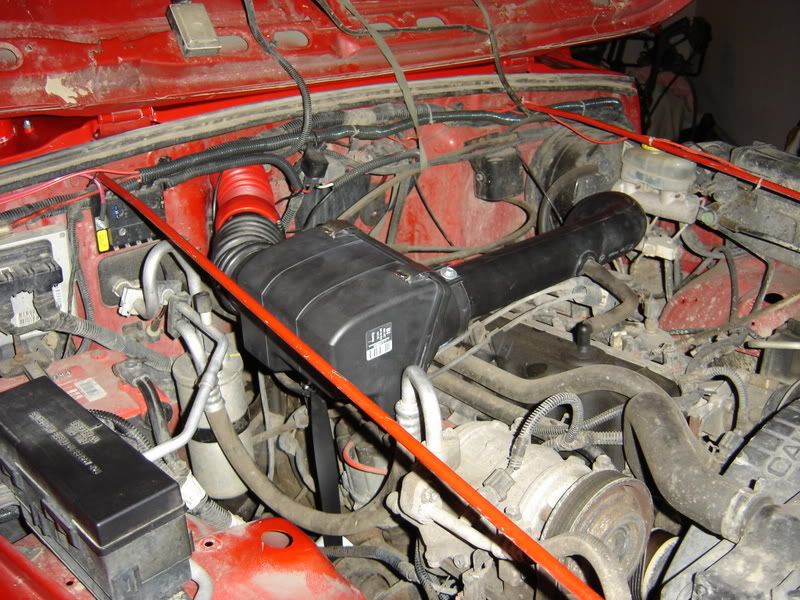
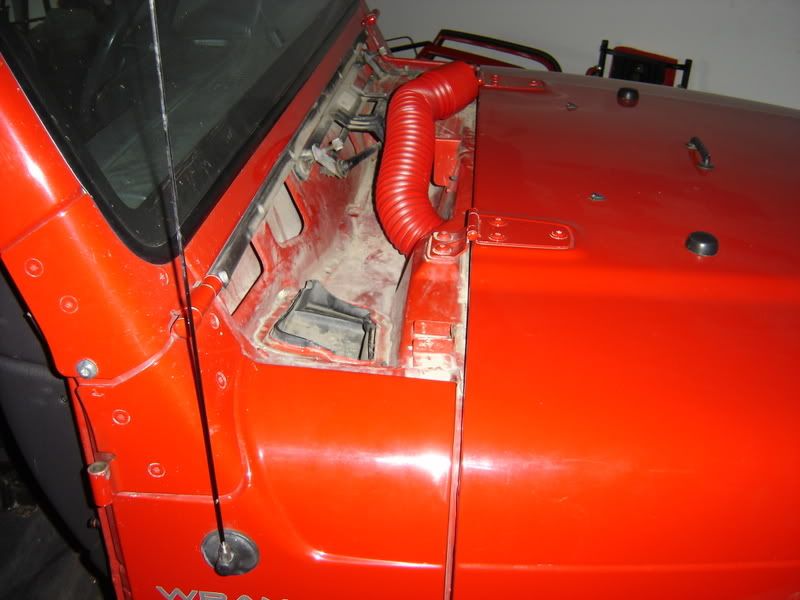
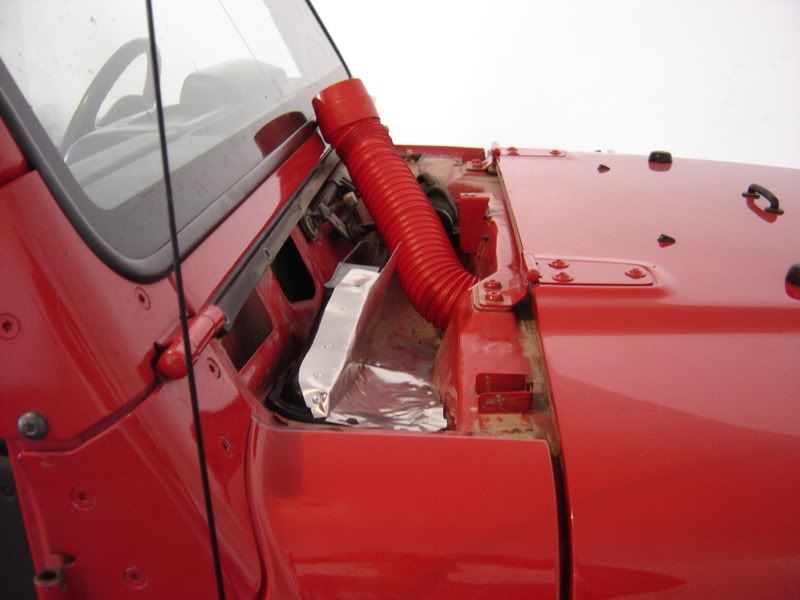
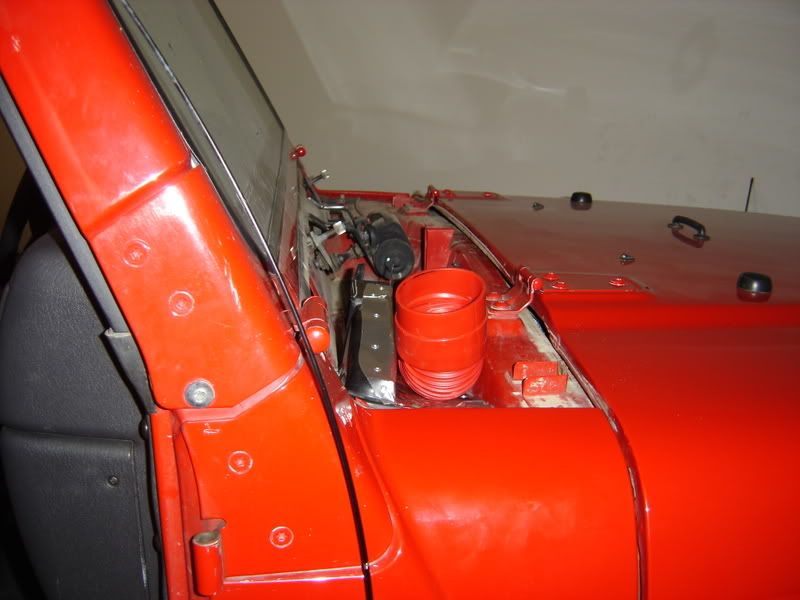
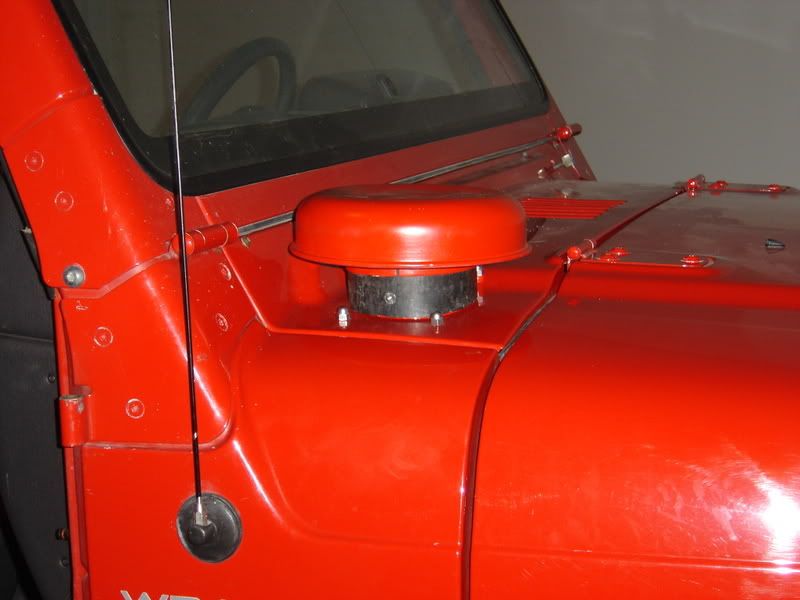
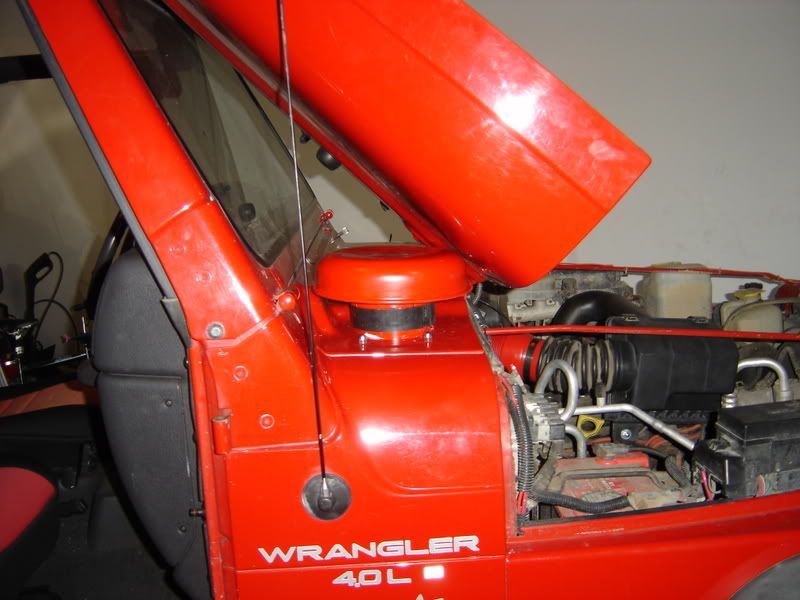
Ok, at this point you can run some flex tubing into the cowl for cooler air and call it a day. If you choose to do so, it will look something like this under the hood.
![Image]()
![Image]()
I wasn't done yet, but this first part concludes the "Buick cold air intake" portion of the write-up.
-Hummer intake cap: $32 shipped (ebay)
-Buick (3.3L V6) airbox: $10 (u-pull-it yard)
-Plumbing reducer bushing: $4 (Home Depot)
-Plumbing flange: $2 (Home Depot)
-Nuts, bolts, and miscellaneous items: $10 (all stainless hardware from Lowe's)
-Flexible 3" ricer air tube: $20 (Autozone)
-Paper air filter: $7 (Autozone)
I opted to use a buick airbox as it has been used previously by fellow jeepers. Not to mention I think it gives it a clean look under the hood. The negatives to this route are you will need to remove the airbox to change all the plugs and you will need to "route" the dipstick when checking your oil and your trans fluid. Oh well, I'll survive. BTW, here's some reading on that mod…
JU thread 1
JU thread 2
http://www.jeepfreedom.com/html/airbox_replacement.html
Ok, on to my airbox install; I'll explain what I did and then rapid fire some pics. I removed the old airbox and cut the intake tube. I used a 3" to 2" rubber bushing to connect the intake to the new box. The problem was I needed to whittle down the i.d. of the busing since the Jeep's intake tube is roughly 2 5/8. After that, I did a test fitting with the box and got some scrap metal for a bracket.
For the bracket I opened up the bottom end and attached that to the motor mount. I twisted and bent it with some pliers so everything would line up.

The next step was cutting through the firewall. I measured twice and cut once. You can see how close I got to the ground! Like I said, measure TWICE and cut ONCE!
Ok, at this point you can run some flex tubing into the cowl for cooler air and call it a day. If you choose to do so, it will look something like this under the hood.
I wasn't done yet, but this first part concludes the "Buick cold air intake" portion of the write-up.


")


